Highlight copyright by creating Watermark in Word
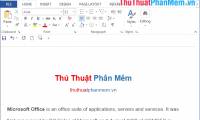
Introduce how to mark copyright by creating Watermark in Word. To create borders for a text page in Word 2013 there are 3 basic ways as follows: 1. Highlight copyright using text. Step 1: Go to Design - Watermark tab - choose the type of copyright mark
Table of Contents
The following article introduces you to how to mark copyright by creating Watermark in Word.
To create borders for a text page in Word 2013 there are 3 basic ways as follows:
1. Highlight copyright using text.
Step 1: Go Card Design -> Watermark -> select the type of available copyright mark or click on Custom Watermark to customize the request:

Step 2: The Printed Watermark dialog box appears, click the Custom Text Watermark box, including the following options:
- Language: Select the input language.
- Text: Enter the text content used to mark copyright.
- Font: Select a font for input.
- Size: Select the font size.
- Color: Select text color for highlighted content.
Finally, click OK

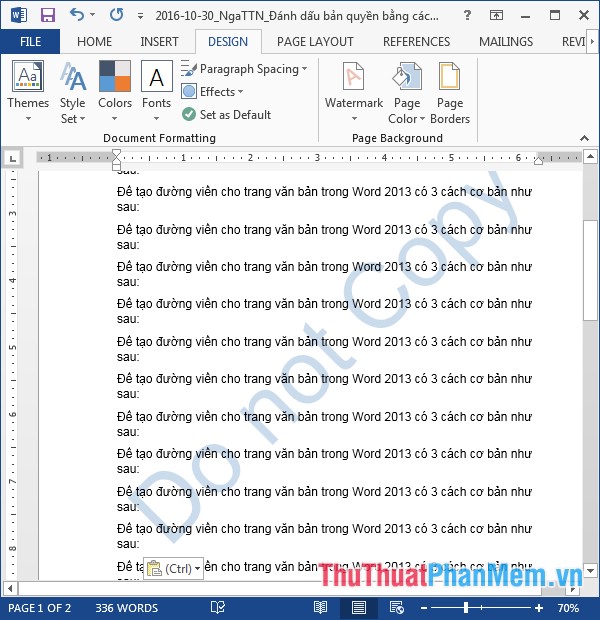
- After clicking OK, your text has been copyrighted with a sinking text:
2. Copyright markup using images.
Step 1: Go Card Design -> Watermark -> Custom Watermark:
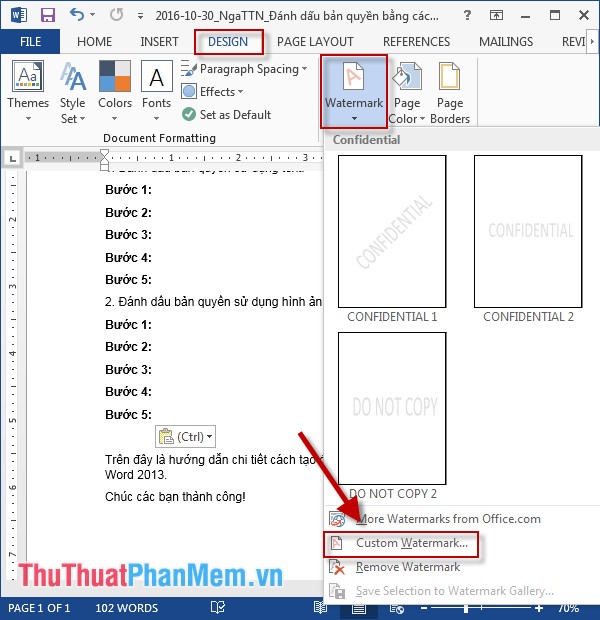
Step 2: The Printed Watermark dialog box appears, select Picture Watermark -> Select Picture to select the image you want to mark copyright:

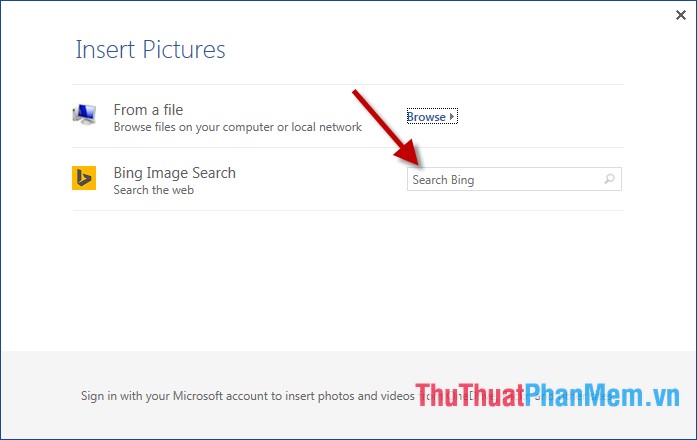
Step 3: The Insert Pictures dialog box comes with 2 options: retrieve images from files available on your computer or search for images online:
Step 4: For example, here search other images on the network -> enter the search content in Search Bing -> press Enter -> search results are displayed -> select the image you want to use the bookmark -> Insert :

Step 5: After selecting the image to be inserted in the dialog box -> click OK to complete:

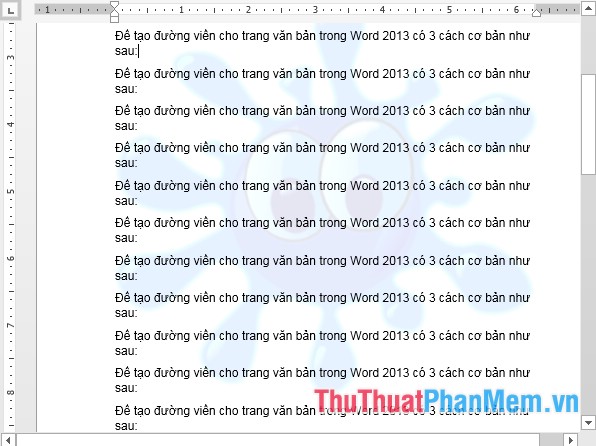
- After clicking OK, your text has been copyrighted by the selected image:
The above is a detailed guide on how to mark copyright by creating Water mark in Word.
Good luck!
Was this article helpful?
Your feedback helps us improve.
Related Articles
 How to add copyright watermark text in Word 20134 minutes read
 How to insert, delete watermark in Word documents5 minutes read
 How to create and delete Watermark in Word 20164 minutes read
 Watermark to Word file - Add Watermark to Doc file3 minutes read
 Watermark copyright seal for PDF files4 minutes read
 How to remove watermark copyright mark, delete Watermark on PDF files3 minutes read
Reader Comments 0
Sign in with email or Google to join the discussion.