The following article details you how to create a new document in Word.

1. Create a new document.
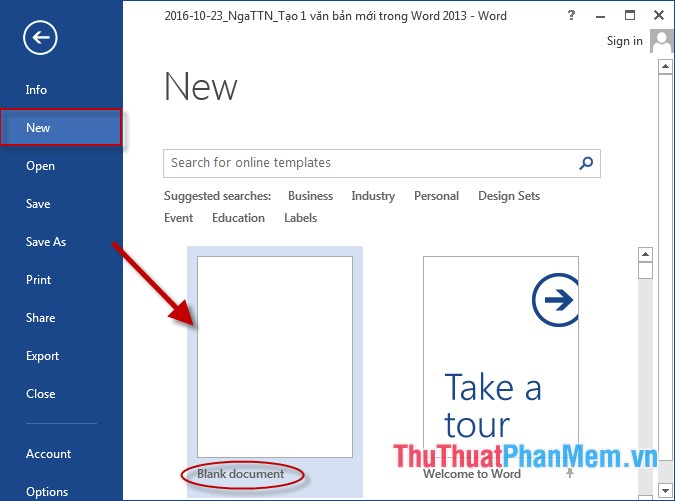
Step 1: On the card File -> New -> Balnk document:
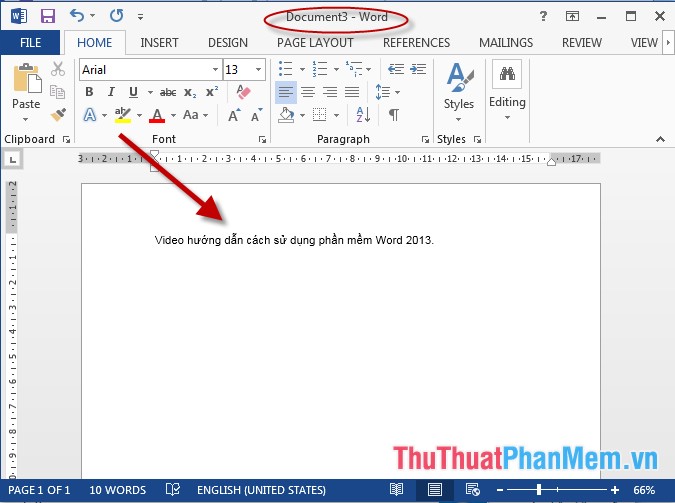
Step 2: After selecting the newly created text, you rename the text and enter its content:
2. Create a new document in the format available in Word 2013.
In addition, you can select many templates that Word 2013 supports available, in the dialog box scroll down to select the template that suits your requirements. The example here creates a Newsletter:

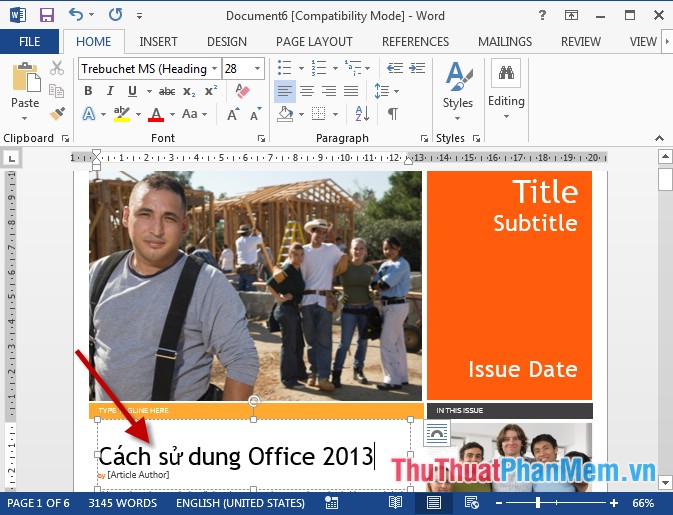
- Click on the template you want to create -> display template -> select Create to create a new page in the Newsletter style :

- After selecting Create new text created in Newsletter style -> customize content and images as you like:
3. Create new documents by searching for patterns on the Web
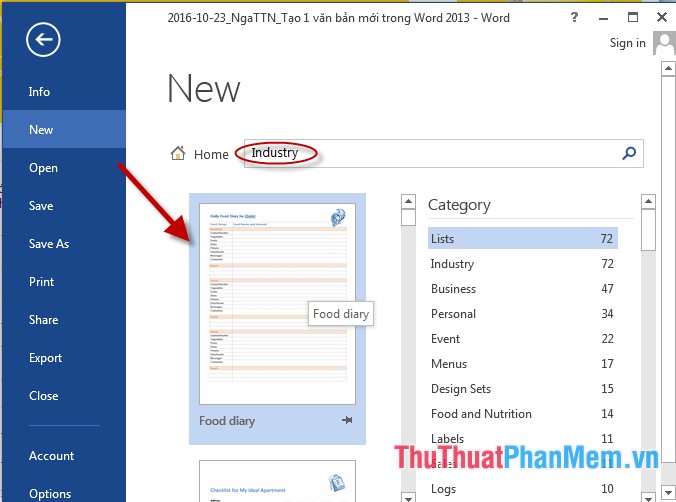
Step 1: Go to File -> New -> enter a search term in section Home -> Enter the sample is searched by topic Display -> choose patterns that match the content of your text, for example here Create a Food Diary menu list :
Step 2: New text has been created -> customize the text content:

In case you want to close the text to create a new document, do the following: File -> Close:

In addition to the above, you can create a new document in the style of Blank Document -> press Ctrl + N.
Above is a detailed guide on how to create a new document in Word.
Good luck!
 Top free AI tools you should try in 2026
 Guide to playing custom maps in Meccha Chameleon
 Create copyrighted music with AI Music Maker
 How to make money using AI
 Top best AI tools for high school and university students