How to Convert a JPEG Image Into an Editable Word Document
This wikiHow teaches you how to create an editable Word document from a JPEG image on your Windows or Mac computer. While there is no way to turn a JPEG image directly into a Word document that you can edit, you can use a free Optical...
Table of Contents
Method 1 of 3:
Using OnlineOCR
-
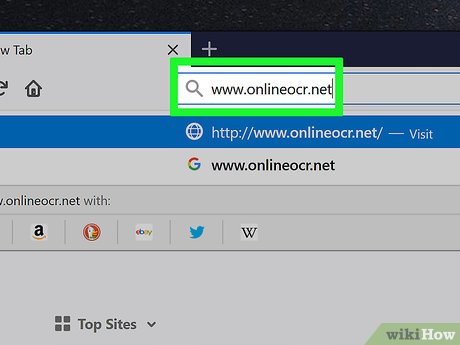 Open OnlineOCR. Go to https://www.onlineocr.net/ in your computer's web browser. This website will allow you to convert a few different file types (JPEG included) into a Word document.
 -
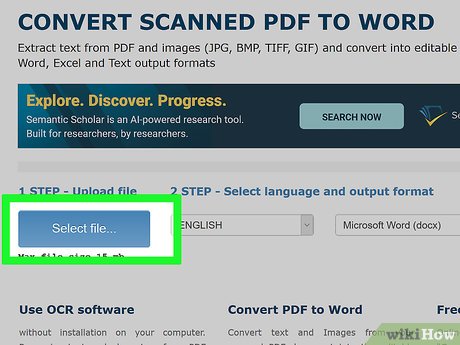 Click Select file…. It's in the lower-left side of the webpage. Doing so opens a File Explorer (Windows) or Finder (Mac) window in which you can select your JPEG file.
 -
 Select your JPEG file. Go to the folder in which your JPEG is stored, then click once the JPEG file you want to convert.
 -
 Click Open. It's in the bottom-right corner of the window. Doing so uploads the JPEG file to the OnlineOCR website.
- On a Mac, you may click Choose here.
-
 Select a language. If you want to use a language other than the one listed in the middle text box, click the current language and then click the language you want to use.
 -
 Make sure you're converting to a Word document. If the third text box doesn't have "Microsoft Word (docx)" written in it, click the text box and then click Microsoft Word (docx) in the drop-down menu.
 -
 Click CONVERT. It's on the far-right side of the page. Doing so prompts OnlineOCR to begin converting your JPEG file into a Word document.
 -
 Click Download Output File. This link is below the Select file... button. Your converted Word document will download onto your computer.
- Depending on your browser's settings, you may need to select a save location or confirm the download before the file will download.
-
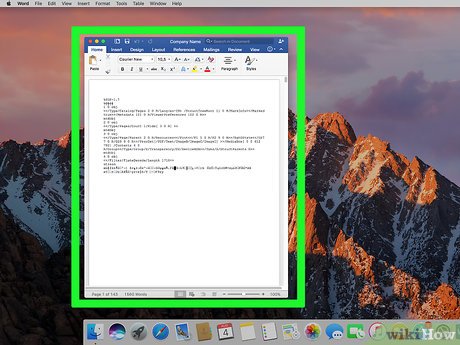
 Open your new Word document. Double-click the converted Word document to do so.
 -
 Click Enable Editing. It's in a yellow bar at the top of the Word document. Doing so will make the Word document editable.
- This is necessary because, since you downloaded the Word document from the Internet, Word views it as potentially dangerous.
- Remember to save any changes you make by pressing Ctrl+S (Windows) or ⌘ Command+S (Mac).
Method 2 of 3:
Using a PDF on Windows
-
 Open the JPEG file you want to convert. Double-click the JPEG file to do so. This will open the JPEG file in the Photos app.
 -
 Click the "Print"icon. It's the printer-shaped icon in the top-right corner of the window. Doing so opens the Print window.
- Don't panic if you don't have a printer attached to your computer—you won't actually be printing anything.
-
 Click the "Printer" drop-down box. This is at the top of the Print window. A drop-down menu will appear.
 -
 Click Microsoft Print to PDF. It's in the drop-down menu.
 -
 Click Print. This is at the bottom of the window. A pop-up window will appear.
 -
 Enter a name. In the "Name" text field, type in the name you want to use for your converted document.
 -
 Select a save location. Click a folder name (e.g., Desktop) on the left side of the window.
 -
 Click Save. It's at the bottom of the window. Doing so saves a PDF version of your JPEG file in your selected folder.
 -
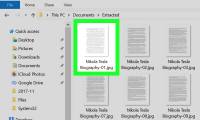
 Go to the PDF's location. You'll find it in the folder you selected before saving the PDF.
 -
 Right-click the PDF. Doing so prompts a drop-down menu.
 -
 Select Open with. This is in the drop-down menu. A pop-out menu will appear.
- If you don't see Open with in the drop-down menu, click anywhere to close the drop-down menu, then click once the PDF to select it before you right-click it again.
-
 Click Word. It's in the pop-out menu. Microsoft Word will open.
 -
 Click OK when prompted. Word will begin attempting to convert the PDF into a Word document.
- This may take a few minutes.
-
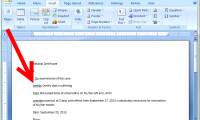
 Review your Word document. The PDF-to-Word conversion process isn't perfect, so you may need to clean up some of the text or remove images that aren't properly positioned.
- If your document isn't entirely editable or a large group of the document's text is inaccurate, you might want to use Online OCR instead.
Method 3 of 3:
Using a PDF on Mac
-
 Select your JPEG file. Go to the folder location of the JPEG file that you want to convert, then click once the file to select it.
 -
 Click File. It's a menu item at the top of the screen. A drop-down menu will appear.
 -
 Select Open With. This is in the File drop-down menu. Selecting it prompts a pop-out menu to appear.
 -
 Click Preview. It's in the pop-out menu. Doing so opens the JPEG file in Preview.
 -
 Click File again. The drop-down menu will reappear.
 -
 Click Export as PDF…. This is in the drop-down menu. Clicking it prompts a new window to appear.
 -
 Select a save location. Click the "Where" drop-down box, then click the name of the folder in which you want to save your converted PDF.
 -
 Click Save. It's at the bottom of the window.
 -
 Select your new PDF. Go to the folder in which you saved the PDF version of your JPEG file, then click once the PDF to select it.
 -
 Click File, then select Open With. The Open With pop-out menu will open.
 -
 Click Microsoft Word. This should be in the pop-out menu. Doing so will open Microsoft Word.
- If you don't see Word here, you can still open the PDF by opening Word, clicking File, clicking Open, and selecting the PDF in the Finder window that appears.
-
 Click OK when prompted. Word will begin attempting to convert the PDF into a Word document.
- This may take a few minutes.
-
 Review your Word document. The PDF-to-Word conversion process isn't perfect, so you may need to clean up some of the text or remove images that aren't properly positioned.
- If your document isn't entirely editable or a large group of the document's text is inaccurate, you might want to use Online OCR instead.
Was this article helpful?
Your feedback helps us improve.
Related Articles
 How to Convert JPEG Images to Word Documents1 minutes read
 How to Change a Word Document to JPEG Format7 minutes read
 How to Convert Word documents to JPEG image format8 minutes read
 How to Turn a Scanned Document Into Microsoft Word Document7 minutes read
 How to Convert Scanned Documents to Word Documents3 minutes read
 How to fix PDF to Word conversion error that cannot be edited2 minutes read
Reader Comments 0
Sign in with email or Google to join the discussion.