Word 2013 Complete Guide (Part 7): Text printing operations
- Word 2013 Complete Guide (Part 3): How to store and share documents
- Word 2013 Complete Guide (Part 4): Get familiar with text editing
- Word 2013 Complete Guide (Part 5): Formatting text
Print is an indispensable function in text editors, this tutorial will show you how to choose the basic parameters for printing paper output via the printer connected to the computer.Microsoft versions of Word all include Word printing capabilities;so you can directly print documents, files, documents directly without using any other software.
Moreover, when creating text documents you may want to print out to view and share offline work. It's easy to preview and print documents in Word when using Print .
Besides, you should also know some tricks when printing text in Word 2013 to support more effective text editing.
See the video below for an overview of text printing operations in Word 2013 :
Access the Print feature
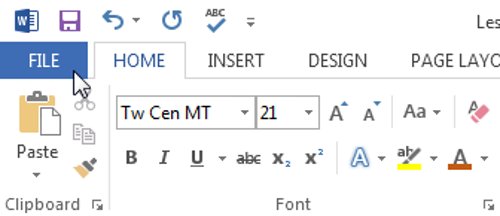
1. Click File on the Menu Bar. The Backstage view will appear.
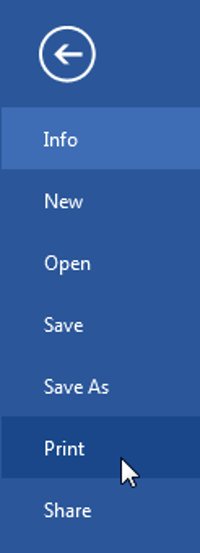
2. Select Print . The Print window will display.
- Click the gold buttons ( illustrated ) in the interactive section below to learn more about how to use Print .
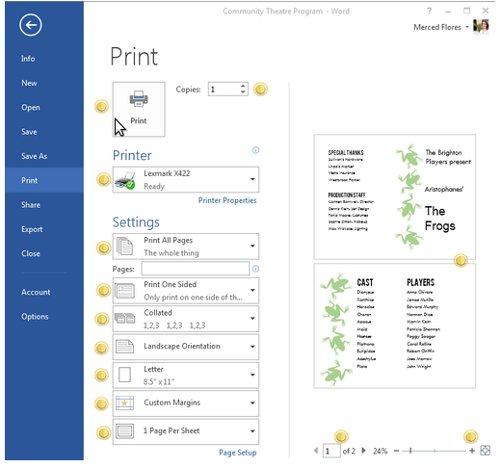
- You can also access Print only by pressing Ctrl + P.
Print documents
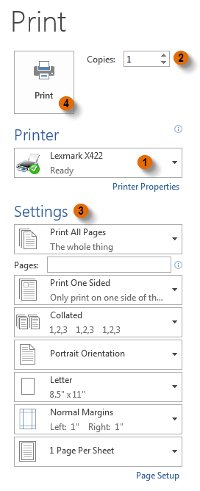
1. Navigate to Print and select the desired printer.
2. Enter the number of copies you want to print.
3. Select settings to install additional if needed.
4. After the setting is complete press the Print button.
Custom print
Sometimes, you may find that it is not necessary to print the entire document, so the custom print case may be more suitable for your needs. Whether you want to print a number of individual pages or different pages, Word allows you to specify exactly which pages you want to print.
Print any page in the document
If you want to print individual pages or different pages in the same document, you need to separate each item with a comma ( for example, 1, 3, 5-7, or 10-14 ).
1. Go to Print .
2. In the Pages field, enter the number of pages to print.

3. Select Print .
- If the document is not printed in the way you want, adjust the page layout settings. Learn more about how to do it in the Word 2013 Complete Guide (Part 6): Align page layout
See also: Instructions on how to create frames in Word 2007, 2010, 2013, 2016
Having fun!
You should read it
- ★ Word 2013 Complete Guide (Part 11): How to create hyperlink links
- ★ Word 2013 Complete Tutorial (Part 9): Use Line and Paragraph Spacing
- ★ Word 2013 Complete Guide (Part 10): Bullets, Numbering, Multilevel list in Microsoft Word
- ★ Align text, adjust font in Word 2013
- ★ Create a new Word file, open the file in Word 2013