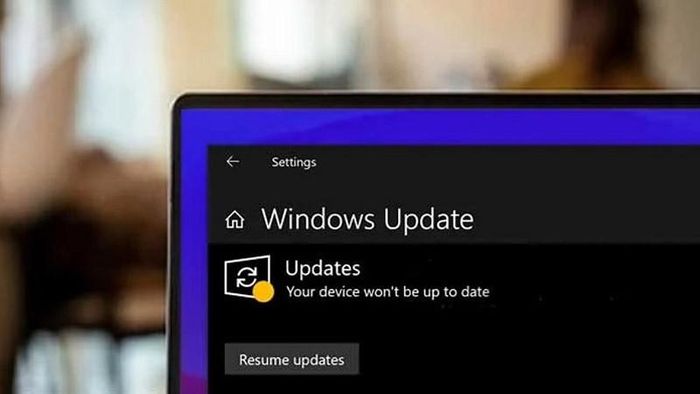
Turn off automatic updates for Windows with just a few simple steps

Below are super simple instructions on how to turn off automatic updates for Windows that anyone can do.
Step 1: First, press the Windows button on the keyboard and enter the keyword Settings. Next, click or press Enter to access the device's settings section.
Step 2: Then, click on Update & Security. Here, swipe down and select Advanced options.
Step 3: In the Pause updates section, customize the date and year you want Windows to automatically update by clicking Select date and you're done.
Above are instructions on how to turn off automatic updates for Windows. Hope you are succesful.
4 ★ | 1 Vote
You should read it
- Windows revolution and breakthrough changes through each version
- Summary of several logout methods on Windows 8 and Windows 10
- Looking back at 27 years of 'evolution' of Windows
- Instructions on how to upgrade from Windows XP to Windows 8
- 4 ways to 'revive' Windows XP on Windows 10
- What is Windows Hello? How does Windows Hello work? How to install Windows Hello
 How to activate Windows Subsystem for Linux on Windows
 How to enable ransomware restrictions on Windows
 UnioTech claims to break Windows monopoly in China's campaign for technological self-reliance
 Microsoft fixes 149 security vulnerabilities on Windows, users should update immediately
 How to transfer data between computers
 4 easy ways to create ZIP files on Windows