The easiest way to Use Macros in Excel
Enable macros

Open Excel. Double-click the Excel application icon with a white "X" in the green frame, then click Blank workbook.
If you want to open a specific file in Excel, double-click it.

Click the File tab in the upper left of the Excel window.
On a Mac, click the Excel tab in the upper-left corner of the screen to open a drop-down menu.
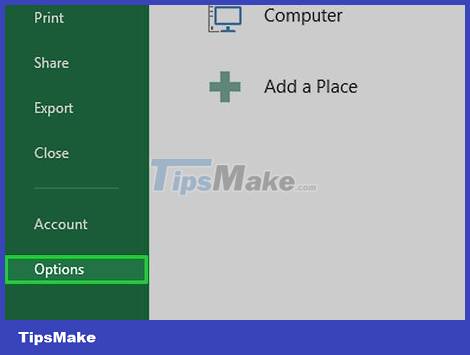
Click Options . This item is on the left side of the Excel window.
On a Mac, click Preferences. in the drop-down menu.

Click Customize Ribbon . Options are on the left side of Excel's Options window.
On a Mac, click Ribbon & Toolbar in the Preferences window.

Check the "Developer" box. This box is near the bottom of the "Main Tabs" options list.
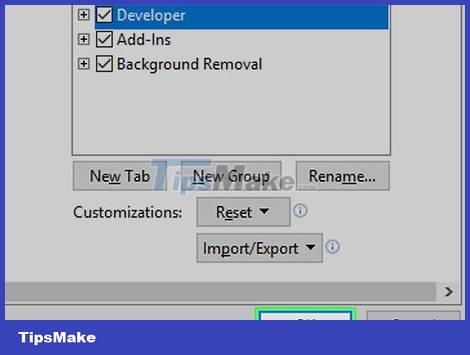
Click OK near the bottom of the window. Now you can use the macro command in Excel.
On a Mac, click Save here.
Macro recording
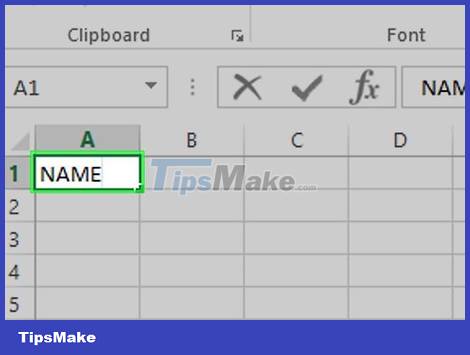
Enter the required data. If you're opening a blank workbook, enter all the data you want to use before continuing.
You can also close Excel and double-click the file to open the specific workbook.
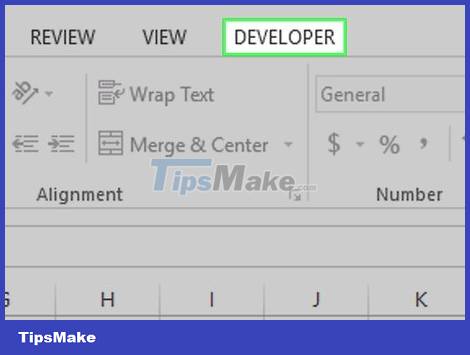
Click the Developer tab at the top of the Excel window. A toolbar will open here.
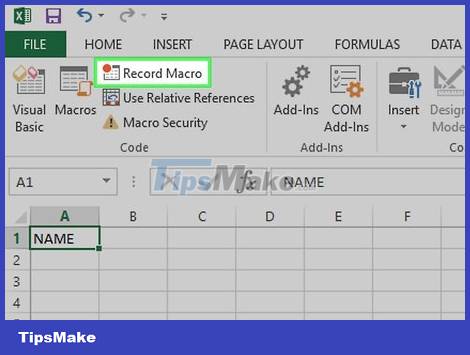
Click the Record Macro option located in the toolbar. A window will pop up.
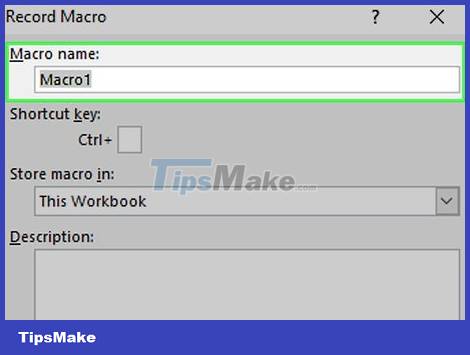
Enter a name for the macro command. In the "Macro name" text box, enter a name for the macro command. This will help you to recognize the macro command later.
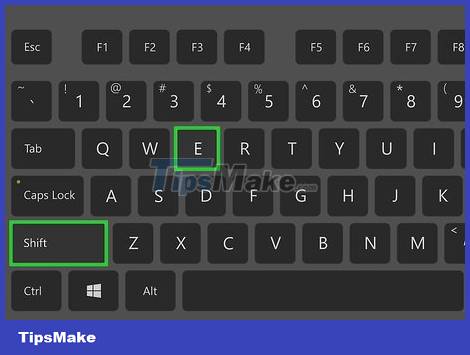
Create a keyboard shortcut (if you like). Press the ⇧ Shift key together with some character key (for example, E) to create a keyboard shortcut. You can use this key combination to execute a macro command later.
On a Mac computer, the keyboard shortcut will include the ⌥ Option+⌘ Command key and the character (for example, ⌥ Option+⌘ Command+T).
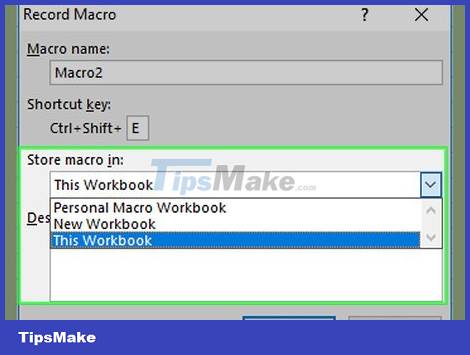
Click the "Store macro in" drop-down. This frame is in the middle of the window. A drop-down menu will appear.
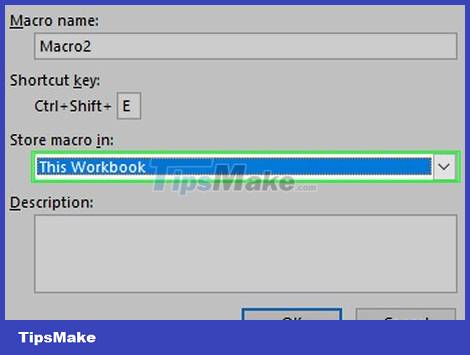
Click This Workbook . This option is in the drop-down menu. The macro command will be integrated into this workbook and anyone with the file will be able to use the macro.
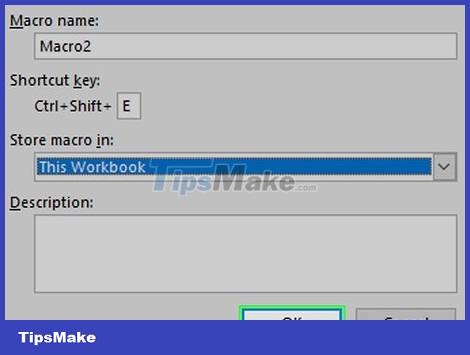
Click OK at the bottom of the window. The setting of the macro command will be saved, and the recording process will start.
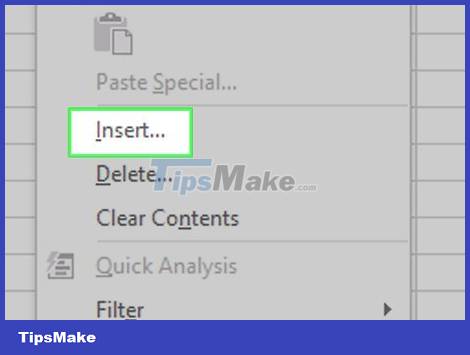
Execute the steps of the macro. Any action you take from clicking OK to clicking Stop Recording will be added to the macro. For example, if you want to create a macro of converting data values in two columns into a chart, do:
Click and drag the mouse over the data to select.
Click Insert
Select a chart shape.
Click on the chart you want to use.
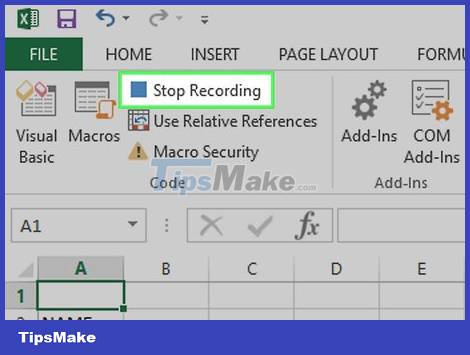
Click the Stop Recording task located in the Developer toolbar. The macro command will be saved.
Save a macro-enabled workbook
You need to understand why we need to save the workbook with macros enabled. If you do not save as a macro-enabled workbook (XLSM format), the macro command will not be saved as part of the file, meaning that users on other computers will not be able to use the macro command if you send the workbook to surname.
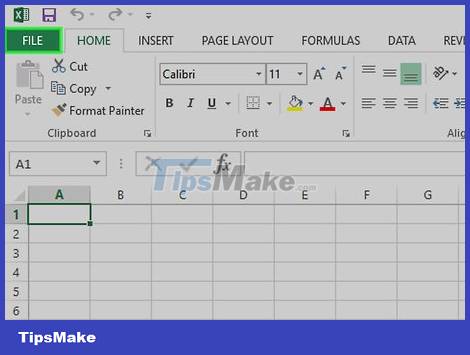
Click File in the upper-left corner of the Excel window (Windows) or desktop (Mac). A drop-down menu will appear.
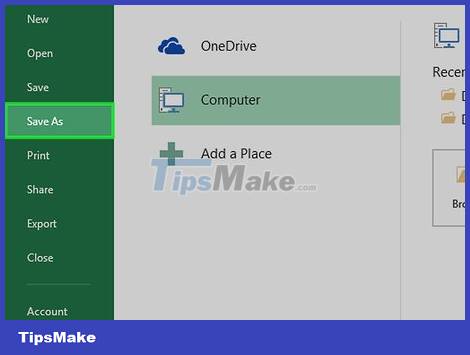
Click Save As . This option is on the left side of the window (Windows) or in the drop-down menu (Mac).
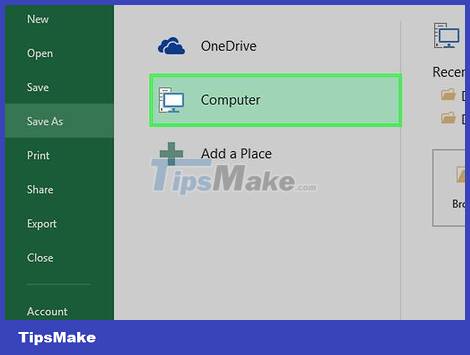
Double-click This PC . The option is in the save location column near the left side of the window. The "Save As" window will open.
Skip this step on a Mac computer.
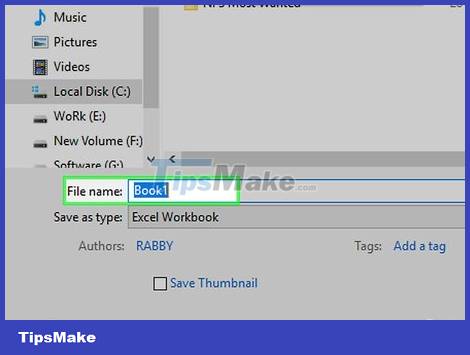
Enter a name for the Excel file. Enter a name for the Excel spreadsheet in the "Name" text box.
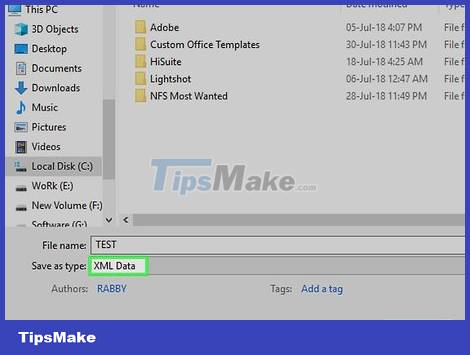
Change the file format to XLSM. Click the "Save as type" drop-down box and then select Excel Macro-Enabled Workbook from the drop-down menu that appears.
On a Mac, you'll need to replace the "xlsx" extension at the end of the filename with xlsm.
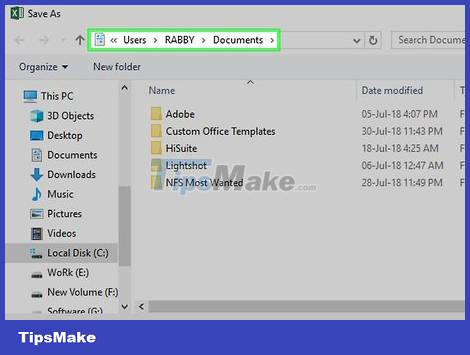
Select a save location. Click the folder where you want to save the Excel file (for example, Desktop).
On a Mac, you'll need to click the "Where" drop-down box first.
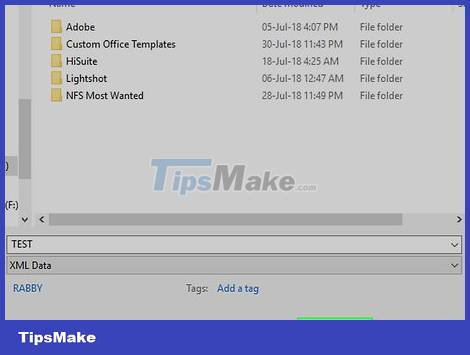
Click the Save option at the bottom of the window. Excel spreadsheets with built-in macro commands will be saved to the location you choose.
Execute macros
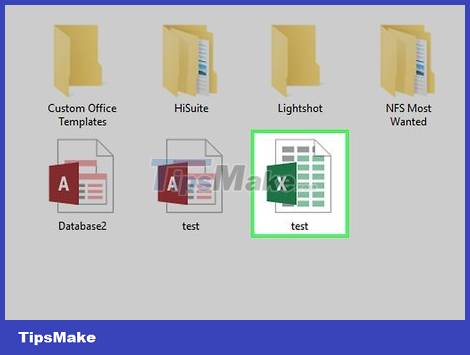
Open the macro-enabled workbook. Double-click the macro integrated spreadsheet to open it in Excel.
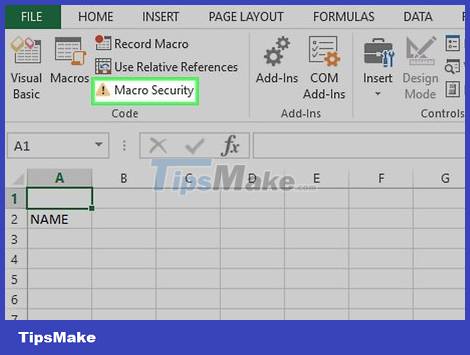
Click Enable Content . The option is in the yellow bar at the top of the Excel window. The workbook will be unlocked and allow you to use the macro command.
If you don't see the above option, skip this step.
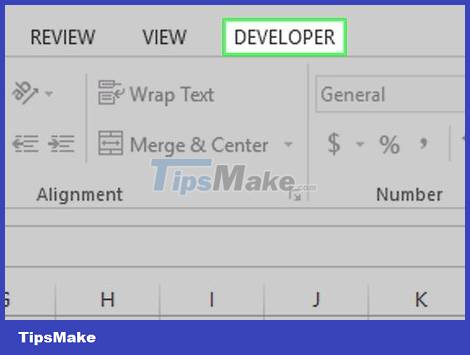
Click the Developer tab at the top of the Excel window.
Or you can press the set key combination for the macro command. If you choose this method, you can skip the rest of the method.
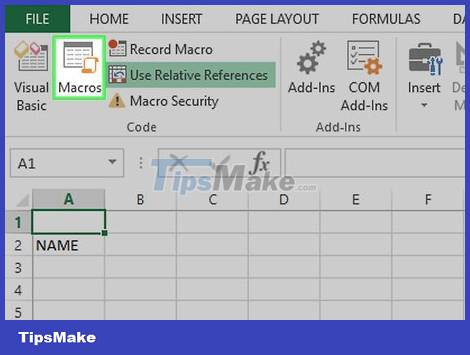
Click the Macros option in the toolbar of the Developer tab. A window will pop up.
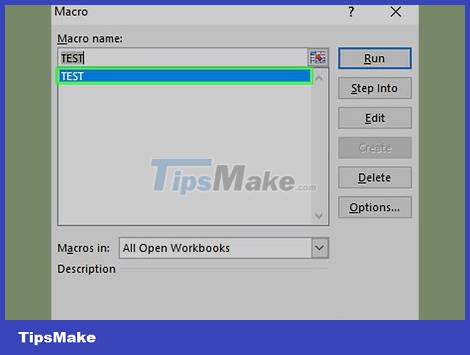
Select the macro command. Click the name of the macro command you want to execute.
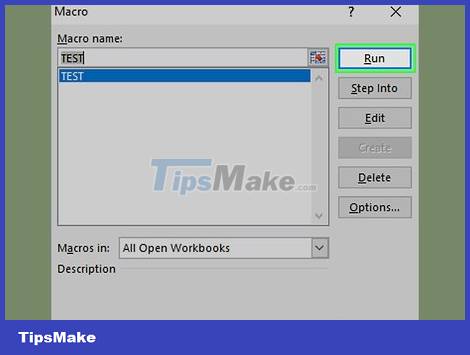
Click the Run task on the right side of the window. The macro command will start executing.
Wait for the macro command to complete. Depending on the length of the macro command, this may take a few seconds.