Table of Contents
This updated guide examines How to Use Macros in Excel and organizes the essential facts, background, and practical takeaways in clear American English.
Part 1
Enabling Macros
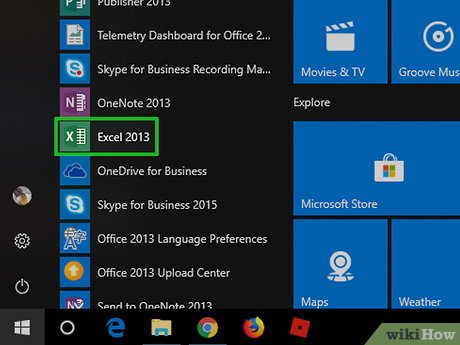 Open Excel. Double-click the Excel app icon, which resembles a white "X" on a green box, then click Blank workbook .
- If you have a specific file which you want to open in Excel, double-click that file to open it instead.
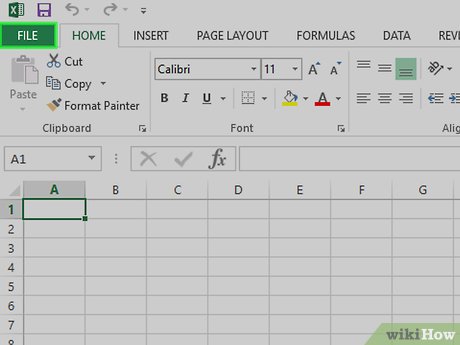 ClickFile. It's in the upper-left side of the Excel window.
- On a Mac, click Excel in the upper-left corner of the screen to prompt a drop-down menu.
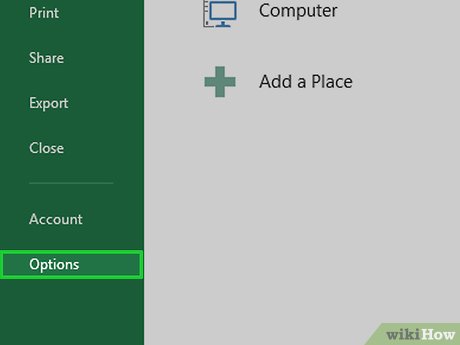 ClickOptions. You'll find this on the left side of the Excel window.
- On a Mac, you'll click Preferences... in the drop-down menu.
 ClickCustomize Ribbon. It's on the left side of the Excel Options window.[1]
- On a Mac, click instead Ribbon & Toolbar in the Preferences window.
 Check the "Developer" box. This box is near the bottom of the "Main Tabs" list of options.
 ClickOK. It's at the bottom of the window. You can now use macros in Excel.
- On a Mac, you'll click Save here instead.
Part 2
Recording a Macro
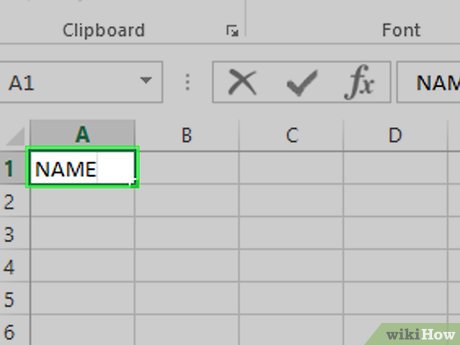 Enter any necessary data. If you opened a blank workbook, enter any data which you want to use before proceeding.
- You can also close Excel and open a specific Excel file by double-clicking it.
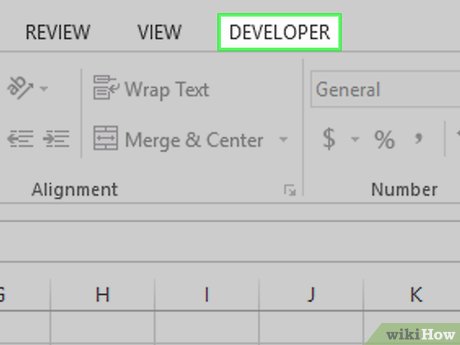 Click theDevelopertab. It's at the top of the Excel window. Doing so opens a toolbar here.
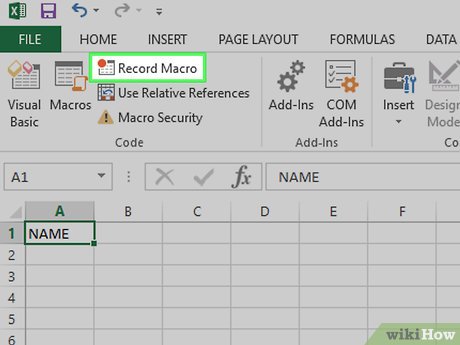 ClickRecord Macro. It's in the toolbar. A pop-up window will appear.
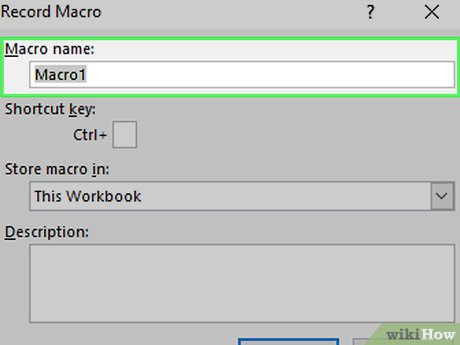 Enter a name for the macro. In the "Macro name" text box, type in the name for your macro. This will help you identify the macro later.
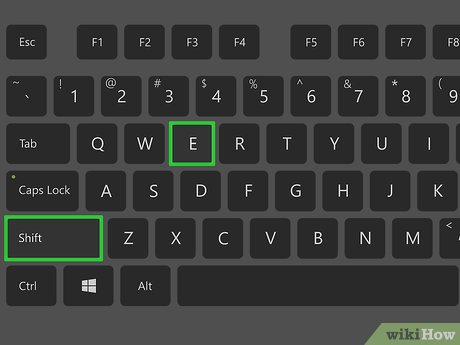 Create a shortcut key combination if you like. Press the⇧Shiftkey along with another letter key (e.g., theEkey) to create the keyboard shortcut. You can use this keyboard shortcut to run the macro later.
- On a Mac, the shortcut key combination will end up being⌥Option+⌘Commandand your key (e.g.,⌥Option+⌘Command+T).
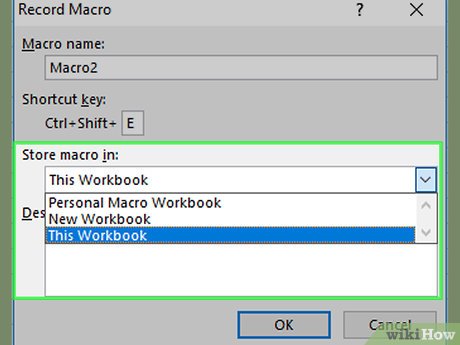 Click the "Store macro in" drop-down box. It's in the middle of the window. Doing so prompts a drop-down menu.
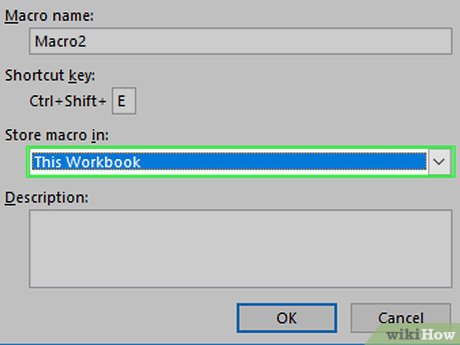 ClickThis Workbook. This option is in the drop-down menu. Your macro will be stored inside your spreadsheet, making it possible for anyone who has the spreadsheet to access the macro.
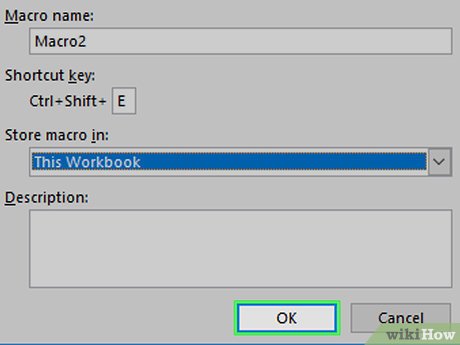 ClickOK. It's at the bottom of the window. Doing this saves your macro settings and begins recording.
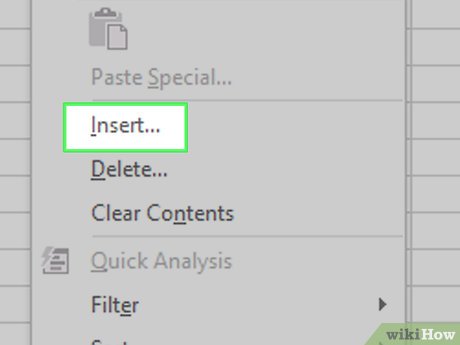 Perform the macro's steps. Any step you perform between clicking OK and clicking Stop Recording while be added to the macro. For example, if you wanted to create a macro which turns two columns' worth of data into a chart, you would do the following:
- Click and drag your mouse across the data to select it.
- Click Insert
- Select a chart shape.
- Click the chart that you want to use.
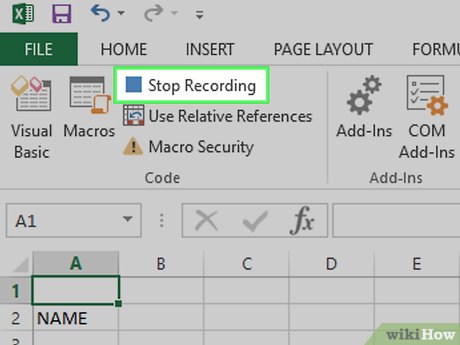 ClickStop Recording. It's in the Developer toolbar. This will save your macro.
Part 3
Saving a Macro-Enabled Spreadsheet
- Understand why you have to save the spreadsheet with macros enabled. If you don't save your spreadsheet as a macro-enabled spreadsheet (XLSM format), the macro won't be saved as part of the spreadsheet, meaning that other people on different computers won't be able to use your macro if you send the workbook to them.
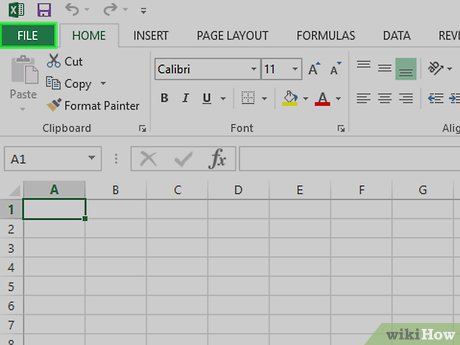 ClickFile. It's in the upper-left corner of the Excel window (Windows) or the screen (Mac). Doing so will prompt a drop-down menu.
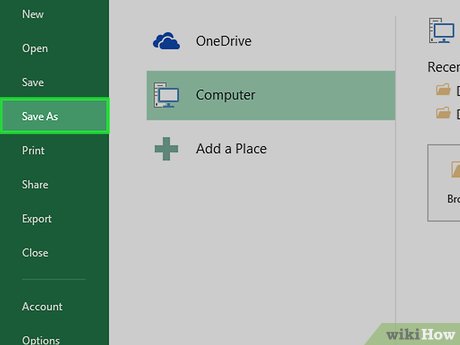 ClickSave As. This option is on the left side of the window (Windows) or in the drop-down menu (Mac).
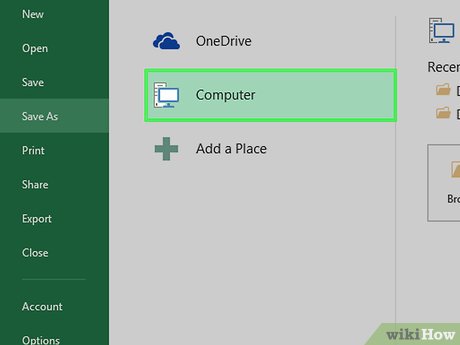 Double-clickThis PC. It's in the column of save locations near the left side of the window. A "Save As" window will open.
- Skip this step on a Mac.
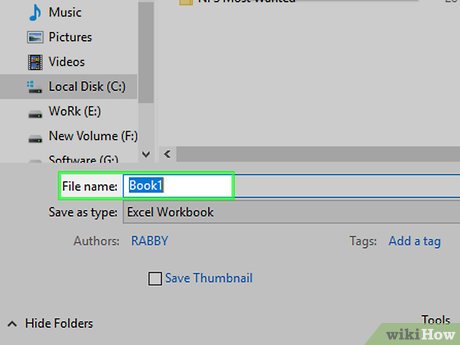 Enter a name for your Excel file. In the "Name" text box, type in the name for your Excel spreadsheet.
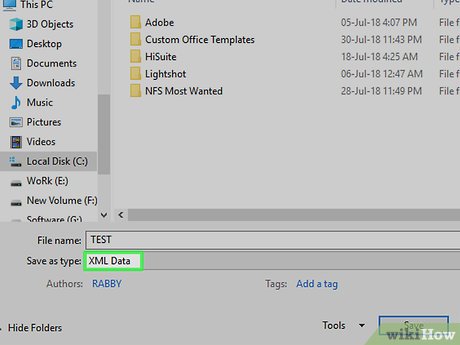 Change the file format to XLSM. Click the "Save as type" drop-down box, then click Excel Macro-Enabled Workbook in the resulting drop-down menu.[2]
- On a Mac, you'll replace the "xlsx" at the end of the file's name withxlsm.
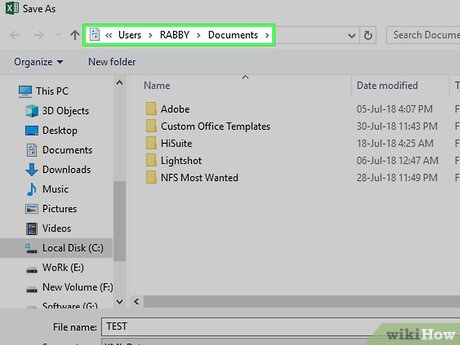 Select a save location. Click a folder in which you want to save the Excel file (e.g., Desktop ).
- On a Mac, you must first click the "Where" drop-down box.
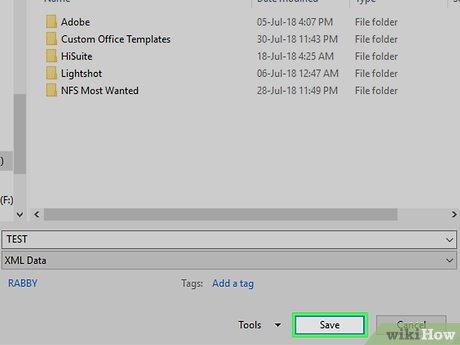 ClickSave. It's at the bottom of the window. Doing so will save your Excel spreadsheet to your selected location, and your macro will be saved along with it.
Part 4
Running a Macro
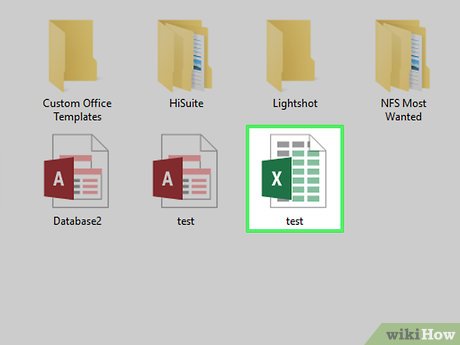 Open the macro-enabled spreadsheet. Double-click the spreadsheet that has the macro in it to open the spreadsheet in Excel.
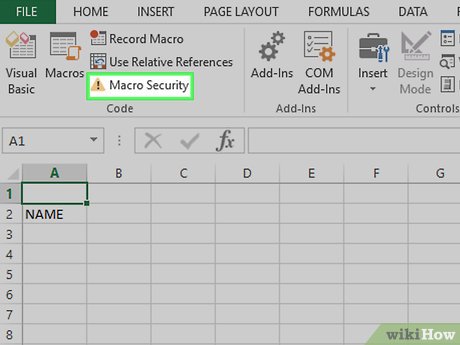 ClickEnable Content. It's in a yellow bar at the top of the Excel window. This will unlock the spreadsheet and allow you to use the macro.
- If you don't see this option, skip this step.
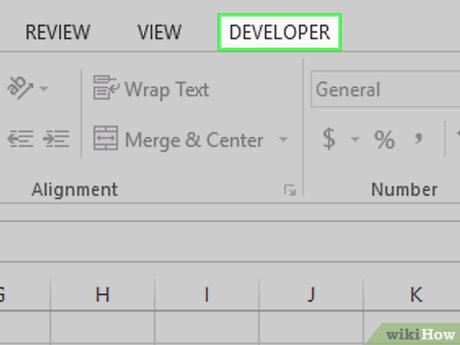 Click theDevelopertab. This option is at the top of the Excel window.
- You can also just press the key combination you set for the macro. If you do so, the macro will run, and you can skip the rest of this method.
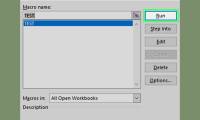
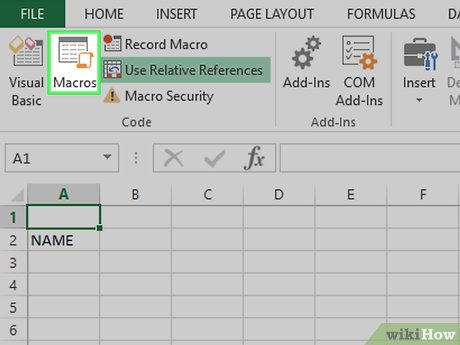 ClickMacros. You'll find it in the Developer tab's toolbar. A pop-up window will open.
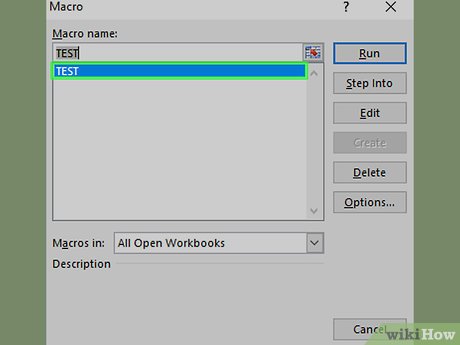 Select your macro. Click the name of the macro which you want to run.
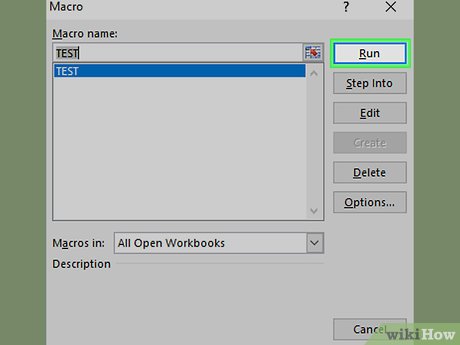 ClickRun. It's on the right side of the window. Your macro will begin running.
- Wait for the macro to finish running. Depending on how large your macro is, this can take several seconds.
FAQ
What is How to Use Macros in Excel about?
It provides a structured overview of click, explains the main context, and highlights practical takeaways for readers.
Why does this topic matter?
Understanding the main concepts helps readers evaluate the issue, avoid common mistakes, and make better-informed decisions.
How should readers use this information?
Use the guidance as a practical starting point, confirm details that may have changed, and follow current product, safety, or security recommendations.
Related Articles
 MS Excel 2007 - Lesson 7: Create Macros in Excel 20072 minutes read
 How to Delete Macros in Excel, Quickly Disable Macros3 minutes read
 Instructions on How to Create and Use Macros in Excel Create Macros, Save6 minutes read
 The Easiest Way to Use Macros in Excel8 minutes read
 How to Creating Macros in Excel: Step-by-Step Guide3 minutes read
 How to Enable Macros on Excel3 minutes read
Reader Comments 0
Sign in with email or Google to join the discussion.