Restore the default font set of Windows 7
In the process of using, due to work requirements or want to create a certain work, we often search and install new fonts for the system. But if you install too many fonts, it will cause instability and the operating system is not functioning properly.
In the process of using, due to work requirements or want to create a certain work, we often search and install new fonts for the system. But if you install too many fonts, it will cause instability and the operating system is not functioning properly. And the only way to fix this problem is to remove the previously installed font sets, and restore the system default font mode.
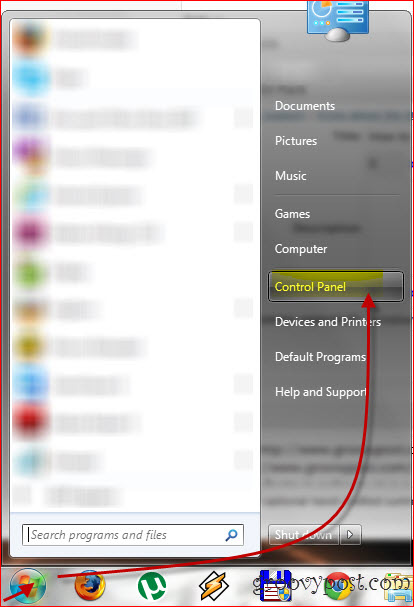
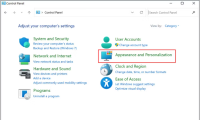
First, open the Start Menu> Control Panel:
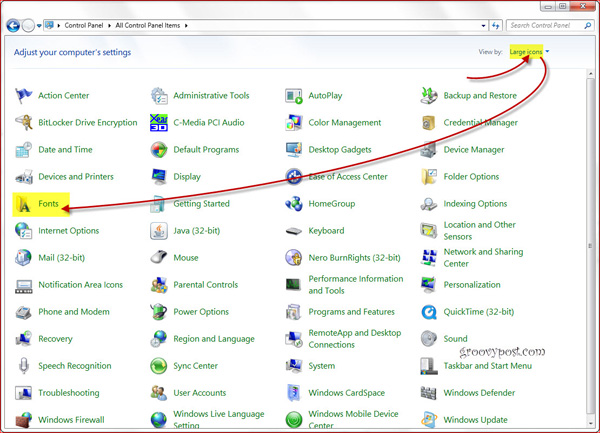
Here, we can change the view to facilitate the View by sort function , then select Fonts :
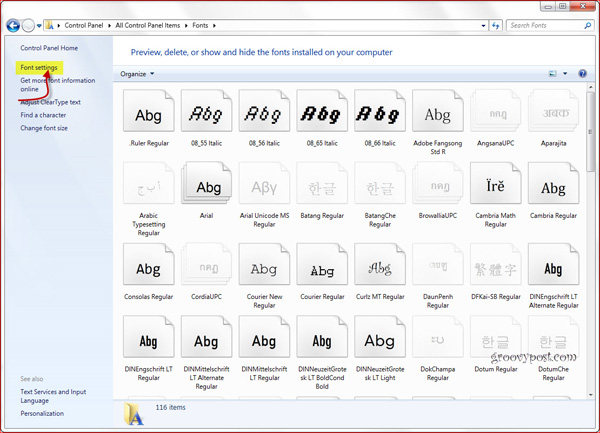
The next window displays, here you will see the entire font of the operating system, click the Font settings button :
Select the next Restore default font settings:
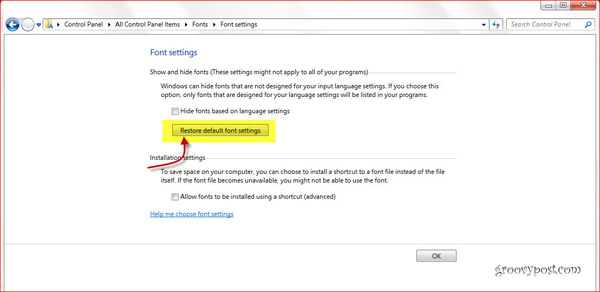
Thus, with just a few steps above, we have completed the restoration of the default font system of the operating system. Maybe many people will not pay attention to the simple and available setting items of Windows, but actually Microsoft has integrated a lot of features and support utilities for users. Good luck!
Was this article helpful?
Your feedback helps us improve.
Related Articles
 How to restore the default font on Windows 103 minutes read
 How to change fonts in Windows 117 minutes read
 Instructions for setting the default font in Microsoft Word4 minutes read
 How to change the default Windows 10 font5 minutes read
 How to set the default font and font size on Excel3 minutes read
 How to restore the default theme in Windows 102 minutes read
Reader Comments 0
Sign in with email or Google to join the discussion.