Photoshop CS: Sketches
The black-and-white pictures sketched out in just a few strokes, have their own characteristics and impressions. Did you know how to change a color image into a sketch? This article will guide you 2 ways to t.
The black-and-white pictures sketched out in just a few strokes, have their own characteristics and impressions. Did you know how to change a color image into a sketch? This article will show you two ways to create a sketch with just a few basic steps.
First, open your image file (or you can Save as this image) and open them in Photoshop.
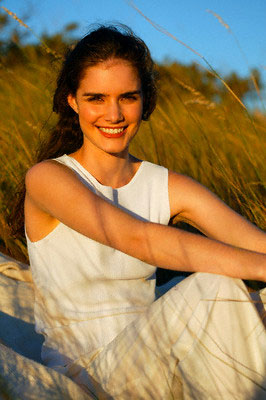
Figure 1
Method 1 :
Step 1 .
- Right click on Background > Duplicate layer . (or Ctrl + J) to duplicate the layer
- Rename the new layer copied to "English way"
- Click on the "Go to page" layer> Filter > Stylize > Find edges => Change the image to stylized shape with colored stroke strokes
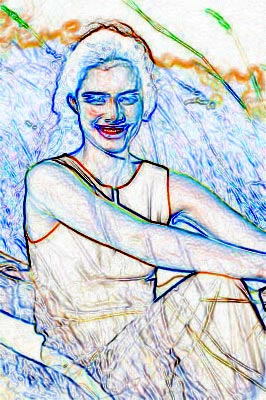
Figure 2
Step 2 . Change the picture to black and white
- Image > Adjustments > Destaturate (or Ctrl + Shift + u)
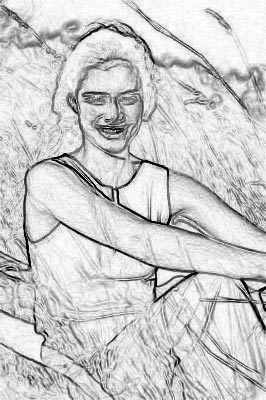
Figure 3
Step 3 . Change the light level
- Image > Adjustments > Levels . (or Ctrl + L)
- Change the channel light level
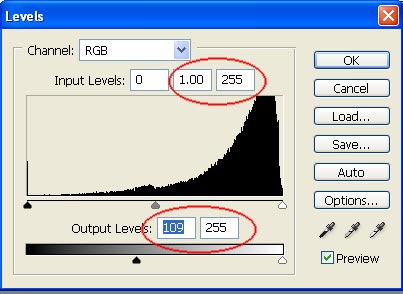
Figure 4
Finally you will get a pencil sketch
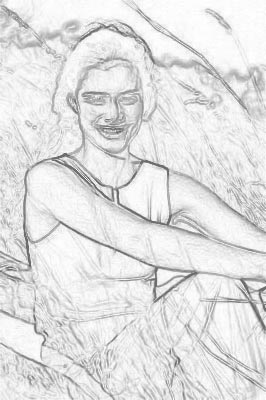
Figure 5
Method 2
Step 1 .
- Right click on Background > Duplicate layer . (or Ctrl + J) to duplicate the layer
- Change the name of the new copy to "You go to page"
- Click on the layer "Go to the"> Image > adjustments > Destaturate (or Ctrl + Shift + u) => Change the image to a black and white image.
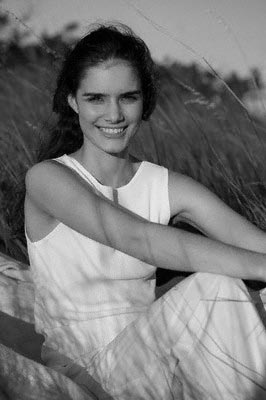
Figure 6
Step 2
- Duplicate layer "You go to page". Now this new layer is called "copy page"
- Note that you are selecting the layer "you go to the copy page"> Image > adjustments > Invert (or ctrl + I) to reverse the highlights of the image
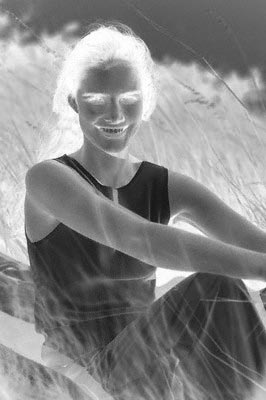
Figure 7
Step 3
- Right click on the layer "go to copy"> Blending options .> Set Blend mode: Color Dodge
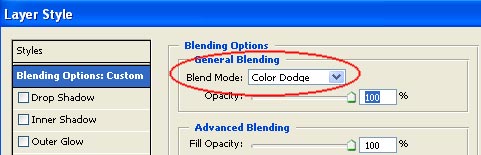
Figure 8
Don't worry if you see the image disappearing, there are only a few dots left on the image.
Step 4
- Filter > Blur > Gaussition Blur Set small pixels for Radius
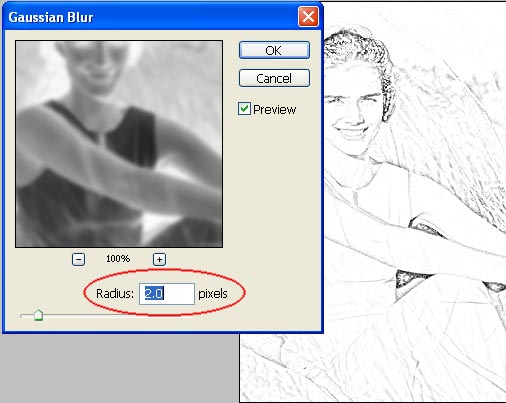
Figure 9
The final step to finish sketching.
- Fiter > noise > Add noise
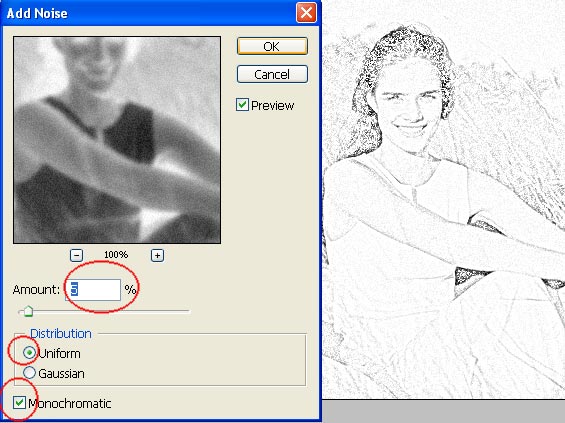
Figure 10
Now try comparing the results of both ways and you'll notice the difference in the strokes.
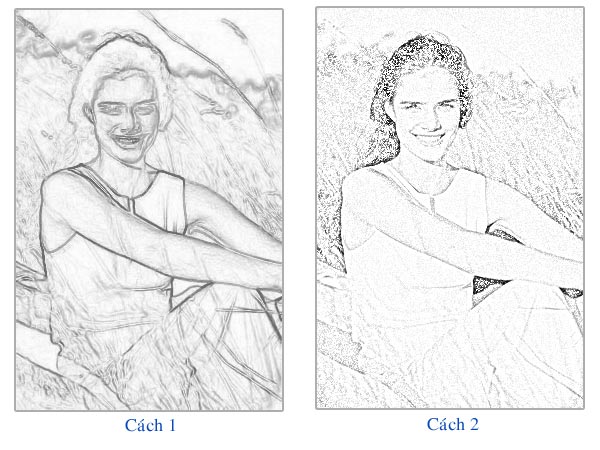
Figure 11
Ngoc Lan