Photoshop CS: Eclipse effect
In the previous article, I showed you how to create a color swirl using a few effects from the Filter filter. There will be many more interesting things from this Filter filter that make sure
In the previous article, I showed you how to create a color swirl using a few effects from the Filter filter. There will be many more interesting things from this Filter filter that certainly one thing that both you and me have not discovered.
Add another effect to the Filter , let me learn how to create eclipse effect
Step 1 . Ctrl + N creates a new document 400px by 400px (black background # 000000)
Step 2 . Create lens halo in the middle of the canvas Click Filter > Render > Lens Flare .
Drag all circles until concentric.
The previous image moves the mouse (Figure 1), the figure after dragging the mouse (Figure 2)
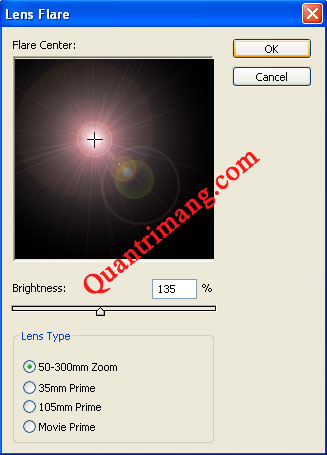
Figure 1
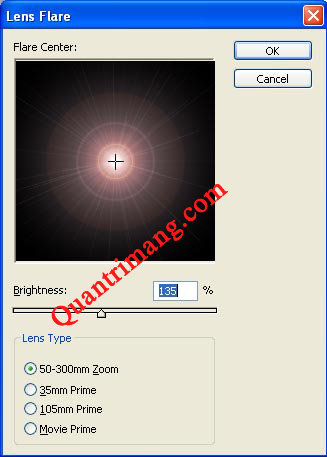
Figure 2
Result:
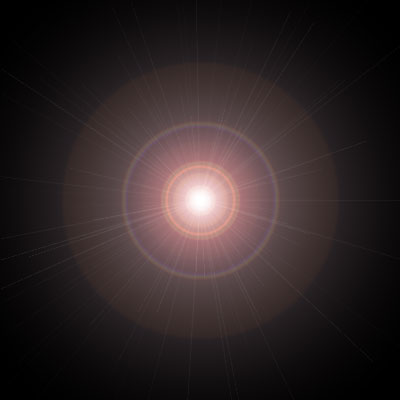
Figure 3
Step 3 . Next Click Filter > Stylize > Wind to effect the direction of the wind blowing from the left and right sides to the center of the image.
3.1 First create the right wind direction.
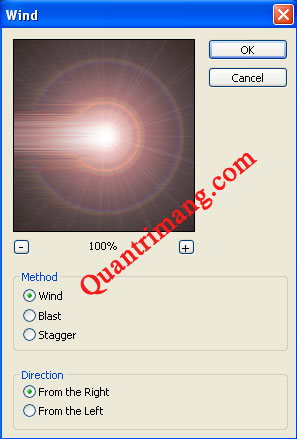
Figure 4
Result
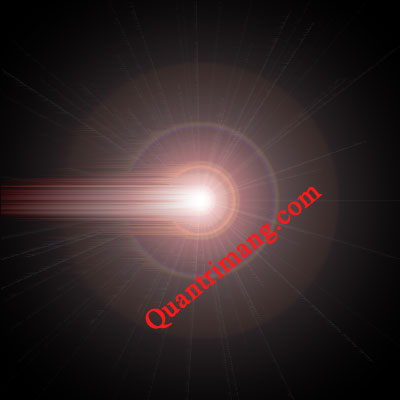
Figure 5
3.2 Create wind direction from left
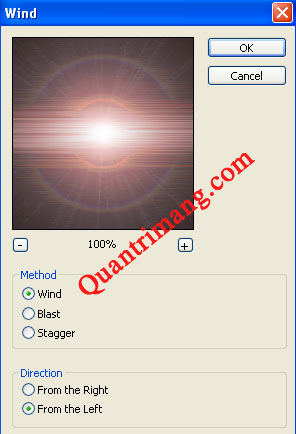
Figure 6
Result
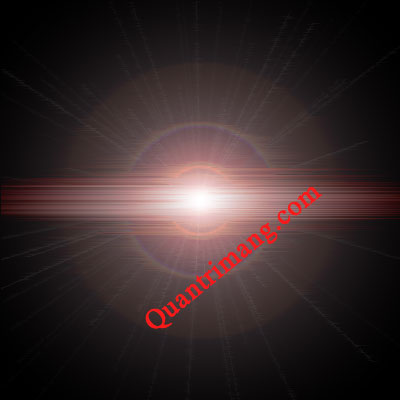
Figure 7
Step 4 . Rotate the image Click Image > Rotate canvas > 90 (degree) CW
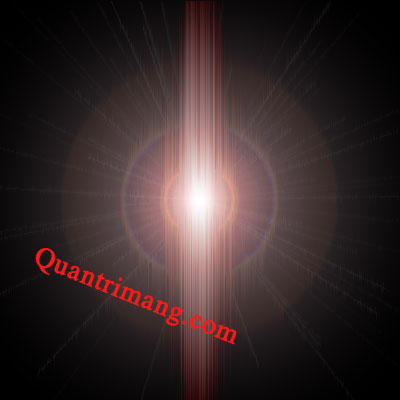
Figure 8
Step 5 . Repeat step 3 to create a lateral effect of the wind on both left and right, you can see the result as follows
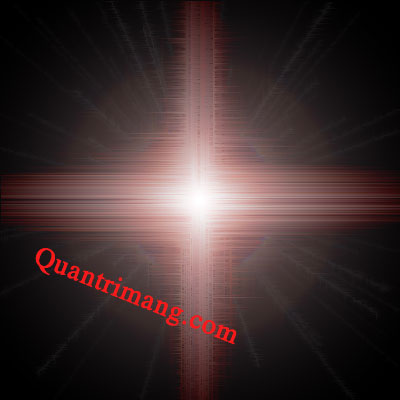
Figure 9
Step 6 . Edit the poles and click Filter > Distort > Polar Coordinates and set the following attributes.
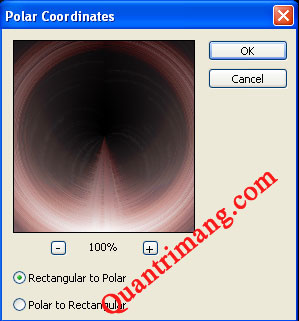
Figure 10
Step 7 . Image > Rotate canvas > rotate image 90 degrees

Figure 11
Step 8 . Ctrl + U adjust hue / Saturation
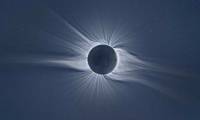
The final result in the exercise. That's great.

Figure 13
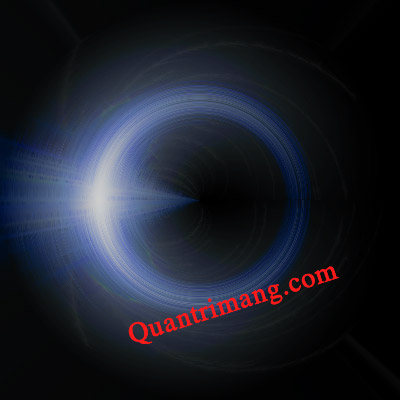
Figure 14
Ngoc Lan
Was this article helpful?
Your feedback helps us improve.
Related Articles
 How to create whirlpool effect on Photoshop4 minutes read
 America must prepare 'carefully' for the Japanese Food Festival which will take place on August 213 minutes read
 What is a lunar eclipse? Lunar eclipse occurs when?3 minutes read
 Learn how to create a fade effect with Photoshop CS69 minutes read
 How to Create an Orton Effect in Photoshop3 minutes read
 How to create poster effect for photos in Photoshop11 minutes read
Reader Comments 0
Sign in with email or Google to join the discussion.