Table of Contents
This guide provides a practical overview of Manipulating Tables in Word, including its main features, benefits, limitations, and important considerations.
To create a table in Word 2013 there are the following ways:
Method 1: Put the mouse at the position you want to insert the table -> Insert -> Table -> Move the mouse to select the number of rows and columns as shown:
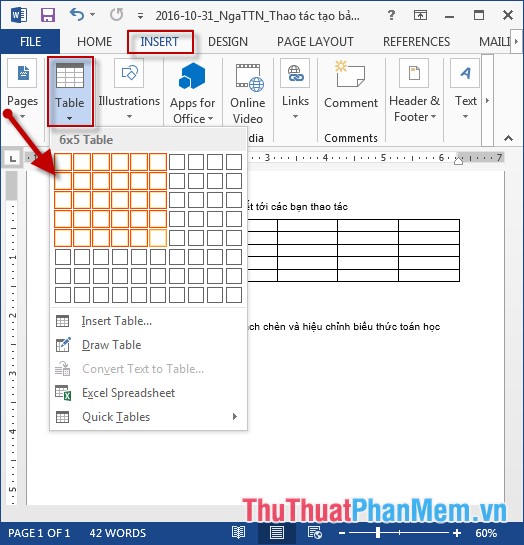
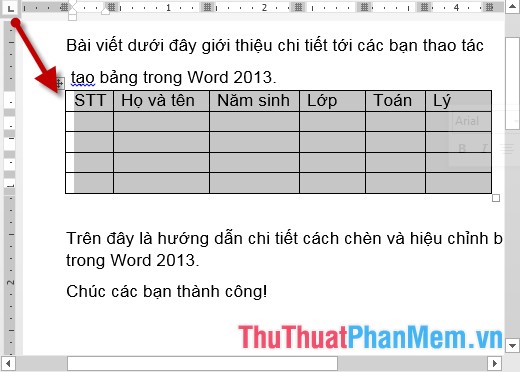
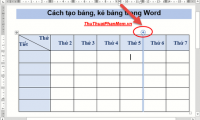
- The result has created the table -> edit and enter the content for the results table:
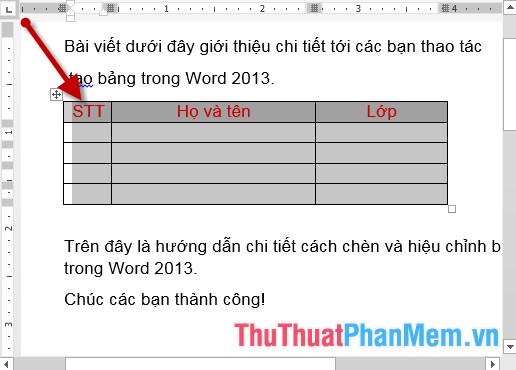
Method 2: Put the mouse at the position you want to create the table -> on the Insert tab -> Table -> Insert Table:

- The Insert Table dialog box appears -> enter the following:
+ Number of Column: Enter the number of columns to create the table.
+ Number of Rows: Enter the number of rows to create the table.
Finally click OK to create the table:

- Edit and enter content for the resulting table:
Method 3: Place the cursor in the position you want to create the table -> on the Insert tab -> Table -> Draw Table:
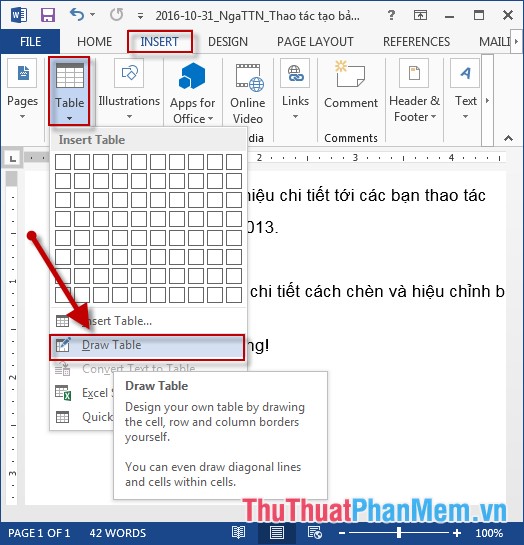
- The mouse pointer changes to a brush icon -> move and draw rows and columns as you like, but this method is not recommended to use:
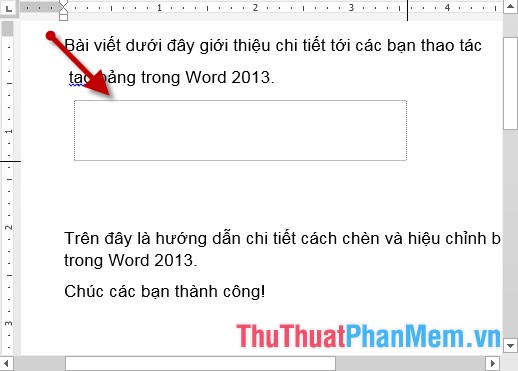
- After drawing, edit and add content to the table:
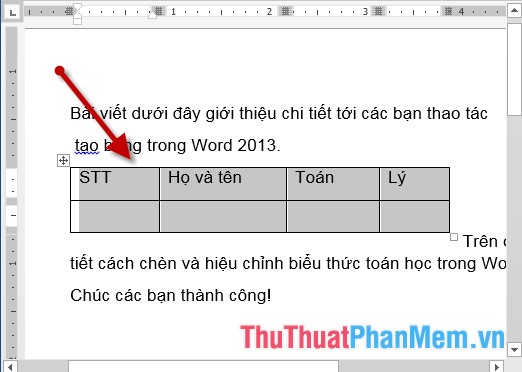
Above is a detailed guide for creating tables in Word.
Good luck!
FAQ
What should I know about Manipulating Tables in Word?
Focus on the key features, requirements, limitations, and practical use cases explained in this guide.
How do I get the best results with Manipulating Tables in Word?
Follow the recommended steps, use current software or information, confirm compatibility, and review settings before major changes.
Are there any risks or limitations?
Potential limitations depend on compatibility, data quality, cost, privacy, support, and how the product or method is used.
Related Articles
 How to Insert and Create Tables in Word 2016: Step-by-Step Guide7 minutes read
 Instructions for Deleting Table Paths in Word4 minutes read
 MS Word - Lesson 8: Creating a Table: Microsoft Word 20073 minutes read
 How to Create Tables, Draw Tables in Word: Step-by-Step5 minutes read
 How to Create Tables and Tables in Word - Instructions on How to Create7 minutes read
 How to Split Tables, Join Tables in Word2 minutes read
Reader Comments 0
Sign in with email or Google to join the discussion.