Font format on Word
Instructions on how to format fonts in Word. 1. Font format Before editing the text you should format the font first. To format the Font perform the following steps: Step 1: Go to the Home tab - click the Font icon below (or click the
Table of Contents
The following article details you how to format fonts in Word.

1. Font format
Before editing the text you should format the font first. To format the Font, follow these steps:
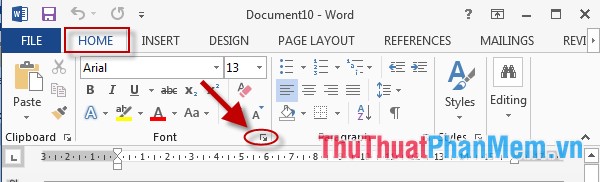
Step 1: Go to the Home tab -> click on the Font icon below (or press Ctrl + D):
Step 2: The Font dialog box appears -> select the Font tab and make the following selections:
- Font item : Select a Font . With Fonts, there are 2 commonly used font types:
+ Font Time New Roman: Corresponding to Unicode.
+ Font Vn.Time: Corresponding to TCVN3 (ABC) encoding .
- Font Style: Select a font style.
- Size Size: Select the font size .
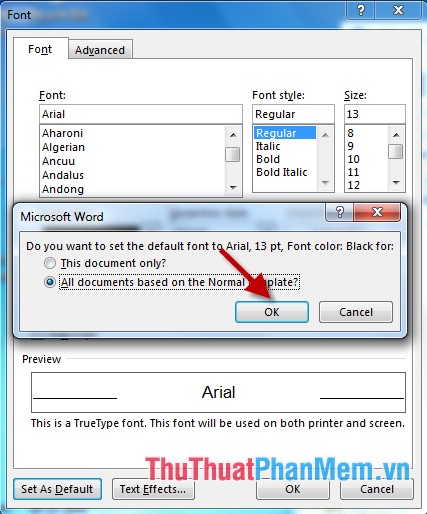
In addition, you can format the text color, effects for the text . If you want to set these values for all default pages in Word, click Set As Default:

Step 3: The Microsoft Word dialog box appears -> click All Document based on the Normal Template to set all pages in Word -> OK -> OK:
So after setting the default mode, every time you create a new document, you do not have to format the font for the text.
2. Separate font format 1 paragraph.
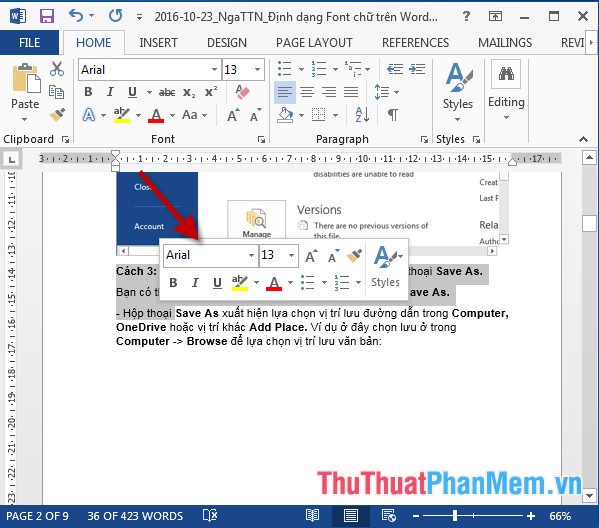
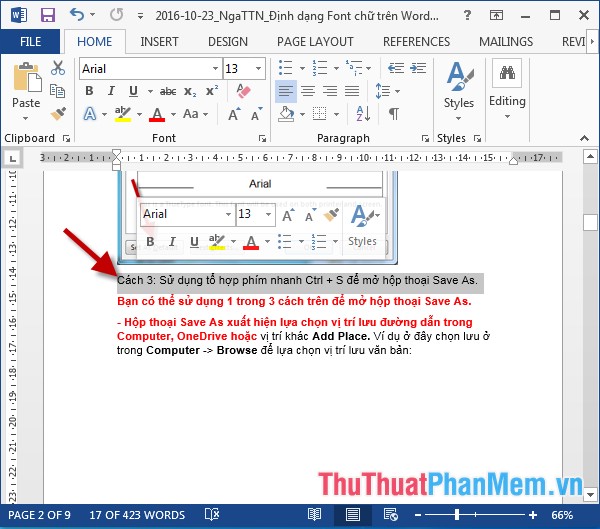
- If you want to have difference between paragraphs by changing the font format between the two paragraphs, do the following: Select the text to change the font -> the font's quick dialog box appears -> customize the font letters on request:
3. Copy font format for another paragraph.
- To copy the font format for another paragraph, do the following:
+ Select the text with the format you want to copy -> click on the Format Painter tool ( or press Ctrl + Shift + C):
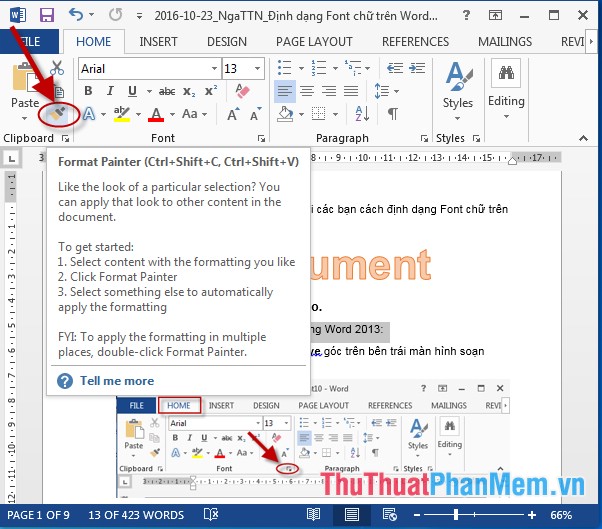
+ Move to the text to copy font -> scan the whole text to copy format (or highlight press Ctrl + Shift + V) -> the new text has the same format as the paragraph Text to be copied.
Above is a detailed guide on how to format fonts in Word.
Good luck!
Was this article helpful?
Your feedback helps us improve.
Related Articles
 Font format in Word3 minutes read
 How to keep Word format when sharing documents4 minutes read
 Align text, adjust font in Word 20138 minutes read
 Instructions for setting the default font in Microsoft Word4 minutes read
 How to use Primary font4 minutes read
 MS Word - Lesson 5: Format the text4 minutes read
Reader Comments 0
Sign in with email or Google to join the discussion.