How to create tables and tables in Word - Instructions on how to create tables and tables in Word 2007, 2010, 2013, 2016
How to create tables and tables in Word - Instructions on how to create tables and tables in Word 2007, 2010, 2013, 2016. Tables help your data presented scientifically easier to see and understand than using text Simple version to show off. In this article help the b
Table of Contents
Tables make your data scientifically presented and easier to understand than using plain text to represent it. In this article, you can create tables and lines in Word 2007, 2010, 2013 and 2016.
A. Create tables, draw tables in Word
1. Create a table in the simplest way
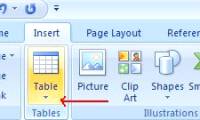
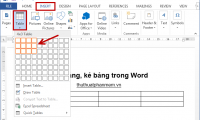
To create a quick table, you just need to go to the Insert tab -> Table -> move the mouse to select the number of cells and columns to create the table -> the results show that the table displays according to the number of columns and rows you have selected:

However, by default, Word only allows you to create a maximum of 10 columns and 8 rows of tables:

To create a larger table size you must use method 2.
2. Create a large size table with Insert Table
To overcome the size limit table 1, if you want to create a large table size you do this way.
You go to the Insert tab -> Table:
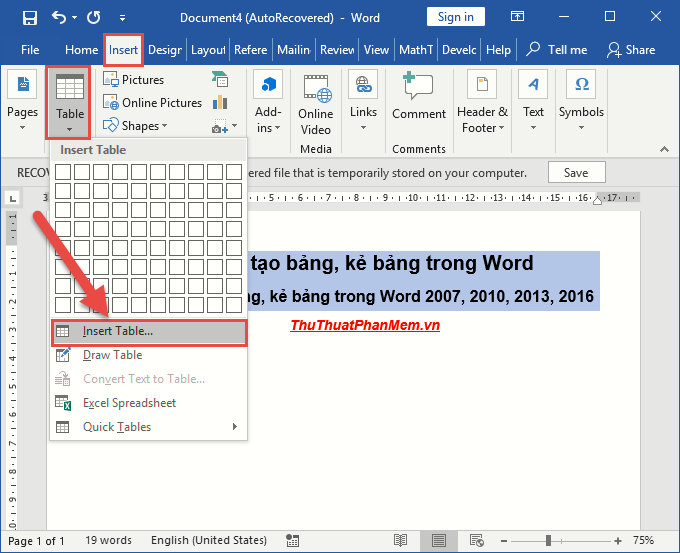
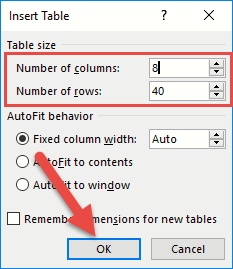
The dialog box appears enter the following values:
- Enter the number of columns to create for the table in the Number of Columns section.
- Enter the number of rows to create the table in the Number of rows.
Finally, click OK:
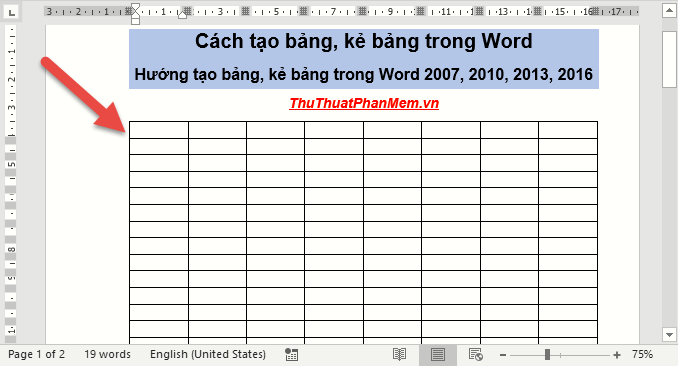
Thus you have created a table with a large number of rows and columns:
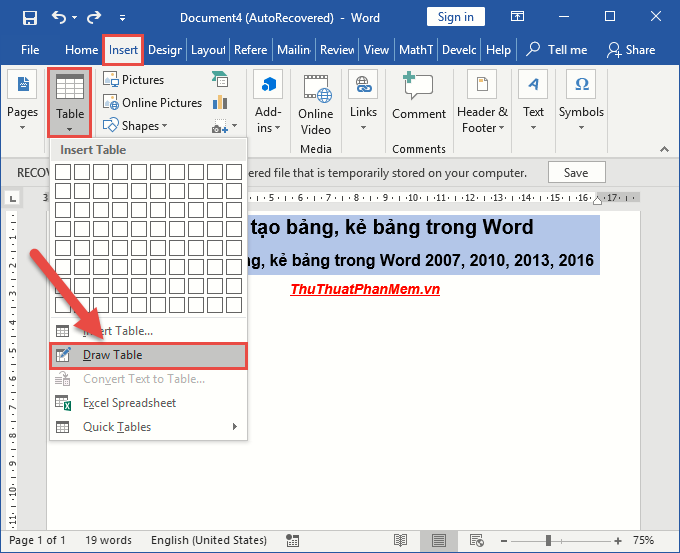
3. Create the table using the Draw Table brush
This way you can use the pen you want to draw. You go to the Insert tab -> Table -> Draw Table:
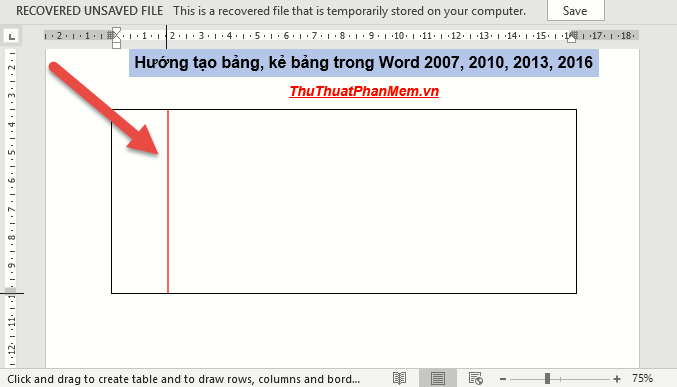
Hold down the rectangular mouse to create a table, then use the corresponding column and row brush, note that in the process of creating a straight line or column, press and hold the Shift key to prevent the line from breaking:
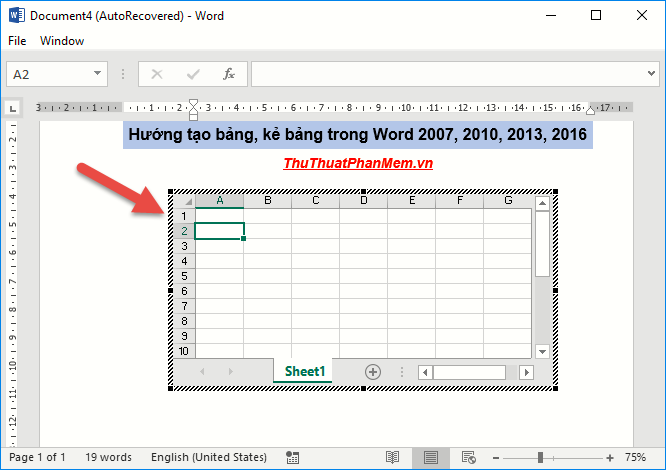
4. Create a table using a combination of Excel in Word.
To use this feature, go to the Insert tab -> Table -> Excel Spreadsheet:

As a result, you have created a structure table in Excel, you use it as if you were working on Excel:
B. Edit the table after it has been created
1. Delete columns and rows in a table
To delete a column in the table, just highlight that data column -> right-click and select Delete Columns:
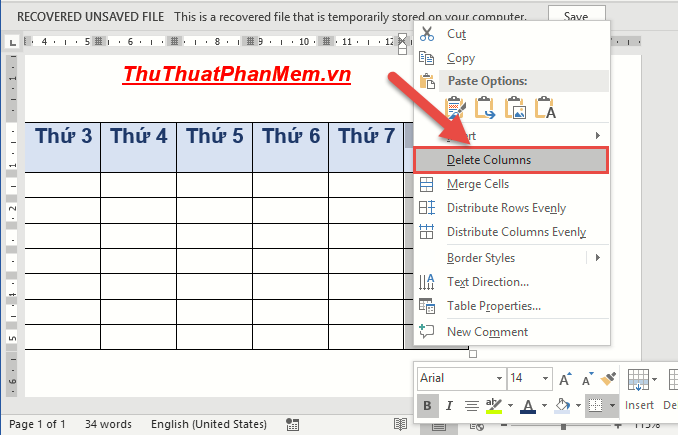
Similarly, if you want to delete the row you select Delete Rows
2. Add rows and columns in the created table
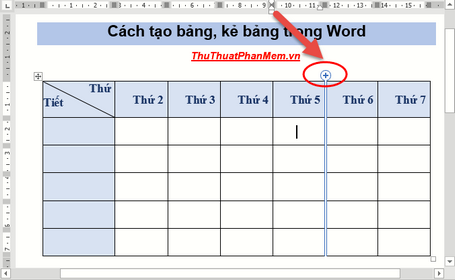
For example, to create a column after the 5th column, you just need to move the boundary between 2 columns when the mouse changes the plus sign, you just need to click on the plus icon to create an additional column:

The same operation adds rows in a table.
3. Adjust the column width and row height in the same table
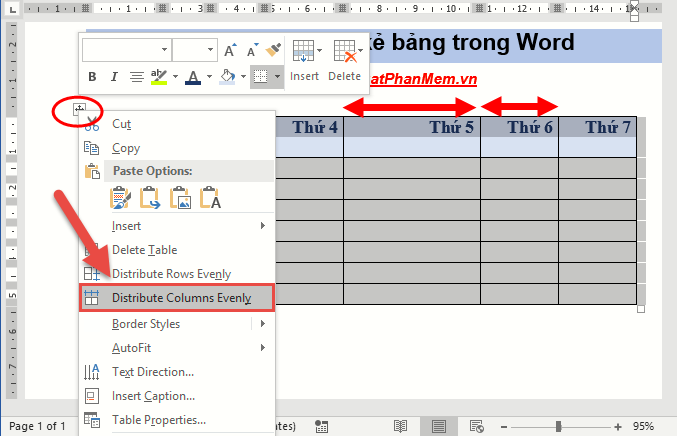
To create a beautiful data table, you need to adjust the column and row widths equally (except for the case where some columns are not equal in size). To do this, select the entire table (by clicking the 4-way arrow in the upper left corner of the table) -> right-click to select Distribute Columns Evenly (adjust the column widths equally) or Distribute Rows Evenly ( adjust the row height is equal):
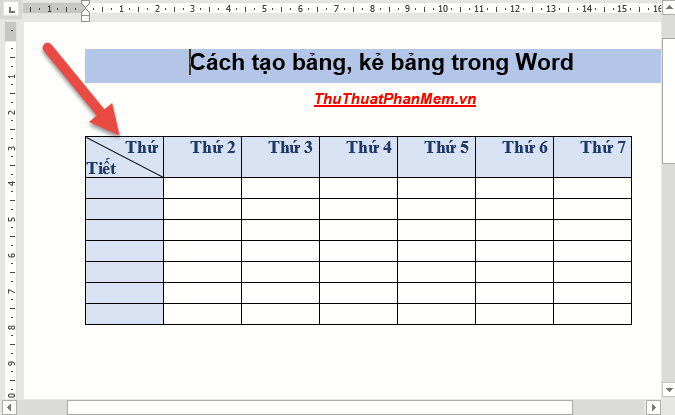
Result of the width of the columns in the table adjusted equally:
4. Adjust the text content in the middle of the cell
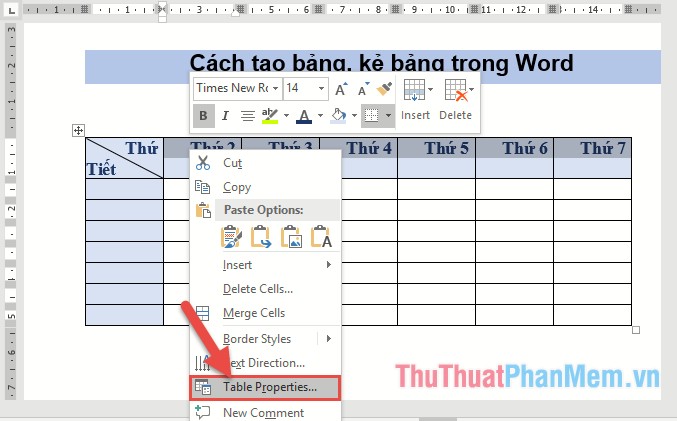
For some data rows with a height greater than 1 default line aligned the top of the row, so the content display will not be nice. You need to align the center of the cell by selecting the row to be centered -> right-click and select Table properties .
The dialog box appears, click the Cell tab -> select Center -> click OK:
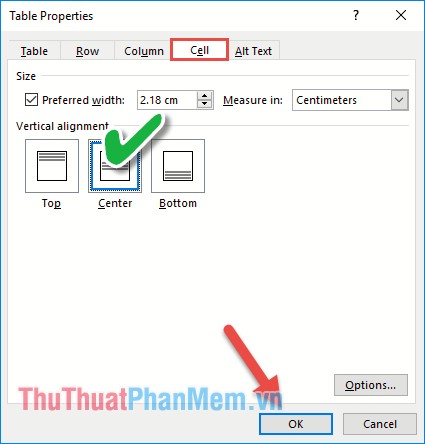
The resulting content of the text is evenly aligned and is very nice and easy to see:
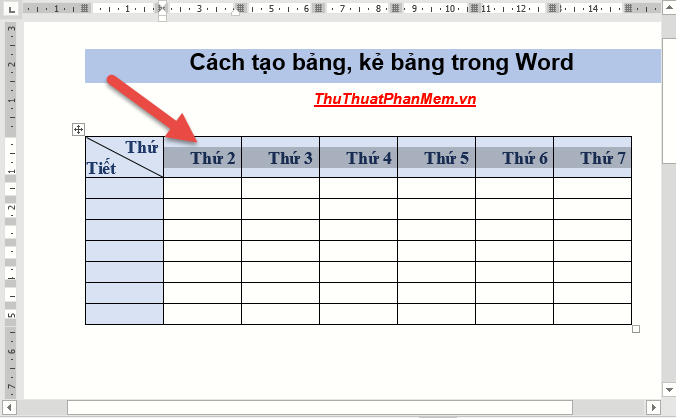
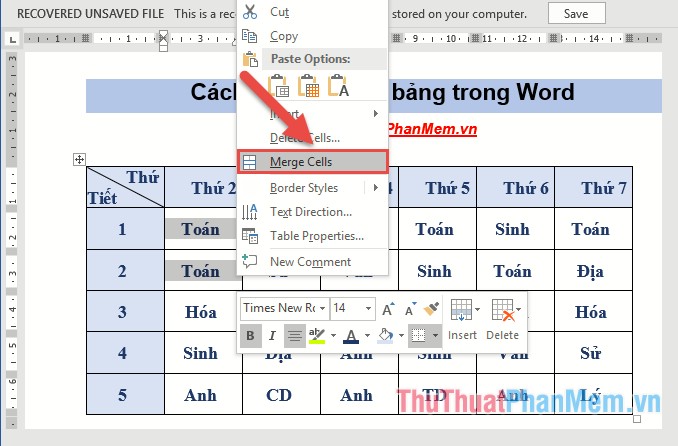
5. Draw a square in the board
In the process of creating a table, you need to combine 2 or more cells into 1 cell, you just need to select the cells to draw -> right-click and choose Merge Cells:
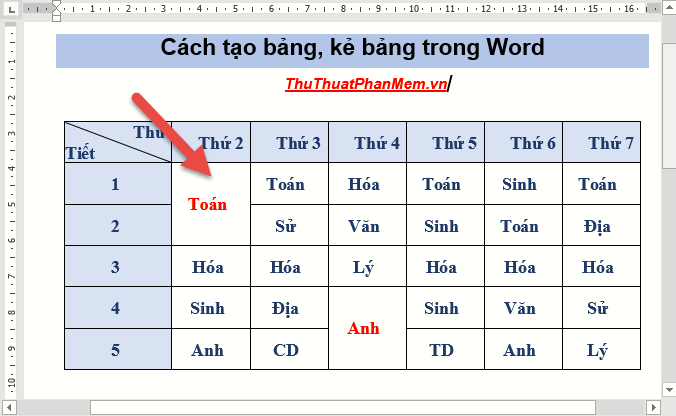
As a result, you have merged 2 cells into 1 cell, paying attention to how the horizontal cell is done similarly:
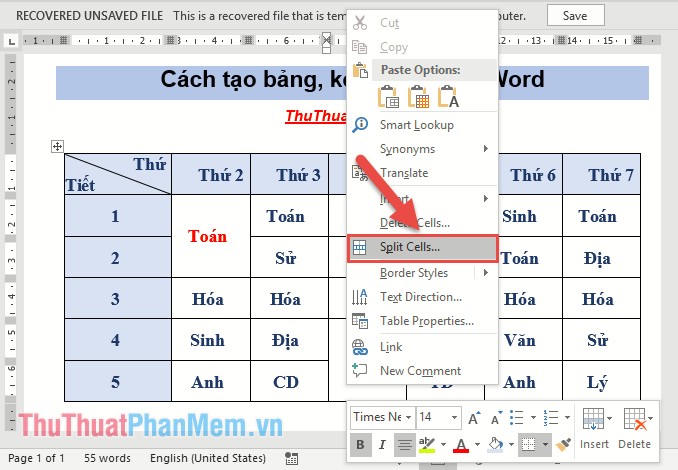
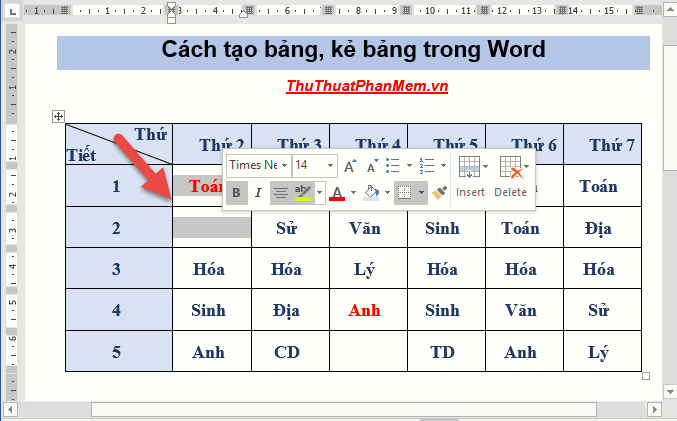
6. Separate cells in the table
During the process, you want to split a previously merged cell into multiple cells or return to the original structure, you just need to put the mouse pointer in the cell you want to split -> right-click and select Split Cells .
The dialog box appears enter the following values:
- Number of Columns: enter the number of columns to separate, for example, here remains 1 column to enter the value 1.
- Number of rows: Enter the number of rows to separate, for example, here need to split into 2 boxes to enter value 2.
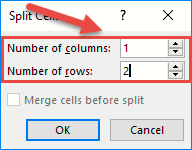
Finally, click OK and you have split a cell into 2 cells:
Above is a detailed guide on how to create tables and spreadsheets in Word 2007, 2010, 2013, 2016 hoping to help you. Good luck!
Was this article helpful?
Your feedback helps us improve.
Related Articles
 MS Word - Lesson 8: Creating a table2 minutes read
 Instructions for deleting table paths in Word3 minutes read
 How to insert and create tables in Word 20165 minutes read
 How to create tables, draw tables in Word4 minutes read
 How to create tables in Word on computers5 minutes read
 Instructions to add background color to each cell in the table on Word2 minutes read
Reader Comments 0
Sign in with email or Google to join the discussion.