Macromedia Flash: Create effects for nature photos
This tutorial will show you how to create simple effects for nature images using some special Flash tips. This tutorial is implemented on Flash CS5, there may be some differences if you use another Flash version..
TipsMake.com - This tutorial will show you how to create simple effects for nature images using some special Flash tips. This tutorial is implemented on Flash CS5, there may be some differences if you use another Flash version.
Step 1
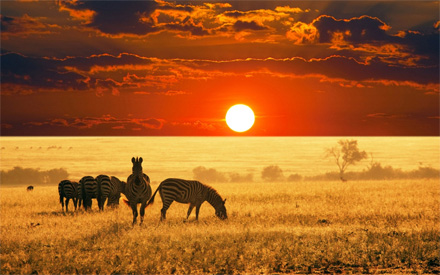
Save the image below to start using the tutorial, it will be used as a flash background.
Step 2
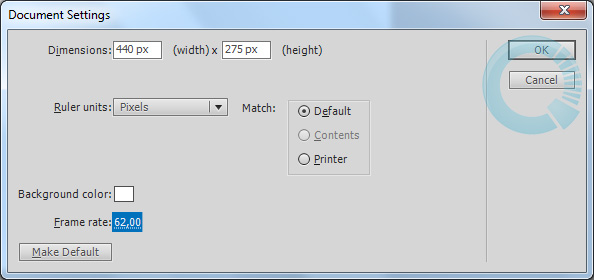
Create a new flash document. Press Ctrl + J on the keyboard ( Document Properties ) and set the file width to 440px , height to 275px . Select any background color and set the Frame rate of Flash to 62 and then click OK .
Step 3
Name the current layer photo . Double-click it and change the default name (Layer 1) to photo. Press Enter after you have entered the new name.
Step 4
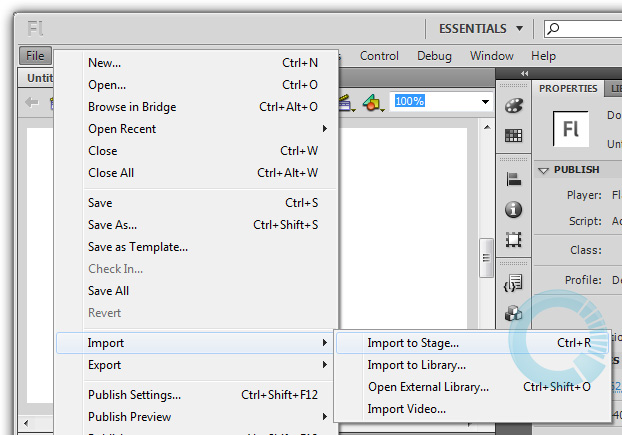
Select File > Import > Import to stage ( Ctrl + R ) and import the image you just saved as in step 1 into the Flash workspace.
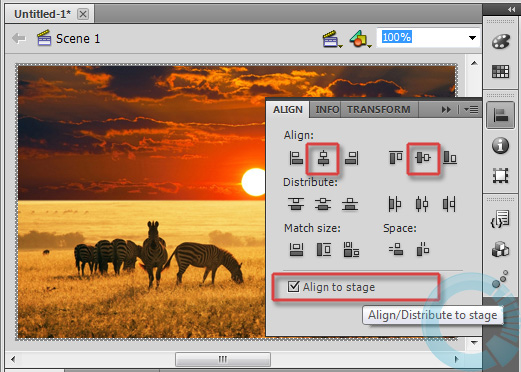
Select the image you just imported, go to the Align Panel ( Ctrl + K ) and do the following options in turn:
- Make sure the Align to Stage box is selected.
- Click the Align horizontal center button
- Click on the Align vertical center button
Step 5
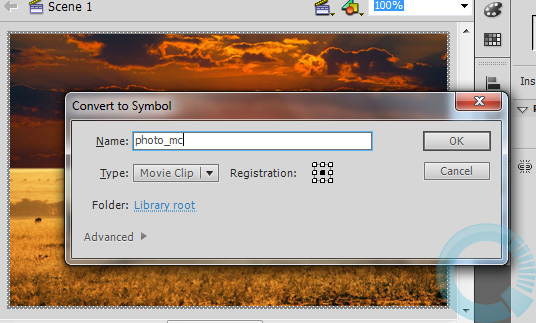
While you're still selecting the image, press F8 ( Convert to Symbol ) to convert it into a Movie Clip format.
Step 6
Click Frame 70 and press F6 .
Step 7
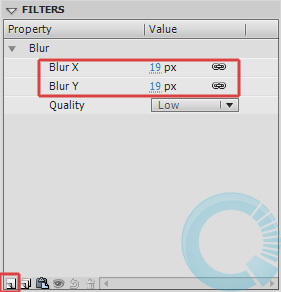
Go back to the first frame, take the Selection Tool ( V ) and click once on the image to select it. Go to Panel Properties ( Ctrl + F3 ) on the right side of the Flash workspace, select Filters at the bottom of that area. Click the Add filter icon in the bottom left corner of that panel and select Blur , then make the following adjustments:
Step 8
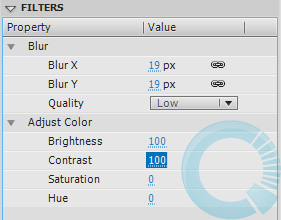
Click again on the Add filter icon and select Adjust Color . Continue to make the following adjustments:
Step 9
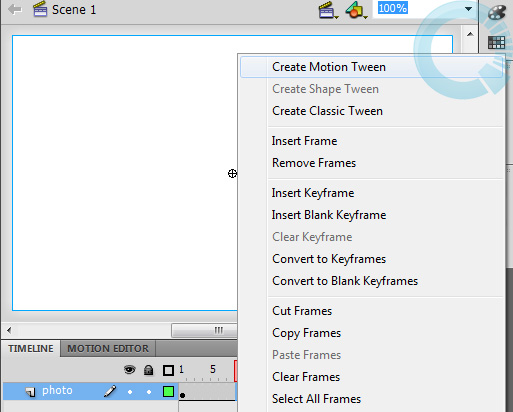
Click anywhere in the gray area between Frame 1 and 70 on the timeline, choose Create Classic Tween from the menu that appears.
Step 10
To stop the file from running, create a new layer with the name of the action by clicking on the New layer icon in the bottom left corner of the Timeline panel. Rename the layer to an action similar to renaming layer photo.
Step 11
At Frame 70 of the layer action, press F6 to create a keyframe. Continue to press F9 to open the ActionScript window. Enter the following code in the Script window:
stop ();
Close the ActionScript window. Press Ctrl + Enter to enjoy the result.
Download the source file!