Instructions for copying or moving Worksheet in Excel 2013
Suppose in case you want to create a new Excel worksheet then copy the data from the existing Excel worksheet to this new Excel. However, you don't know how to copy data. In the following article, Network Administrator will show you how to copy and move Worksheet in Excel 2013.

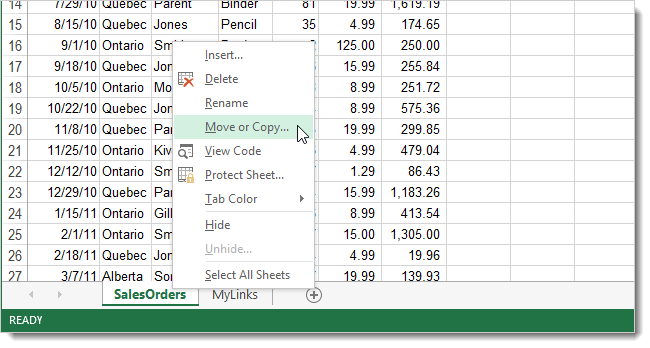
To copy or move worksheets in Excel 2013, first select the worksheet you want to copy or move, then right-click the worksheet tab located under the Excel window. A popup window appears, in this popup window select the Move or Copy option (move or copy).

Note: Alternatively, you can do it another way, after selecting the worksheet, in the Home tab on the Ribbon, in the Cell section, click on Format . At this time, the drop-down menu of Organize Sheets , in this menu, select the Move or Copy Sheet option .

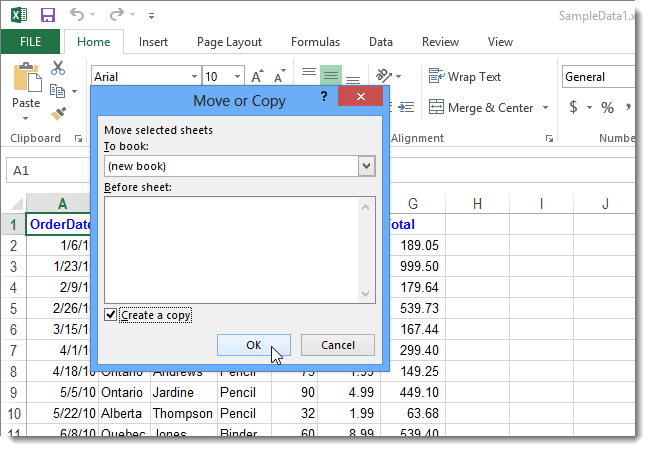
The Move or Copy dialog box appears. Select the Workbook you want to move or copy in the dropdown menu To book . You can select an existing Workbook (by default), or another Workbook exists or you can create a new book containing the worksheet you want to copy or move.
If you move or copy an existing Worksheet or Worksheet that exists on another Workbook, you must select Worksheet before you proceed to copy or move the Worksheet in the Before Sheet dialog box. Select the Worksheet after all Worksheet exist on the Workbook.
Check the check box Create a copy if you want to copy Worksheet and remove the original Worksheet. Then click OK.

If you copy an existing Worksheet or another Worksheet exists, the new Worksheet will be pasted at the end of the Worksheet name to distinguish it from the original.

To copy or move the selected Worksheet to a new Workbook, select (New Workbook) from the To Book menu in the Move or Copy dialog box. Check the box check box Create a copy again. Next Click OK.

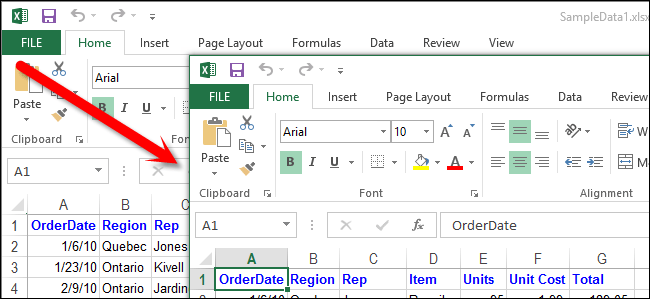
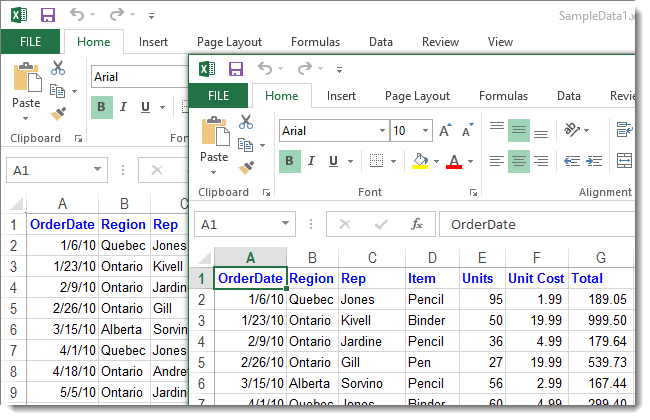
A new Workbook has been created and the selected Worksheet is moved or copied to the new file.

Alternatively, you can copy Worksheet by pressing and holding Ctrl and dragging the Worksheet tab to the new location. If you want to copy or move Worksheet to a new Workbook, you must first create a new Workbook. Worksheet will be inserted after default Sheet 1.
You can refer to more:
-
Summary - 38 'priceless' shortcuts in Microsoft Excel
-
MS Excel - 4 basic steps to print in Excel documents
-
10 ways to recover corrupted Excel files
Good luck!