Table of Contents
This guide provides a practical overview of Repeat the Worksheet Title When Turning the Page, including its main features, benefits, limitations, and important considerations.

To repeat the worksheet title when you turn the page, follow these steps:
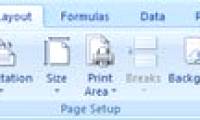
Step 1: In card Page Layout -> Page Setup -> click on the arrow icon on the bottom:
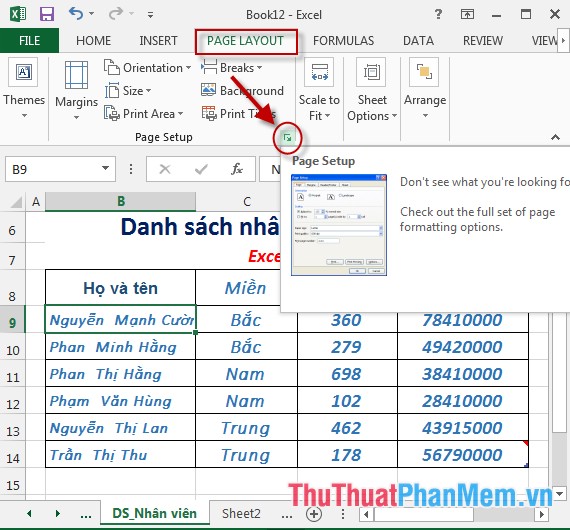
Step 2: The Page Setup dialog box appears, click the Sheet tab in the Rows to repeat at top section and click the icon to select the headline to be repeated on the top of each page when moving to the new page:

For example, here choose line 6 is the title to repeat.
- You can also select the title column to be repeated when switching to the new page displayed on the left side of the worksheet by selecting the data in Columns to repeat at left.
Step 3: After selecting, choose one of the following options:
- Print: Perform printing always the worksheet.
- Print Preview: Perform print preview before printing.

- For example, when selecting a print preview, the Employee List header line is displayed when going to a new page:

The above is a detailed guide on how to loop the lawij worksheet title on page turning in Excel 2013.
Good luck!
Frequently Asked Questions
What should I know about Repeat the Worksheet Title When Turning the Page?
Focus on the key features, requirements, limitations, and practical use cases explained in this guide.
How do I get the best results with Repeat the Worksheet Title When Turning the Page?
Follow the recommended steps, use current software or information, confirm compatibility, and review settings before major changes.
Are there any risks or limitations?
Potential limitations depend on compatibility, data quality, cost, privacy, support, and how the product or method is used.
Was this article helpful?
Your feedback helps us improve.
Related Articles
 How to Repeat Titles in Excel 2007, 2010 and 2013 When Printing5 minutes read
 2 Ways to Repeat Title Bars in Word for Tables5 minutes read
 How to Insert a Page Break in an Excel Worksheet4 minutes read
 What Is a Worksheet? Differentiate Between Worksheet and Workbook2 minutes read
 Refresh Excel Spreadsheets with This Simple Trick!7 minutes read
 MS Excel 2007 - Lesson 13: Format Sheets and Prints: Microsoft Excel3 minutes read
Reader Comments 0
Sign in with email or Google to join the discussion.