Table of Contents
This updated guide examines How to Use the Urlist to Manage Shared Link Groups and organizes the essential facts, background, and practical takeaways in clear American English.
Accordingly, the links that we share via The Urlist are gathered into a separate interface, with specific information for each shared link, some sharing link editing options. The Urlist user interface is simple and intuitive for you to manage multiple shared links. The following article will show you how to manage multiple links shared on The Urlist.
- 7 self-destruct file sharing sites
- How to use Manylink to share shared links
- How to use CapsuleLink to create shared link groups
- How to create advertising content in shared links
Guide to managing shared links on The Urlist
Step 1:
Users need to create an account using The Urlist to have the option to manage shared links. The website only has the option to create an account via Twitter. If you don't have a Twitter account, you need to create it beforehand. Click Login and choose to login via Twitter.
https://www.theurlist.com/
Next click the Authorize app button to agree to The Urlist to use your Twitter account.

Step 2:
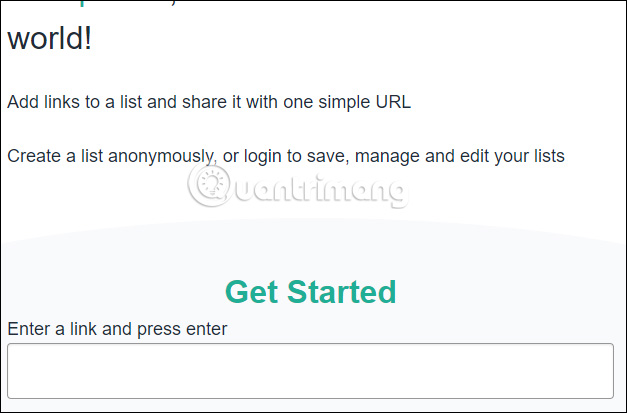
Go back to The Urlist interface, enter the link to share into Enter a link and press enter and press Enter.
Step 3:
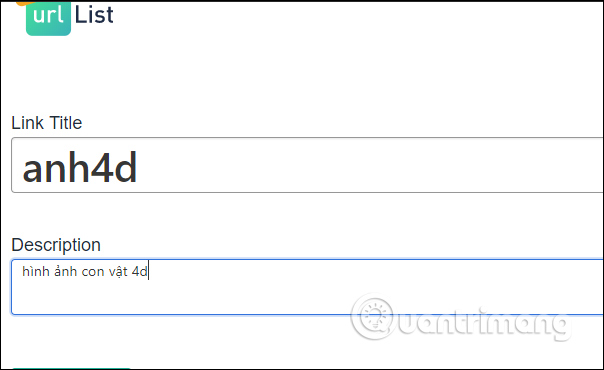
Switch to the new interface, users proceed to enter the content needed for the link to share. In the Link Title section, we enter the name for the shared link group without writing, Description enter the description content for the link to share, need brief content.
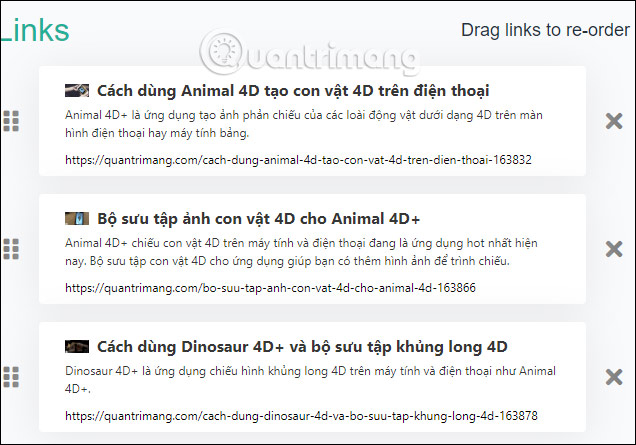
Paste another link into the Enter a link and press enter dialog box and press Enter. We can group multiple shared links into 1 separate item. Then the list of links in a group will be displayed as shown below. If you want to change the position, click and hold the mouse at the square icon at the top of the article and move the order. To delete the link in the group press X.
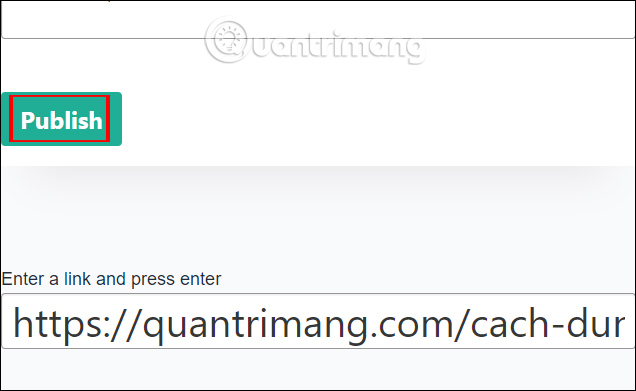
Click the Publish button to export the shared link group created.
Step 4:
The shared link group is displayed in the browser address bar and is in the form https://www.theurlist.com/ten-Link-Title . We just need to send this link to others to access it.
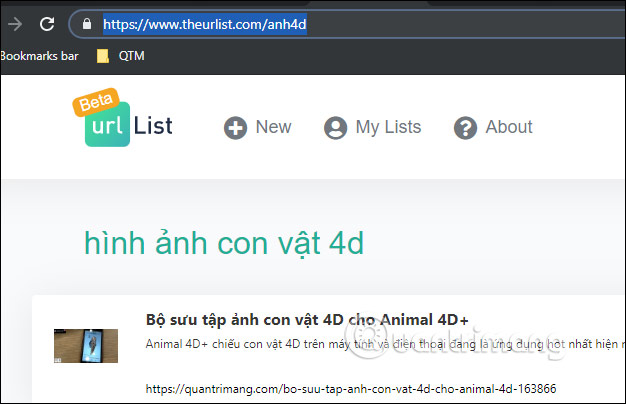
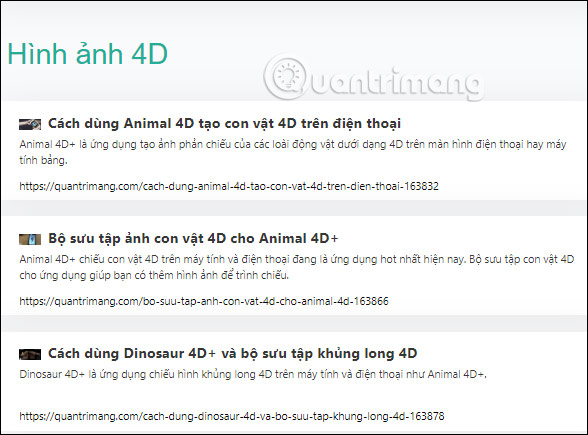
The shared link group you manage on The Urlist is displayed as shown below. Each link displays the title, cover image, introduction content, direct access link.
Step 5:
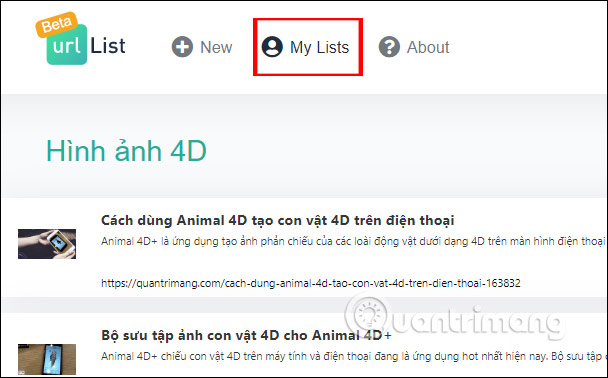
We continue with other shared link groups. To enter the created link group, click My Lists .
The set of shared link groups we created.
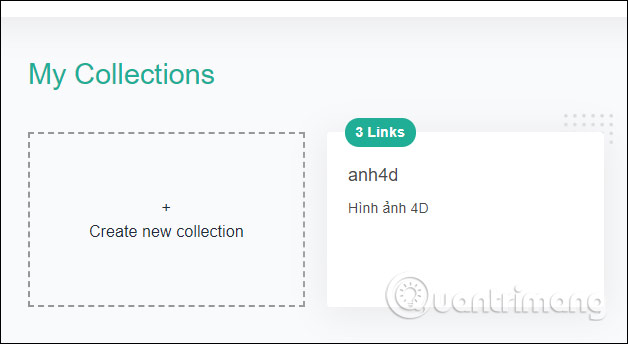
Users can edit the shared link group such as changing the content description, adding / deleting the shared link or deleting the shared link page.
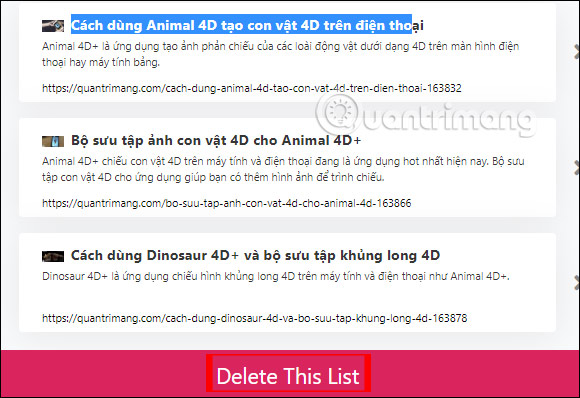
The Urlist is suitable for the need to send multiple links without having to click to share each link. The shared link group is allowed to change the link name, as well as to edit the title of the shared link specifically.
I wish you all success!
FAQ
What is How to Use the Urlist to Manage Shared Link Groups about?
It provides a structured overview of create shared link groups, explains the main context, and highlights practical takeaways for readers.
Why does this topic matter?
Understanding the main concepts helps readers evaluate the issue, avoid common mistakes, and make better-informed decisions.
How should readers use this information?
Use the guidance as a practical starting point, confirm details that may have changed, and follow current product, safety, or security recommendations.
Related Articles
 How to Use Capsulelink to Create Shared Link Groups5 minutes read
 Shary Io Usage: How to Create Advertising Content in Shared Links4 minutes read
 How to Use Manylink to Share Shared Links6 minutes read
 How to Use Link Manager to Manage Links on Windows 104 minutes read
 How to Dividing Groups in Google Meet8 minutes read
 How to Identify a Link Is Safe?10 minutes read
Reader Comments 0
Sign in with email or Google to join the discussion.