How to Scan in Windows 8
Windows 7 and Windows 8 added a software-based scanning feature. This will give you greater control over where your scanned image file goes when its done. ==== Before You Start ====.
Part 1 of 5:
Installing a Scanner
-
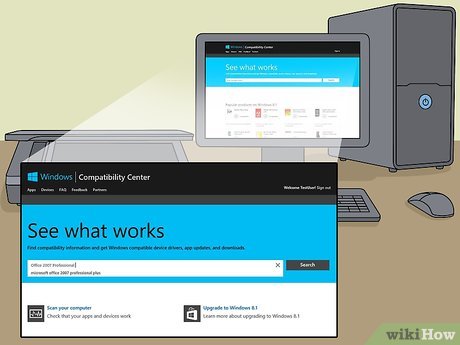 Make sure your scanner is compatible with Windows 8. Click here to go to the Windows Compatibility Center. Enter your scanner's product name, and then click Search.
- If your scanner is not compatible with Windows 8, you will not be able to use it to scan.
-
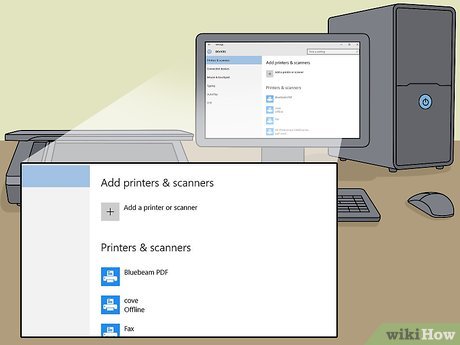 Check that your scanner is installed. Move the mouse to the right side corners of the screen, and then click Settings. Click Change PC Settings. Click PC and devices. If your scanner is installed, you'll see its name under Printers.
 -
 If your scanner isn't listed, click + Add a device.
- The process for installing a scanner is the same as for installing a printer.[1]
-
 Find your scanner in the list, and then click it to install it.
Part 2 of 5:
Opening Windows Fax and Scan
-
 Click the Start button.
 -
 Type scan.
 -
 Click Windows Fax and Scan.
Part 3 of 5:
Scanning an Image
-
 Start a new scan. Make sure that your scanner is connected to your computer and document or image you want to scan is in the scanner.
 -
 Click New Scan.
 -
 Set the type of document you're scanning. In the New Scan window, click the Profile dropdown menu, and then click Photo, if you're scanning a photo. If you're scanning a document, click Documents.[2]
 -
 Choose the image file type. Click the File type dropdown menu, and then click the file type you'd like your scanned image to be.
- If you don't know what file type to use PNG and TIF are usually good choices for higher image quality.
-
 Click Preview. You'll see a preview of the image or document you've scanned.
- If you want to crop the image, click and drag the corner handles to crop the scanned image.
- If the preview looks pixelated, in the Resolution (DPI) field, increase the resolution number.
-
 Click Scan.
Part 4 of 5:
Saving the Scanned Image
-
 Rename the file. Right-click the scanned image, and then click Rename. In the Rename File dialog box, in the New Title field, type a meaningful name for the scanned image, and then click OK.
- The default file name is Image.
-
 Save the file to a new location. Right-click the scanned image, and then click Save As. In the Save As dialog box, choose the folder you'd like to use, name the file, and then click Save.
- The default save location for scanned images is in a Scanned folder within the Pictures folder.[3]
Part 5 of 5:
Sending the Scanned Image to Email
-
 Send the scanned image to your email program. Right-click the scanned image, click Send to, and then click Mail recipient.
- Your email program will open and a new email message will be created with the scanned image as an attachment.