Table of Contents
This practical guide explains how to Safely Delete Sensitive Files on Windows 11 through clear, ordered steps. It also covers useful settings, common mistakes, and checks that can improve the final result.
When you tell Windows to delete a file, you usually want it gone forever. However, some data recovery applications and services can restore those files even if you think they've been completely deleted. So it's essential to know how to delete these 'sensitive' files completely, permanently, and irrecoverably.
Why 'Delete' but Not Really Delete
In fact, when you delete a file on Windows, it doesn't disappear from your system's hard drive immediately. Instead, Windows marks the file's storage space as free, signaling that it may be overwritten by new data in the future. Until that happens, bits of your file remain on the drive, making it relatively easy to recover them with the right tools and knowledge.
Encrypt Files to Prevent Recovery
An easy way to get around this is to encrypt your hard drive or the individual files and folders you want to delete. You can use Bitlocker or third-party apps like Veracrypt to do the job. This won't stop someone from recovering the deleted data, but it's all useless without the decryption key, so it might as well be 'buried deep'.

Cipher Command Overwrites Free Space
Windows has a built-in tool called 'Cipher' that will overwrite all free space with random data. This prevents files from being 'un-erased', although it can take a long time if you have a lot of free space, and you also shouldn't do it on an SSD as it increases wear. Cipher is actually an encryption tool, as the name suggests, but if you use the '/w' switch it will overwrite unallocated space.
All you have to do is open the Command Prompt or Terminal application as administrator and type:
cipher /w:c:
This will overwrite all the free space on your C drive. Change the drive letter as needed. You don't have to do this on the entire drive either, using the full path like "C:secretstuff" instead will be faster because it will only overwrite things that have been deleted from that folder. Keep in mind that this only works on drives using the NTFS file system.
Securely Erase Entire Hard Drive
For SSDs, the best way to ensure data cannot be recovered is to use a 'secure erase' function. The way SSD wipes work (especially the TRIM command) makes it difficult to recover deleted data, but you can sometimes find a secure erase function for an SSD in your computer's BIOS, or even better, use software provided by the drive manufacturer.
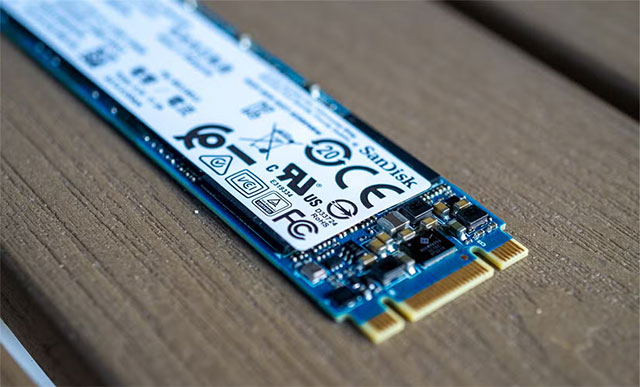
For example, Samsung's Magician software offers a "secure erase" option. Before using BIOS or other third-party tools to securely erase an SSD, check to see if the manufacturer provides its own official tool for this purpose.
Try Recovery as a Test
An essential check after you've securely erased your hard drive is to try to recover the files yourself. You can use an application like Recuva to check if any of the files are in a recoverable state. You don't have to actually perform the recovery, just check to see if the software finds anything.
FAQ
How do I Safely Delete Sensitive Files on Windows 11?
Follow the steps in this guide in order, verify each setting before continuing, and check the result after every major change.
What should I prepare before I Safely Delete Sensitive Files on Windows 11?
Confirm compatibility, install current updates, save important work, and back up data before changing system or application settings.
What can I do if safely Delete Sensitive Files on Windows 11 does not work?
Review permissions and requirements, restart the relevant device or app, repeat the steps carefully, and use official support resources when the issue continues.
Related Articles
 How to Securely Delete Files Using the Sdelete GUI5 minutes read
 Delete the Most 'Stubborn' Files on Windows10 minutes read
 How to Permanently Remove Sensitive Files and Data from a11 minutes read
 Delete Sensitive Data Before Selling Old Computers4 minutes read
 How to Permanently Delete a File, Delete Data Safely7 minutes read
 What to Do to Make Sensitive Photos and Videos Not Exposed and5 minutes read
Reader Comments 0
Sign in with email or Google to join the discussion.