How to Run Windows On a Mac
Not sure how to run Windows on your Mac? Here you will find helpful tips to efficiently run Windows on Mac OS X 10.5 or later. There are two basic ways to run Windows on a Mac computer: using software called Bootcamp or software called...
Table of Contents
Method 1 of 2:
Installing and Running Boot Camp
-
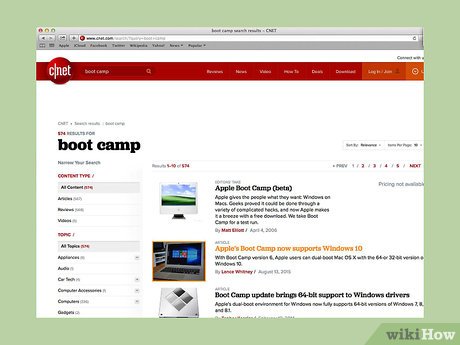 Download and install Boot Camp from a reputable source. Try to download the software from CNET.com or from another reliable site.
 -
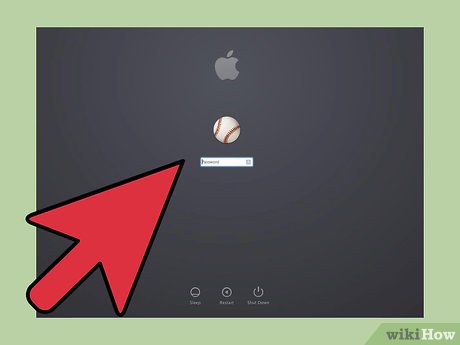 Turn on your Mac and log into your account.
 -
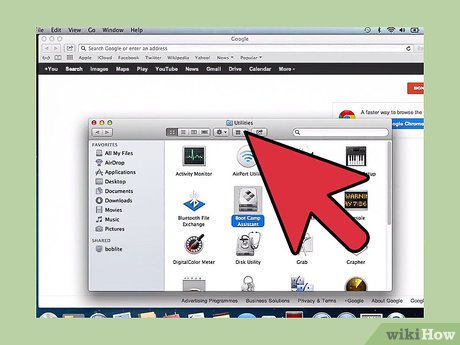 Go to the Utilities folder located under "Applications" or type "Boot Camp Assistant" into spotlight search.
 -
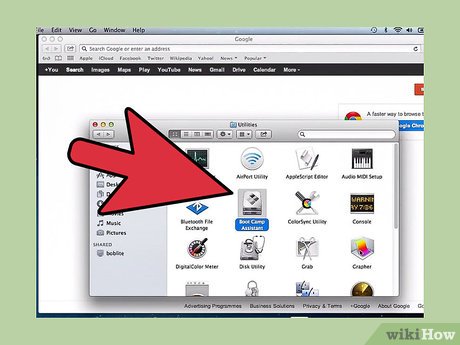 Launch Boot Camp Assistant.
 -
 Click "Continue."
 -
 Decide how much space you want for your Windows partition. You can divide space equally between Mac OS and Windows, give Windows 32GB, or assign space manually using the slider.
 -
 Then click "Partition."
 -
 Insert your 32-Bit or 64-Bit Windows XP, Windows Vista, or Windows 7 DVD into your drive and click Start Installation.
 -
 Your Mac will restart and launch the Windows installer. Click continue/next. For Windows XP click Enter then press F8.
 -
 If prompted for product key enter it or leave it blank. (You can enter it later).
 -
 When presented with a list of partitions, select the one labeled "BOOT CAMP."
 -
 Format that partition and click "Continue."
 -
 The installation process will begin. Your Mac may restart several times.
 -
 Once Installation is finished and you have created a user account, insert your Mac OS X install DVD to install all of the Boot Camp drivers necessary for a smooth Windows-Mac environment.
Method 2 of 2:
Installing and Running Parallels
-
 Get up to date on your Mac OS. Go to Apple → Software Update... to check whether your operating system is up to date.
 -
 Purchase Parallels. You can purchase Parallels by buying a physical copy or by downloading it online.
 -
 Start the installation process. The manner of installation depends on whether you purchased a physical copy or downloaded a copy:
- For downloaded copies: double-click the disk image file, which is most likely in your Downloads folder. This file has the extension ".dmg" behind it.
- For store-bought copies: inset the installation disc.
-
 Follow the onscreen instructions fully.
 -
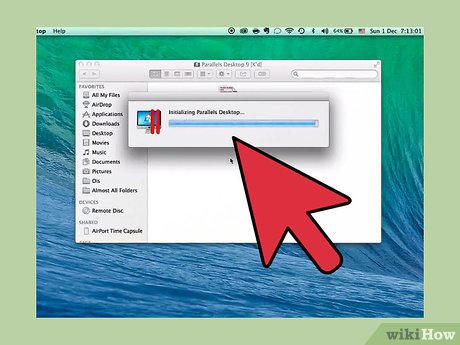 In the Applications folder, open Parallels Desktop. You have several options at this point:
- Purchase and download a version of Windows online: select File → New → Buy Windows 7.
- Tell Parallels whether you intend to use Windows "like a Mac" (with Windows applications alongside Mac applications, on you Mac OS desktop) or "like a PC" (with Windows applications appearing in a separate window from Mac OS applications).
- Expect this process to take at least an hour. Your computer may reboot several times during this process.
- Install Windows using an installation disc: insert the Windows installation disc and go to File → New → Install Windows from DVD or image file.
- Tell Parallels whether you intend to use Windows "like a Mac" (with Windows applications alongside Mac applications, on you Mac OS desktop) or "like a PC" (with Windows applications appearing in a separate window from Mac OS applications).
- Purchase and download a version of Windows online: select File → New → Buy Windows 7.
-
 Continue following instructions from the Parallels installation assistant.
 -
 Start using Parallels by either opening a Windows program or by activating the power button in the Parallels Virtual Machines list. There are several ways that you can open a Windows program:
- In the Windows Applications folder. If you opted to use Windows "Like a Mac" during the installation, you'll have a Windows Application folder in your Mac OS dock. As you install more Windows programs or applications, they go into this folder.
- Using the Windows Start Menu. Simply click on the Parallels icon in the menu bar and select "Windows Start Menu." Select any program from the Windows Start Menu.
- Using the Mac OS X Finder. Select the Windows volume on your desktop, then open the Program Files folder. Next, double-clicking the icon of the program you want to use in the Finder.
- Using Spotlight. Navigate to the Spotlight icon in the top right of your screen and type in the name of the program you want to use.
-
 Install any new programs like you would on a regular Windows PC. Download a file from the internet or insert an installation disc into your disc drive. The installation process should start without a hitch.
4 ★ | 2 Vote
- Here's how to uninstall Windows 10 to return to using Windows 7 or 8.1
- The chart for the 10 most amazing versions of Windows
- Windows revolution and breakthrough changes through each version
- Summary of several logout methods on Windows 8 and Windows 10
- Looking back at 27 years of 'evolution' of Windows
- Instructions on how to upgrade from Windows XP to Windows 8
- 4 ways to 'revive' Windows XP on Windows 10
- What is Windows Hello? How does Windows Hello work? How to install Windows Hello
- Instructions for setting up Windows Hello face recognition on Windows 10
- 9 Windows 8.1 errors have not been resolved
MORE LIKE THIS
- Install and configure Windows Server 2008 DHCP Server
- Troubleshooting System Restore does not work on Windows 10/8/7
- Set up and install Windows 8 on VirtualBox
- Install Windows Vista operating system from USB drive
- Fix errors when installing Windows 7 on a virtual XP machine
- Install and configure Windows Home Server
- Fix Windows XP by reinstalling in Repair mode
- Install & Uninstall Service Pack 1 on Windows 7
- Network sharing settings in Windows 7
- Create dualboot system with Windows 7 and 8 using VHD
-
 Table of common BSOD error codes on Windows 11 and Windows 10
-
5 ways to fix Wi-Fi disconnection issues on Windows 11 laptops.
-
Windows 11 Error Code Table and Most Common Issues When Updating Windows
-
Useful AI features in Windows 11
-
Laptop displaying a blue screen: Causes and effective solutions.
-
How to quickly split the screen on a Windows 10, 11, and macOS laptop.
 Table of common BSOD error codes on Windows 11 and Windows 10
 5 ways to fix Wi-Fi disconnection issues on Windows 11 laptops.
 Windows 11 Error Code Table and Most Common Issues When Updating Windows
 Useful AI features in Windows 11
 Laptop displaying a blue screen: Causes and effective solutions.
 How to quickly split the screen on a Windows 10, 11, and macOS laptop.