How to Reformat a PC Running Windows XP
Computers store their data and operating procedures on devices called hard disks. The process of removing all data from these disks is called (re)formatting. If you are having issues that you are unable to troubleshoot it may be necessary....
Method 1 of 5:
Preparing to Reformat Your PC
-
 Consider defragging or using an anti-malware program first. This might help your PC performance so you can avoid formatting. You may also consider re-installing Windows XP.
- If you are trying to eradicate a virus, this will not remove all the files. The virus may still be present after re-installing.
-
 Check to see if your PC manufacturer included a restore-disk. Most brand name manufacturers include a disk that can restore your computer to the state it was the day you purchased it.[1] Some only include a Windows XP disk, and some provide nothing at all. If you have a restore-disk you can save yourself from having to reformat your computer.
 -
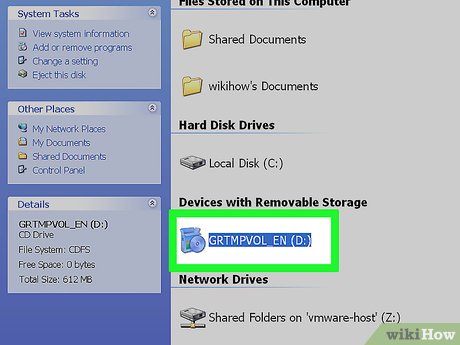
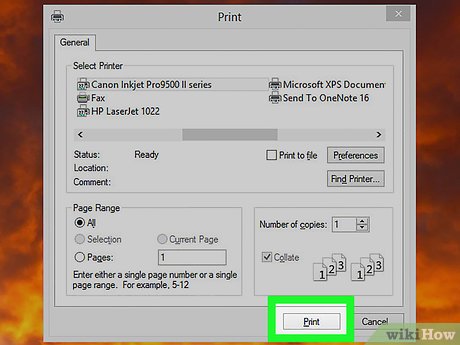 Write down or print out all instructions you need to reformat. Once you begin the process you will not be able to access files on your computer or the web. If you have a printed copy of the necessary steps and troubleshooting procedures you will be able to reference them as needed.
 -
 Back up your data. All important data should be backed up before starting this procedure. Remember that all hard disk data will be lost when you reformat. Check out this article on how to backup your data in Windows XP. Ensure that you save that backup to a CD, thumb drive, or external drive.
- Note whether you have the software CDs to extra devices such as printers or software you may have purchased. If you downloaded them, then ensure that you either can re-download them or backup those files so you are able to re-install them after you reformat your computer.
- You may also want to note the make and model of your devices. You can find these by searching for 'device manager' from the start menu. Once inside the Device Manager, you can click on each category to see what devices are installed.
Method 2 of 5:
Partitioning Your Computer
-
 Insert the Windows XP CD-ROM or DVD-ROM into your computer. You may also use the Windows XP Setup disks. If using the disks you will have to install each disk when prompted during the setup.
 -
 Restart the PC. This will start the Windows XP setup program.
 -
 Press any key to boot from CD when prompted. This prompt will appear shortly after the (POST) power-on self test. Once the CD loads, press the Enter key at the Welcome to Setup screen.[2]
 -
 Press the F8 key to agree to the Microsoft end user license agreement when prompted to do so. Since there is already an existing Windows XP installation you may receive a prompt to repair it. Press the ESC key to bypass this option and continue formatting the disk.
 -
 Select each field that does not say "Unallocated Space." All your existing partitioned and non-partitioned spaces will be listed on the screen. Use the arrow keys to select fields to be deleted.
 -
 Press the D key to delete each field. When prompted, press the L key to confirm partition deletion. This will clear old data from the hard drive of the computer.
 -
 Repeat steps 6 and 7 until the only field left is "Unallocated Space." Now that all the partitioned spaces are deleted, press the C key to create a new partitioned space. Press enter to create a new partition of the maximum size.
Method 3 of 5:
Formatting and Installing Windows XP
-
 Use the arrow keys to select the new partition. Press enter to install Windows XP to the unallocated space. This will be followed by a list of installation options.
 -
 Select Quick Format installation. You will want to select the NTSF file system. That is the preferred file system of Windows XP.
- If you're reformatting to recover from error, you will want to do a Full Format otherwise your error may still exist.
-
 The PC should restart, then select your language and local preferences when prompted to do so. There are quick selection options or you can click on custom settings to receive more options.
 -
 Enter your desired password. When the administrator password prompt comes up you can enter your desired password. Pick a password only you would know, but difficult enough for anyone else to guess.
Method 4 of 5:
Restoring Your Data
-
 Get your disc or thumb drive containing your backup. Place your backup in the appropriate drive to restore the documents you backed up before starting this procedure and re-install your applications.
 -
 Click on the "Start" menu. This is located in the lower left hand corner of the screen. To restore your backup, choose "All programs" and "Accessories." Then choose "System Tools" and "Backup." When the Backup program is opened, click "Next" to continue.
 -
 Select "Restore Files and Settings." Click "Next" to continue to the next pane. Click "Browse" to find your backup in either the CD or the thumb drive and then "Next" to continue.
 -
 Click "Finish" to mount your backup. It may take some time to restore completely if it was a large backup. Click "Close" when the restoration is complete. The files from your backup should appear on your newly formatted computer.
Method 5 of 5:
Troubleshooting
-
 If the CD won't complete reformatting then try running a memory test on the PC. You may need to replace one or both of the memory sticks if there are many errors.
 -
 Try replacing the optical drive and data cables. Some cables may wear over time, so these may need to be replace if damaged or defective.
 -
 Check your CD drive. Try putting in another CD and see if your computer can read the CD. If it cannot, then you may need to replace your CD drive.
 -
 Ensure that the CD is not scratched. Flip the CD over in your hand and look at it in the light. If the CD is scratched then your CD drive may have difficulty reading it. Try using a different CD or try repairing the scratched CD.