How to Redact Sensitive Information in a Word Document
Today's TipsMake will show you how to redact (permanently delete) sensitive information in Microsoft Word. The only way to be sure that the text has been successfully edited is to delete it, but if you need to prove this, you can replace the text with placeholders and black bars. If you don't want to replace the entire compiled text, you can also convert the Word document into an image sequence. Finally, both Windows and Mac users can use the 'Inspect Document' tool to remove metadata (such as author name) from documents.
Compile documents by hand

Open the Word document. Double-click the Word document in which you want to redact sensitive information to open it in Word.
Note: this method is only feasible for small documents. To delete large amounts of text, you need to save the Word document as an image file.
Select the text you want to edit. Click and drag on the text to select.

Click on the word count. The number of words will appear in the lower left corner of the window as [number] of [number] words . A dialog box will pop up with information about the document's characters and words.
For example, if you select 23 words in a 350-word document, click 23 of 350 words in the lower left corner.

Review the number of characters. Look at the number next to the "Characters (with spaces)" heading in the pop-up window.
You need to remember this number when replacing text to be deleted with other content.

Click Close . It's at the bottom of the window. The dialog box will close.
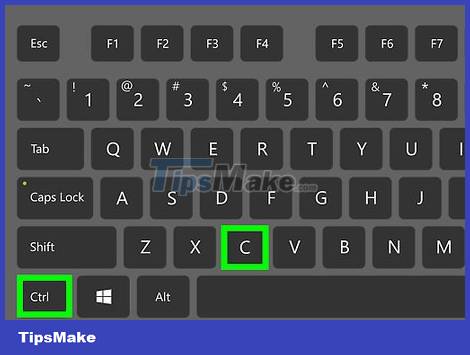
Copy selected text. CtrlPress the + C(Windows) or ⌘ Command+ (Mac) key combination C.
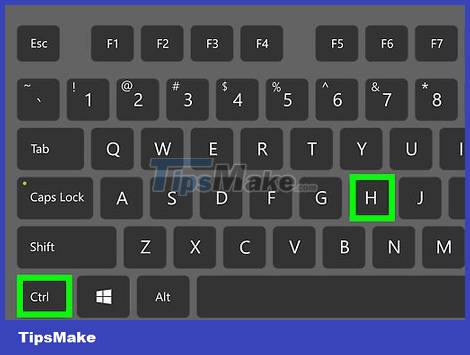
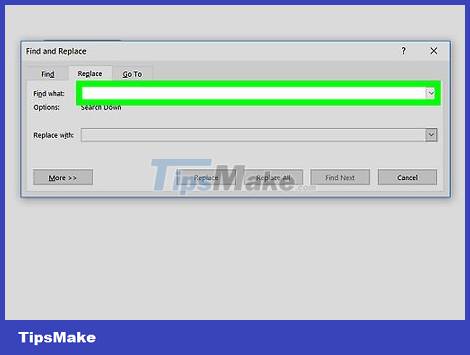
Opens the "Find and Replace" menu. CtrlPress the + H(Windows) or Control+ (Mac) key combination Hto do so.

Paste the text to be redacted into the "Find what" field. Click the "Find what" text field at the top of the pop-up window, then press Ctrl+ V(Windows) or ⌘ Command+ V(Mac).
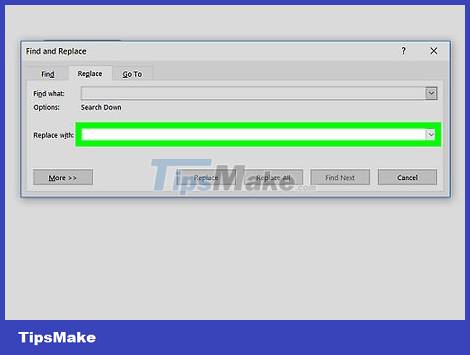
Add replacement text to the "Replace with" field. Click the "Replace with" text box near the bottom of the pop-up window, then enter a random number or letter (for example, ) xto replace each character you deleted.
For example, if you have highlighted 20 characters (including spaces), you need to enter them x20 times.
This process will be extremely tiring if you have to replace many long lines of information. If accuracy is a priority, consider converting Word files to images.

Click Replace all . This option is at the bottom of the window.
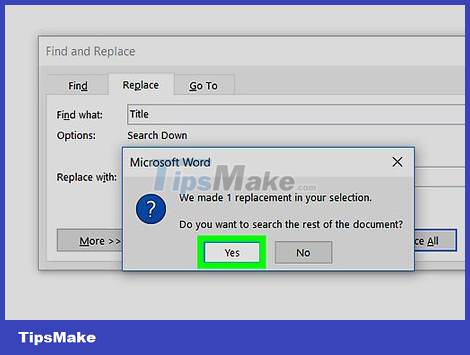
Click the OK button located at the bottom of the pop-up window. The selected text will disappear and be replaced by a meaningless string of letters.
Repeat with other documents you need to edit. Once all the secret information has been replaced with any string of letters, you can continue.

Highlight the alt text. You need to highlight all edited text in the document:
Click the down arrow to the right of the ab marker icon in the "Font" section.
Click on the black box located in the drop-down menu.
Select an alternate line of text.
Click the black line below the highlighter icon, then repeat the process with the remaining alt text.

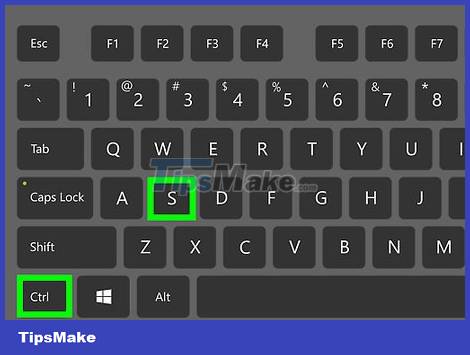
Save the file. CtrlPress the + S(Windows) or ⌘ Command+ (Mac) key combination Sto save. Changes will be saved, but if you want to delete metadata as well, see this method.
Save a Word document as an image
Open the Word document. Double-click the Word document in which you want to redact sensitive information to open it in Word.

Select the text you want to edit. Click and drag on the text to select.
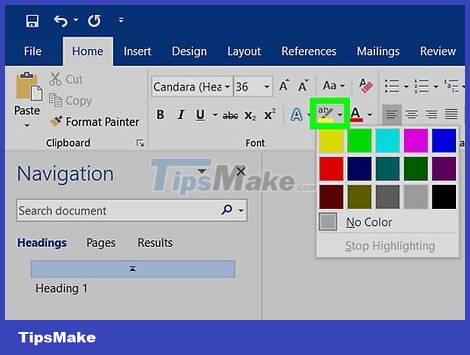
Open the bookmarks menu. Click the down arrow to the right of the ab highlight bar in the "Font" section of the Home tab . A menu with many different colored boxes will drop down.

Click on the black box located in the drop-down menu. The highlighter will be set to black and paint over the selected text.

Highlight other text if necessary. After setting the highlighter to black, you can select other text and then click the black bar below the highlighter icon to highlight the content.

Save the document in PDF format. You can do this on both Windows and Mac computers:
Windows — Click File , select Save As , double-click This PC , click the "Save as type" drop-down box, select PDF from the drop-down menu, and Click Save .
Mac — Click File , select Save As. , click the "File Format" text box, select PDF from the drop-down menu, and click Save .
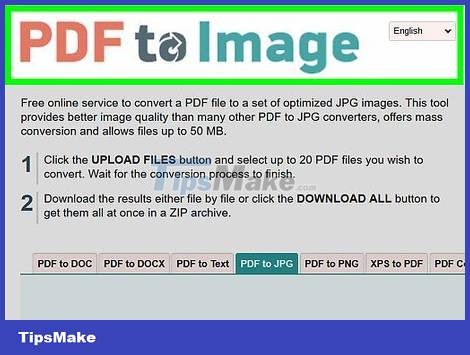
Use a PDF to JPG conversion service. Visit http://pdftoimage.com/ using your computer's web browser. Although there are many websites and services that convert PDF files to images, PDF-to-Image saves each page in the document as a separate JPG file without displaying the text below the mark. come.

Click UPLOAD FILES . This button is in the middle of the window. The File Explorer (Windows) or Finder (Mac) program will appear.

Select the PDF file. Click the PDF file you saved from the Word document.

Click the Open button . It's in the lower-right corner of the window. The PDF file will start being uploaded to the conversion service.
On a Mac, you'll need to click Choose .

Click DOWNLOAD ALL . Once the PDF file is uploaded to the conversion program, this button will appear at the bottom of the page. When you click that, the ZIP folder with all the document pages as images will start downloading.
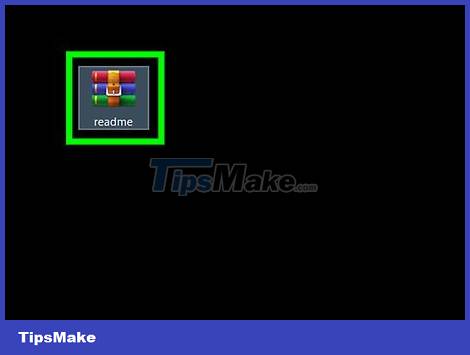
Unzip the ZIP folder. This process will vary depending on the computer's operating system:
Windows — Double-click the ZIP folder, click Extract at the top of the window, select Extract all from the toolbar, and click Extract at the bottom of the window. The extracted folder will open when completed.
Mac — Double-click the ZIP folder, then wait for the extracted folder to appear.
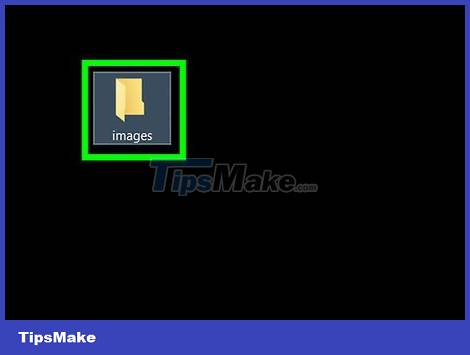
Open the photo folder. This is the only folder in the window with the name of the PDF file. A list of images numbered by page will appear. At this point, you can open any image to view the page compiled from the Word document.
For example, inside a folder named PDF file will be a list of images named according to the page number of the Word document.
Delete metadata

Open the Word document. Double-click the Word document you want to protect to open it in Word.

Click File in the upper left corner of the Word window. A menu will pop up.
On a Mac, click Review at the top of the Word window.
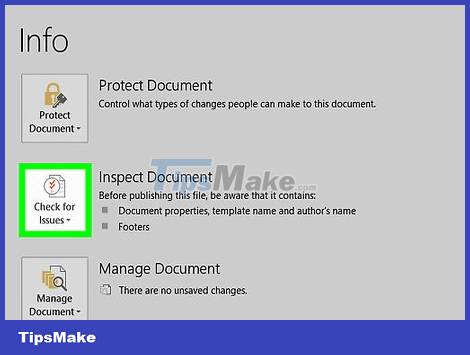
Click Inspect Document . This option is in the middle, near the bottom of the page. Another menu will pop up.
On a Mac, you'll need to click Protect in the Word toolbar.

Click Inspect Document in the drop-down menu.
On your Mac, click Protect document here.
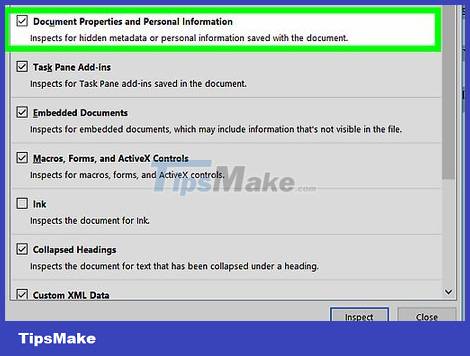
Check that the "Document Properties and Personal Information" box is checked. This box is located near the top of the window.
You can uncheck other boxes in this window if you like.
On your Mac, check the "Remove personal information from this file on save" box, then continue with the last step in this method.
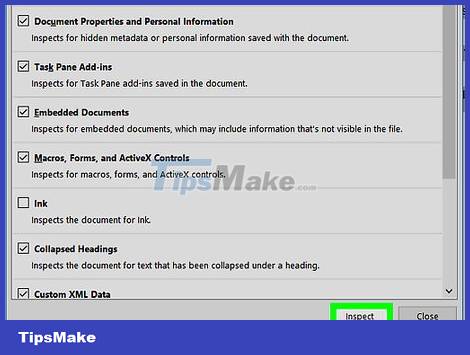
Click the Inspect button . It's at the bottom of the window.
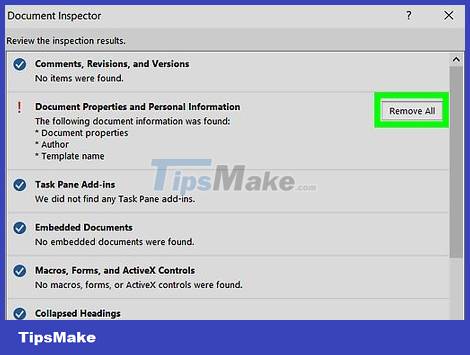
Click Remove All . This option is to the right of the "Document Properties and Personal Information" heading. The linked metadata will be deleted from the Word file.

Click Close. It's at the bottom of the pop-up window.
Save the file. Close the Word file and then click Save when the program asks if you want to save changes to the document.
- How to Redact in Word
- How to remove personal information from a Word document
- Word 2016 Complete Guide (Part 25): How to check and protect Word documents
- How to insert an Outlook contact in Word
- How to Turn a Scanned Document Into Microsoft Word Document
- How to Convert Word to Excel
- Create Master Document in Word 2010 from many Word files
- How to Recover Word Documents
- How to Format a Word Document
- Create a new Word file, open the file in Word 2013
- How to change dots into commas on Google Sheets
- How to backup and restore the Office license key for all versions
- How to delete dots in a series of numbers on Excel
- How to convert A4 size prints to A3 size in Word
- How to fix Office error 'The function you are attempting to run contains macros'
- How to align 2-sided printing in Word is symmetrical
- How to Convert Excel to Dat
- How to adjust line spacing and line spacing in Excel
- How to block ads on WPS Office
- How to create an Excel formula in Notepad ++
-
 Create an AI voiceover for poems and inspiring stories.
-
Instructions on creating a Froggy Jumps game on Educaplay
-
How to make a piano game using Scratch
-
Instructions on how to add ChatGPT to Google Sheets
-
How to rotate any page horizontally in Word
-
How to install SPSS on a MacBook: A step-by-step guide.
 Create an AI voiceover for poems and inspiring stories.
 Instructions on creating a Froggy Jumps game on Educaplay
 How to make a piano game using Scratch
 Instructions on how to add ChatGPT to Google Sheets
 How to rotate any page horizontally in Word
 How to install SPSS on a MacBook: A step-by-step guide.
-
 Free Tools
-
Application
-
Web Email
-
Website - Blog
-
Web browser
-
Support Download - Upload
-
Software conversion
-
Social Network
-
Simulator software
-
Online payment
-
Office information
-
Music Software
-
Map and Positioning
-
Installation - Uninstall
-
Graphic design
-
Free - Discount
-
Email reader
-
Edit video
-
Edit photo
-
Compress and Decompress
-
Chat, Text, Call
-
Archive - Share
-
-
System
-
Mac OS X
-
Hardware
-
Game
-
Tech info
-
Technology
-
Science
-
Life
-
Electric
-
Program
-
Mobile