How to Destroy Sensitive Documents
Knead the document
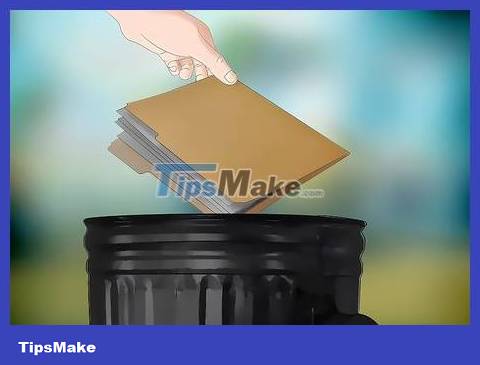
Put documents that need to be destroyed into a large trash can. You need to use a box that is high and wide enough to easily hold all the documents and water needed. Also, use a sturdy container so it won't be damaged or deformed when exposed to bleach and water. If you need to use about 22L of water to process documents, choose a bucket with a capacity greater than or equal to 30L. This will give you enough room to rotate the documents evenly. Plastic trash cans are a suitable choice because they can withstand the effects of diluted bleach.
Large plastic trash cans are sold at home appliance stores or building materials stores. In the US, they are also sold at convenience stores such as Kmart, Target and Walmart. You can also order online.
Remember to remove documents from envelopes or sleeves.
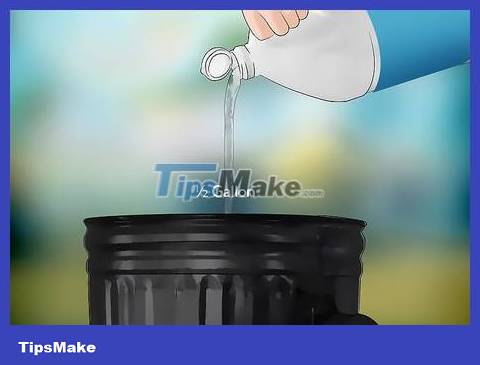
Pour 2L of bleach into the bucket. You can choose to buy bleach from other brands and regular bleach with a concentration of 8.25% at stores. Bleach helps break down paper. They are often used to recycle used paper, and they also remove ink from paper. Thanks to that, the types of information that need to be kept confidential will be destroyed more comprehensively.
Bleach is a dangerous chemical and can cause serious illness if not used properly. You need to avoid direct contact of bleach with skin and eyes and do not drink it. Just mix bleach into water. Combining bleach with other chemicals – such as ammonia or toilet cleaner – can create toxic, potentially deadly gases.
When using bleach, you should wear long sleeves, long pants, closed-toed shoes and eye protection.
In case you accidentally swallow the bleaching solution, quickly drink a glass of water or a small glass of milk and contact a medical center. If you are in the US, you can call the poison control center at 1-800-222-1222 for assistance.
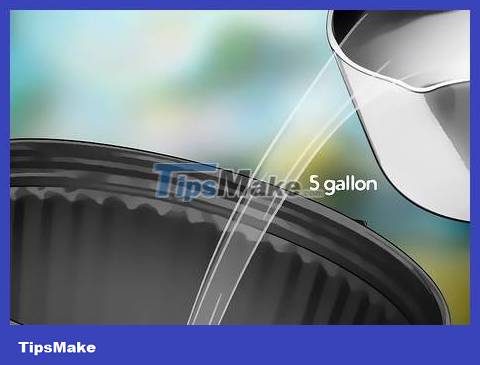
Pour 19L of water into the bucket. Although bleaching water is a toxic (and stronger) chemical ingredient in the solution used to destroy documents, water also plays an equally important role. Once the paper is completely saturated with water, you will be able to knead it into an unrecognizable mass.
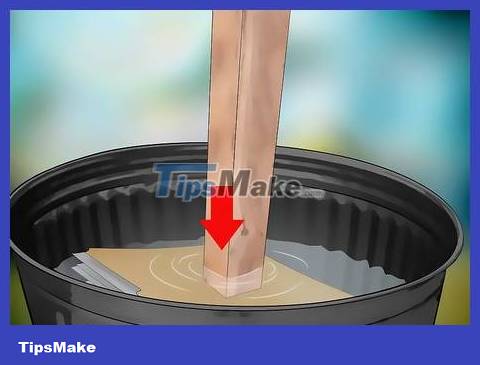
Press the entire document into the bleach solution. You need to submerge all the documents so that they are completely soaked in water and become soft. If the amount of documents is more than the amount of liquid in the bin, you can handle it in one of two ways: divide the amount of documents or use a larger bin. If you choose the second method, remember that you need to increase the amount of water and bleach accordingly.
Do not use your bare hands to press the document into the solution. Doing so will be very harmful to the skin. Instead, you can use a paint mixer, a broom handle, or wear long rubber gloves.
For example, let's say you have a 30L plastic drum and 22L of bleach solution. If the amount of documents to be processed is too large, you buy another 90L bucket, you will need to use 6L of bleach and 57L of water.
Soak the document for about 24 hours. Documents soaked in bleach solution for about 24 hours will become soft and easy to knead. If there is an emergency, and/or you need to destroy documents faster, you may consider using other methods in the article.
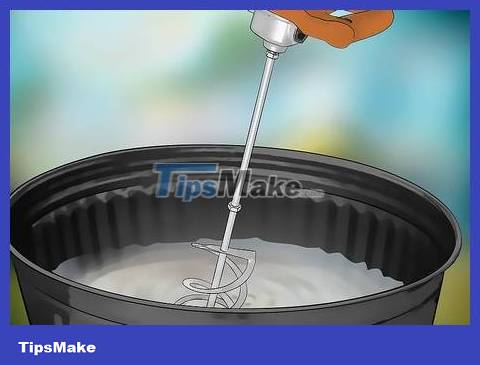
Mix materials using a paint mixer. After soaking for 24 hours, the document will soften and lose color. You can use a paint mixer to mix the materials until they become a homogeneous paste.
Don't forget to wear rubber or nitrile gloves when reversing the document stack to avoid skin contact with the solution.
You can also use broomsticks, sticks, canes, and other long-handled tools. Any tool that can reach deep into the bottom of the container to stir and crush the paper can be used.
Carefully check the mushy paper to see if there are any large clumps of paper. Tear off the parts of the document where you can still read the information by hand and continue mixing.
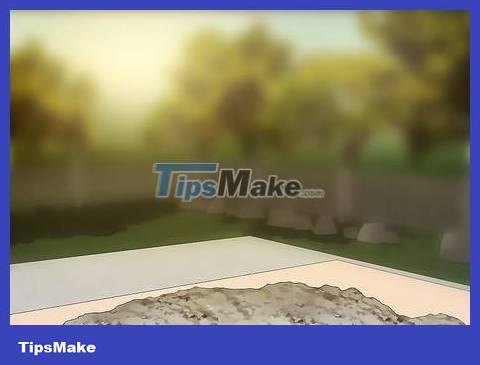
Dry the pulp in the sun. The pulp may leak out if placed directly into the bag and the garbage collector may not collect it. Therefore, spread a large tarp, pour wet paper pulp evenly on top and wait for it to dry completely before throwing it away.
Many people like to use dried paper pulp to make garden mulch. However, if you plan to do this, you should not use bleach while kneading the paper.
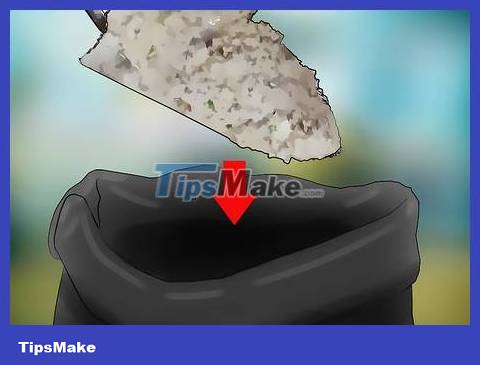
Discard the pulp. Put the dried pulp in a trash bag and put it with other types of waste. Even if someone wants to dig through your trash – information thieves, for example – it will be difficult to find anything from your crushed documents. Kneaded pulp can also be used for composting.
Burn sensitive documents
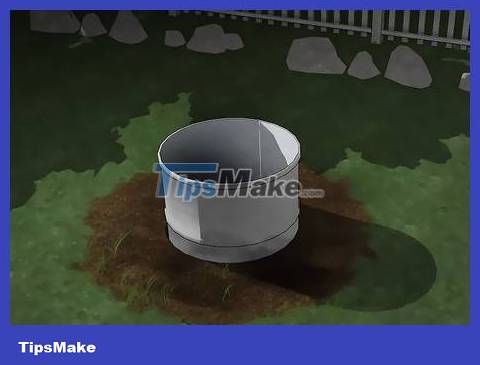
Prepare an outdoor stove. You can use a regular stove, placed on the ground and with a net above to burn documents. The design of this type of stove helps air circulate better, so documents will be burned completely. At the same time, the net will help keep pieces of documents from flying around when burned.
Note that sometimes burning trash in residential areas and cities is against the law or you need permission from the authorities before doing so. Check your local 'burning regulations' to make sure you're not breaking the law.
Using a specialized paper burning bin is also a great option. This type of container is made of metal and is often used to burn votive papers outdoors.
You can also use a drum to burn documents. 208L steel drums are the most commonly used type and are most suitable for keeping pieces of documents from flying out. However, burning paper in drums is not recommended because it will create harmful toxins. Some states in the US, such as Illinois, also ban the use of this type of barrel.
It may be safer to burn a few documents at a time in a cast iron bath. Make sure there is nothing else, such as plastic anti-slip grooves, on the bottom of the tub. When burning paper in the bathtub, if the fire accidentally gets out of control, it is easy to handle because there is water nearby.
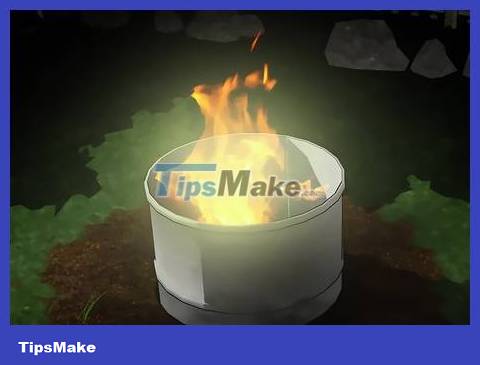
Make a fire . You should use kindling (small fire sticks that easily catch fire) and paper to make the fire easier. You can also use documents that need to be destroyed as group bait. Once the kindling has caught fire, slowly add larger sticks until the fire is big and steady.
To ensure safety, there should be no bushes, paper or flammable materials near the fire. To avoid accidentally starting a fire and spreading it around, you should pour sand and arrange rocks around the furnace.
To make the fire bigger, you can use fuel oil. Be careful not to drop the oil bottle into the fire or pour too much oil to avoid causing an explosion or a sudden fire that could injure you. Keep your distance when pouring oil into the fire to avoid burning your face, chest and arms.
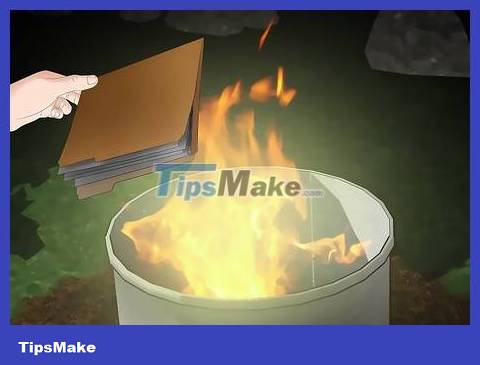
Burn documents that need to be destroyed. Don't dump all the materials into the incinerator at once; Doing so may cause small pieces of paper containing information to fall out. Use a long-handled metal tong to hold the documents and burn them little by little until they burn completely. Once it has been burning for a while, the stove will begin to have coal, at this point you can put more documents in the stove and let them burn with the firewood.
While burning, you need to make sure the stove is well ventilated to avoid smoke and the paper is completely burned. The oven lid will help with ventilation, while also limiting the amount of paper you put in the oven at a time.
Watch to make sure no pieces of documents fly out of the fire. Even a small piece of paper can be a piece of valuable information that someone else wants to have.
Burn sensitive documents along with some discarded paper, so if a certain part of the document is not completely burned, the amount of discarded paper mixed in will make it difficult for others to find valuable information.
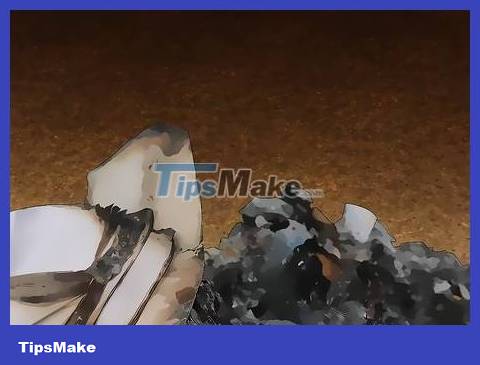
Check the ash pile after burning. Once you have finished burning everything and the fire has died down, you should carefully dig through the ashes to see if there are any unburnt pieces of paper left. The pieces that are still white are easiest to spot. However, pay attention to finding pieces of paper that have been burned gray by the fire but the words on them can still be read. These pieces of paper also need to be burned again for complete destruction.
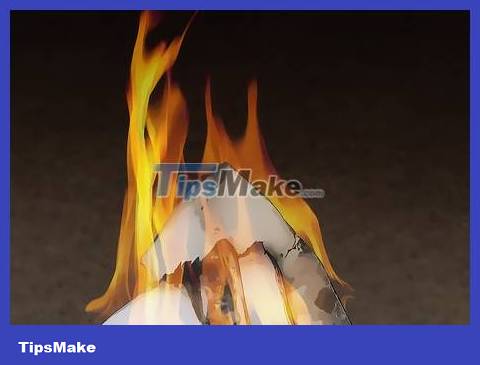
Burn the remaining pieces of paper. Gather up all the pieces of paper containing sensitive information and keep them in a safe, private place until you're done rekindling the fire. Use protective gloves or long metal tongs and carefully place these pieces of paper in the middle of the fire.
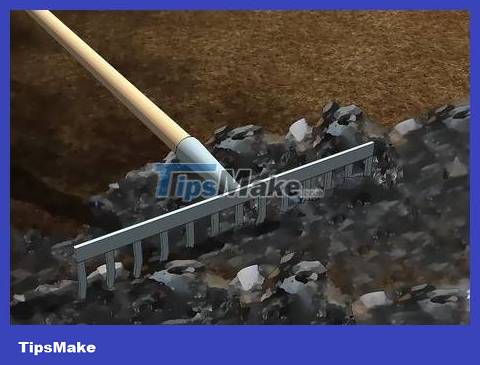
Clean up paper ash. Wait for the fire to go out and the ashes to cool to a safe temperature, then use a shovel to scoop the ashes into a sturdy bag. If you have a garden, you can spread paper ash evenly in the garden.
You can also take some paper ash to compost (if you don't use fuel oil to start the fire).
Spreading ash in the garden will help protect plants from slugs and snails.
Pouring ash around the base of woody plants also brings many benefits to the tree.
Shred documents
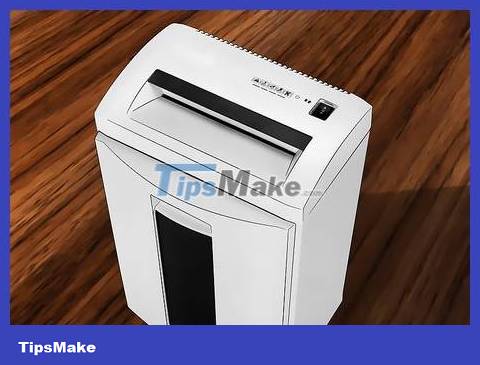
Prepare shredder-type document shredder. You should use a shredder or super shredder (do not use a shredder) because this type of machine cuts the paper into smaller pieces and others will not be able to put the pieces of paper together to steal information. Okay. Choose a shredder that can cut paper into fibers less than or equal to 0.8 mm and about 1.3 cm long.
You can find document shredders at stores that sell stationery supplies. They are divided into 6 different security levels based on the thinness of the paper after cutting. Level 1 corresponds to the widest cutting mode; Level 6 corresponds to the thinnest cutting mode and is used to destroy top secret government documents. Class 4 or lower shredders (0.16*16 mm) should not be used to destroy sensitive documents.
Most offices have document shredders. Contact your boss and ask if you can have your personal documents shredded.
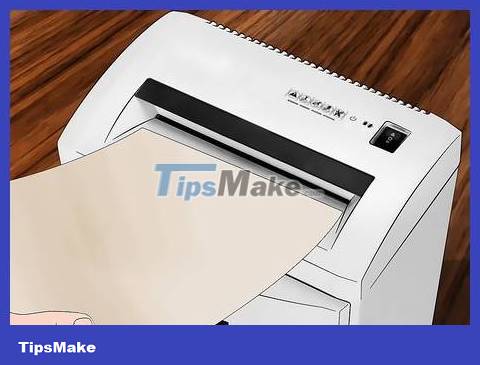
Cancel documents. Once you have a shredder you like, start loading your documents into the machine to shred. You will destroy the documents one by one until the end. If the number of documents is more than the machine's capacity, remove the cut pieces of paper from the machine before continuing to shred documents.
Do not let your hands come into direct contact with the document slot. Hold one end of the document while inserting the other end into the machine, so there will be space between your hand and the machine's mouth. Once the machine has received the document, you can release it. Always prioritize keeping your hands safe.
If you use a traditional shredder (which only cuts documents into small fibers), someone else can still put the fibers together to get information. Tearing documents by hand is also not safe, especially documents that contain small amounts of information (for example, a person's social security number in the US only takes up an area of about 2 cm of paper).
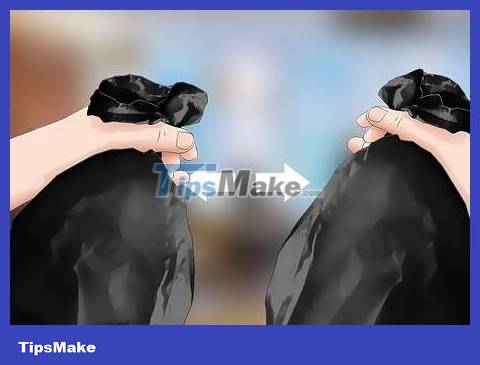
Divide the scrap paper into different bags. After cutting the paper into very small pieces, this step will help you secure your information even more. Take a portion of paper scraps from each type of document and put them in different bags. By doing so, no one can find complete pieces of information in the same bag, if they want they will have to search in all bags.
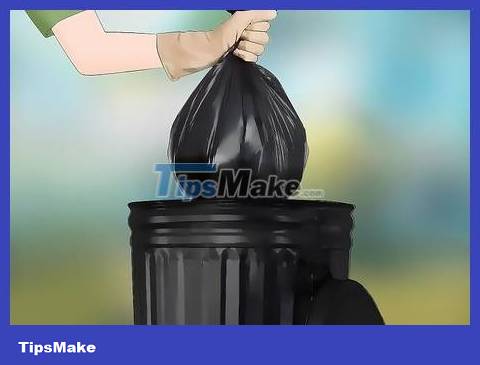
Dispose of clipped documents on trash collection day. If a cleaner comes to your house/company to pick up trash on Tuesday, don't throw it away on Wednesday. Minimize the time between the time you take out the paper and the time it is collected. It's best to leave them in the house until trash collection day and take them down to throw them away right before the trash collector arrives.
Destroy electronic documents
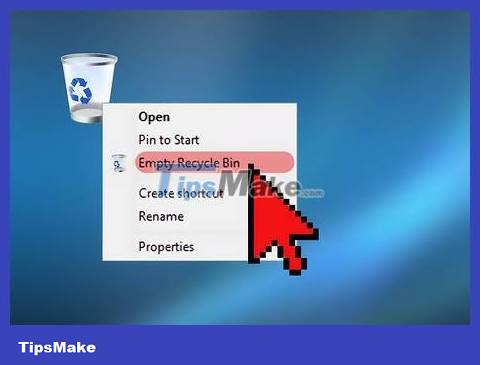
Delete documents. Identify all files on the hard drive that contain sensitive documents. Right click and put them in the trash then delete to empty the trash. If you are not afraid that others will use more advanced techniques to recover data, you can destroy documents in this simple way. However, 'deleted' files can be recovered quite simply using a variety of document recovery software on the market.
Do not use this method if there is a risk of someone else trying to recover your information.
Do not use this method for sensitive information that could be used to damage you.
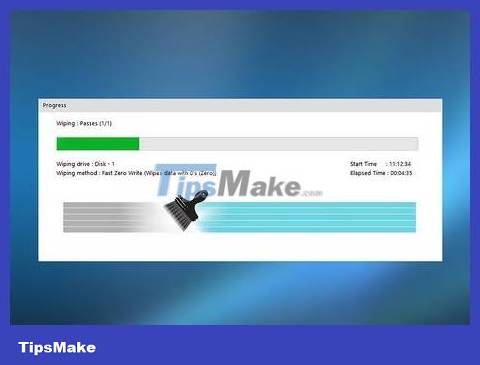
Overwrite the hard drive. All information on a computer hard drive is represented by binary numbers: 1 and 0. Overwriting software – available online – will go through and replace all information on your hard drive with a random sequence of 0s and 1s. If you decide to choose this method, note that this is a semi-permanent method and you may not be able to restore the data to its original state.
Most data destruction programs using the overwrite method will 'overwrite' your data multiple times. Triple override is considered standard by the US government.
Back up information you want to keep to an external hard drive.
There are many programs, such as Eraser, that allow you to overwrite certain files manually.
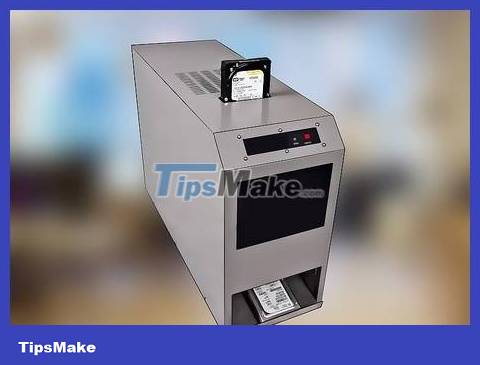
Use a hard drive demagnetizer. Demagnetization is a method of exposing magnetic technology devices (such as hard drives) to a strong magnetic field to destroy data. Ideally, a demagnetizer will break down the magnetic domains on the drive and render it unusable. A demagnetizer costs up to several tens of millions of dong. However, you can rent a demagnetizer or hire the services of professional information technology companies.
Overwritten data can still be recovered, but the demagnetization process permanently destroys the data and cannot be recovered. Remember to back up the information you want to store to an external hard drive or store in the cloud.
Do not operate the demagnetizer if you have a pacemaker because the demagnetizer may damage the device.
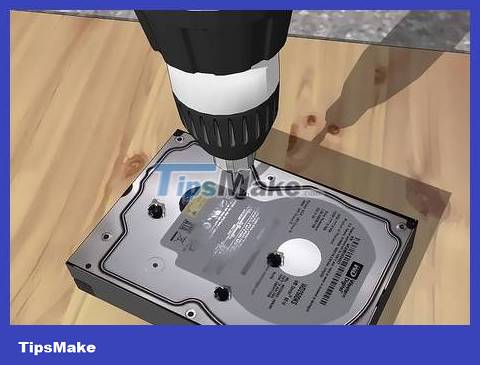
Destroy the hard drive physically. This is the most thorough method of destruction. Using a hammer, high temperature, drilling are all ways you can choose. Whichever method you choose, you will first need to remove the hard drive from the device. If using a hammer, hit hard directly on the hard drive. If using a drill, drill several holes through the hard drive. If using heat (e.g. a blowtorch), melt the hard drive completely.
When using a torch, remember to wear heat-resistant gloves and a protective mask. It is safest to work on dirt or sand to prevent fires or explosions.
When working with a hammer or drill, use protective gloves and a mask to avoid splashing debris.
You can also use a gun to shoot holes in the hard drive. However, you should not use this method if you do not have the right to use and fire a gun.
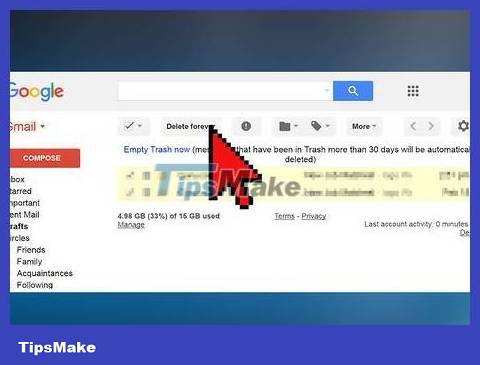
Delete emails permanently. Select emails containing sensitive information and select 'delete' or 'trash' depending on the service. Many online email services – such as Gmail – will keep 'deleted' files for 30 days before deleting them completely. After deleting the email, go to 'Deleted Messages' and 'Trash' to see if there is an email version that can be recovered. If so, delete these messages as well.
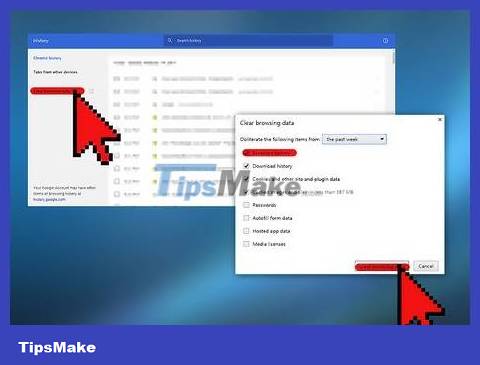
Delete browsing history. You can do this if you don't want others to know what websites you've visited. Many browsers, such as Chrome, Firefox, and Internet Explorer, have this option. Browse the 'menu' of options to view your browsing history and delete items you don't want saved.