How to Convert Word to Excel
Toggle list
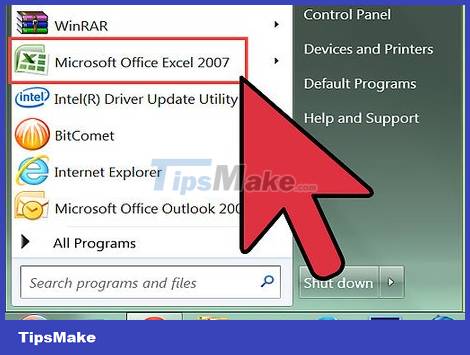
Understand how documents are converted. When you import a document into Excel, certain characters are used to determine what data goes into each cell in the Excel spreadsheet. By going through a few formatting steps before importing, you'll be able to control how the final spreadsheet will display and minimize the manual formatting you'll have to do. This is especially useful if you are importing a large number of lists from a Word document into Excel.
This method works best when you have a list of multiple items, each of which is formatted the same (list of addresses, phone numbers, email addresses, and so on).

Scan the document for formatting errors. Before starting the conversion process, you must make sure that each item is formatted the same. This means you need to correct all punctuation errors or arrange any items that don't fit the rest. This ensures that the data is transferred correctly.

Display formatting characters in Word documents. Displaying commonly hidden formatting characters will help you determine the best way to split items. You can show them by clicking the "Show / Hide Paragraph Marks" button in the Home tab or pressing Ctrl+⇧ Shift+*
Most lists have one paragraph mark at the end of each line or one at the end and one in a blank line between items. The paragraph mark is a means of inserting characters used by Excel to differentiate between cells.
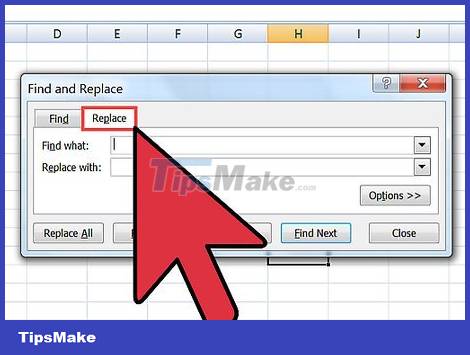
Replace the paragraph mark between each entry to remove extra space. Excel will use the spacing between items to determine the line, but for now you need to remove this factor to aid in the formatting process. Don't worry, we'll add it back soon. This works best when you have one paragraph mark at the end of a section and another in the space between items (two marks in a line).
Press Ctrl+H to open the Find and Replace window.
Enter ^p^p in the Find field. Here is the code for the case of two paragraph marks in one line. If each entry is a separate line and there are no blank lines between them, use the code ^p.
Enter the separator character in the Replace field. You need to make sure it's not a character that can appear anywhere in the document, like the ~ sign.
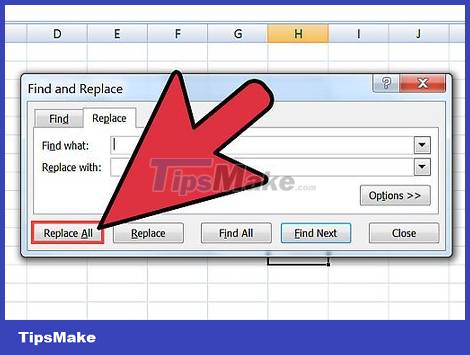
Click Replace All . Items can combine on their own but this shouldn't be a problem, as long as the delimiter is in the right place (between each item)

Separate each item into its own field. Now that the items are segregated so they can be displayed in rows later, you now need to define what data to display in each field. For example, if each entry is a name on the first line, home address on the second line, and country and postal code on the third line, you could
Press Ctrl+H to open the Find and Replace window.
Remove one of the ^p paragraph marks in the Find field.
Change the character in the Replace field to comma ,.
Click Replace All . The remaining paragraph symbols will be replaced with commas to separate each line into a field.
Replace the delimiter to complete the formatting process. After completing the two find and replace steps above, your list will no longer look like a list. All information will still be on the same line, but there will be a comma between each piece of data. This final find and replace step returns the data to the list layout but retains the commas to identify the fields.
Press Ctrl+H to open the Find and Replace window.
Type ~ (or whatever character you chose at first) in the Find field.
Enter ^p in the Replace field.
Click Replace All . Entire items will be divided back into separate groups and separated by commas.
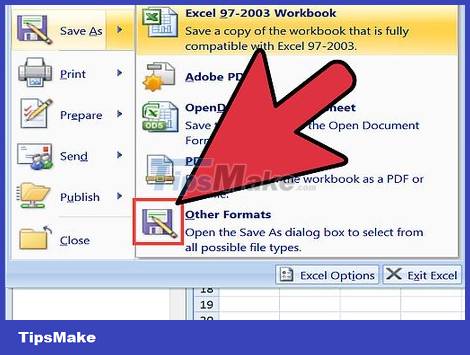
Save as plain text file. Once the formatting is done, you can save the document as a text file. This will allow Excel to read and parse the file so that the data is put in the correct fields.
Click the File tab and select "Save As".
Click the "Save as type" drop-down menu and select "Plain Text".
Name the file however you like and click Save .
If the File Conversion window appears, just click OK .

Open the file in Excel. After saving the file as plain text, you can open the document in Excel.
Click the File tab and select Open.
Click the "All Excel Files" drop-down menu and select "Text Files".
Click the Next > sign on the Text Import Wizard window.
Select "Comma" from the Delimiter list. You can see how the items are separated in the preview at the bottom. Then click Next > .
Select the data format for each column and click Finish .
Convert table
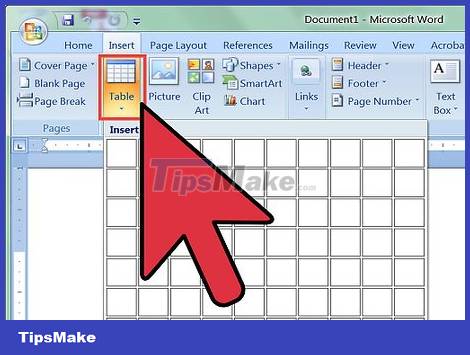
Create a table in Word using existing data. If you have a list of data in Word, you can convert it to a table format in Word and quickly copy that table into Excel. If the data is already tabular, skip to the next step.
Select all the text that you want to convert to a table.
Select the Insert tab and click the Table button.
Select "Convert Text to Table".
Enter the number of lines per record in the "Number of columns" field. If you have a blank line between each record, add 1 to the total.
Click OK .

Check the format of the table. Word will create a table based on your setup. Double check to make sure everything is in place.

Click the small "+" sign in the upper left corner of the table. This mark will appear when you hover over the board. When you click, all data in the table will be selected.

Press .Ctrl+C to copy the data. You can also click the "Copy" button located in the Home tab.

Open Excel. After the data has been copied, you can open Excel. If you want to include data in an existing spreadsheet, open the spreadsheet. Place the mouse pointer where you want the upper left cell of the table to appear.
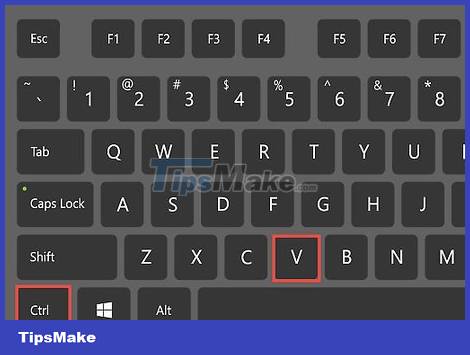
Press .Ctrl+V to paste the data. Each cell on the Word table will be imported into separate cells in the Excel spreadsheet.

Split the remaining columns. Depending on the type of data you are importing, you may need to perform additional formatting. For example, if you're entering a city address along with a country abbreviation, the postal code might be in the same box. You can work on Excel to separate these data automatically.
Click the column header you want to split to select the entire column.
Select the "Data" tab and click the "Text to Columns" button.
Click Next > and select "Comma" in the Delimiter field. If you're using the example above, this will separate the city from the country abbreviation and postal code.
Click Finish to save the changes.
Select the column to be split and repeat the process, but this time you choose "Space" instead of "Comma" as the delimiter. The abbreviated country name will be separated from the postal code.