Table of Contents
Add Screen Recording to Control Center
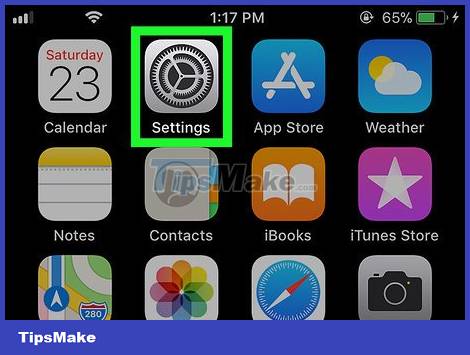
This practical guide explains how to record a zoom meeting on iphone or ipad with clear steps and useful context. It also covers common requirements, potential problems, and the details that can help you get better results.
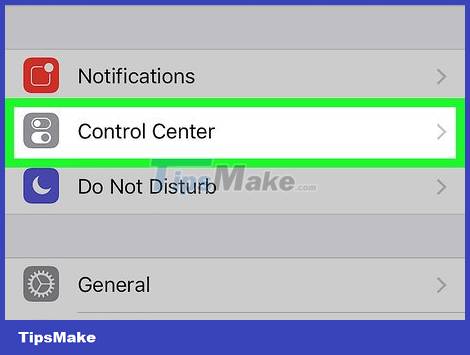
Tap Control Center. This is the selection below the current screen.
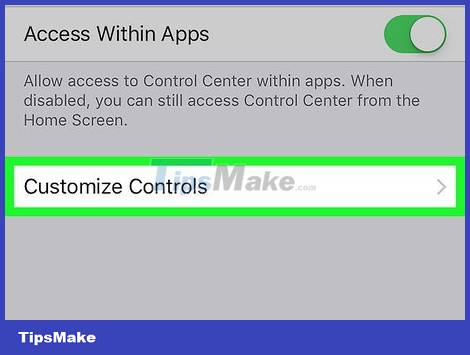
Tap Customize Controls.
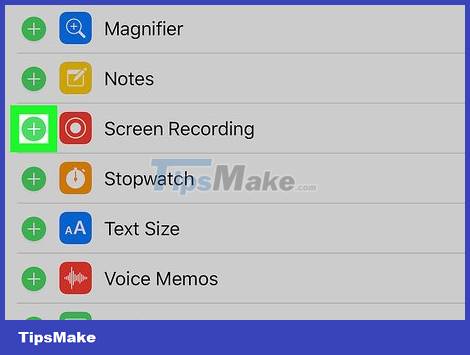
Tap the + next to 'Screen Recording'. Now screen recording functionality has been added to Control Center.
If you see a red minus sign (-), it means screen recording has been added to Control Center. You do not need to make changes.
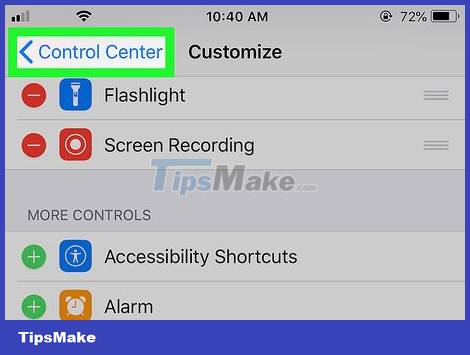
Touch the return button.
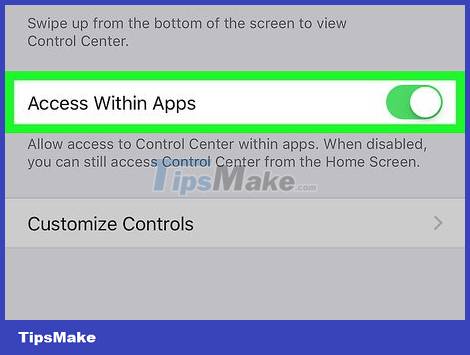
Push the 'Access Within Apps' slider to the ON position. If the slider is green, the feature is already enabled and you don't need to make changes.
Record a Zoom Meeting
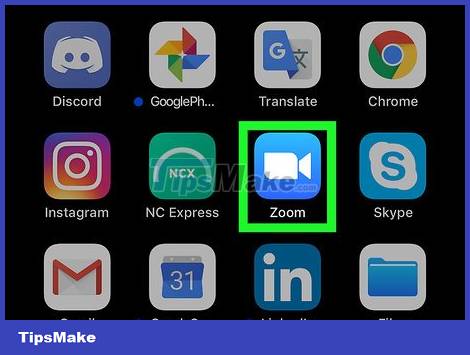
Open Zoom on your iPhone or iPad. It's a blue app with a white camcorder icon. You usually find the app on the home screen.
If you're not signed in to your Zoom account, you need to log in now.
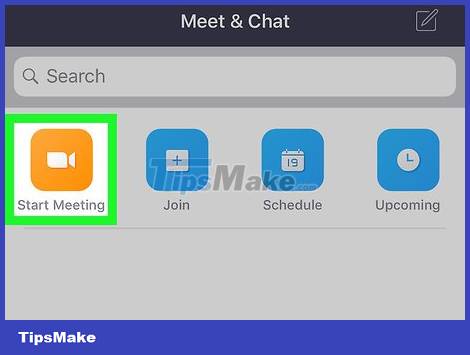
Choose to start or join a meeting.
Tap Start Meeting if you're the meeting organizer. This option is in the upper left corner of the screen. You will be taken to a new screen, but don't press the 'Start Meeting' button right now.
Tap Join with the white '+' icon on a blue background) if you want to join someone else's meeting, and enter the Meeting ID (provided by the meeting organizer). You will be taken to a new screen, but don't press the 'Join' button right now.
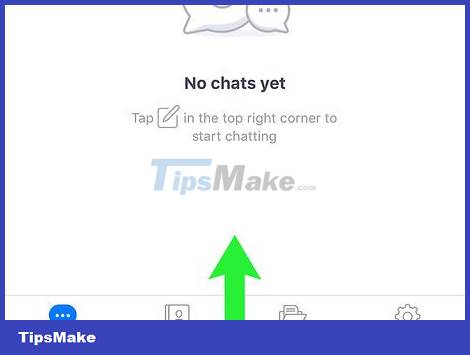
Swipe the screen from the bottom up. Only do this when you are ready to record. The control center immediately appeared on the screen.
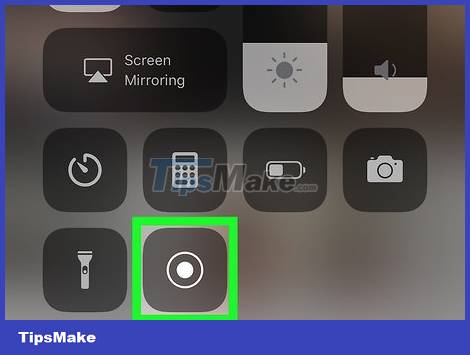
Tap the record button. It's a circle icon in another circle. You will see a countdown displayed on the button, and recording begins shortly after.
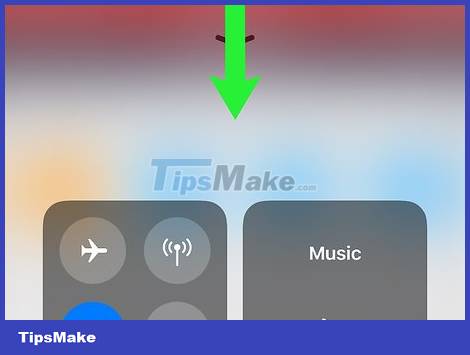
Swipe Control Center down. The screen now shows only the Zoom meeting. Filming has also begun.
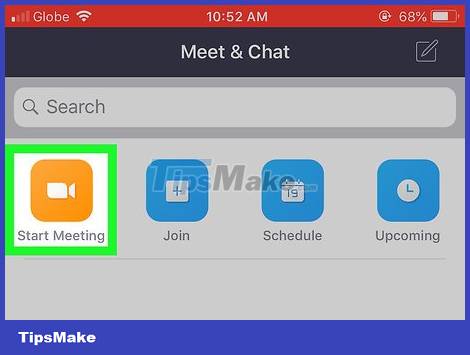
Return to Zoom and tap Start a Meeting or Join. The button you choose depends on whether you want to start a new meeting or join an existing one. The meeting will be recorded when it starts.
Take the next step when you want to stop recording.
Swipe the screen from the bottom up. Control Center is displayed.

Tap the record button. This is the button you pressed earlier, only it's red now. The recording will stop immediately. The finished video is saved in your iPhone or iPad's library.
Conclusion
Understanding Zoom makes it easier to compare options, avoid common mistakes, and apply the information in this guide more effectively. Review the relevant requirements before making changes or choosing a solution.
FAQ
How do you record a zoom meeting on iphone or ipad?
Follow the steps in this guide in order, confirm the required settings or tools, and verify the result before making additional changes.
Is it safe to record a zoom meeting on iphone or ipad?
It is generally safe when you follow the recommended instructions, use trusted tools, and avoid changing settings you do not understand.
What should you do if the process does not work?
Recheck the requirements, restart the device or application when appropriate, and review each step for missed settings or compatibility issues.
Related Articles
 Click: How to Record a Zoom Meeting on PC or Mac6 minutes read
 How to Record Online Learning Videos on Zoom Meeting3 minutes read
 How to Record Zoom Meetings on Android7 minutes read
 Instructions on How to Use the Zoom Meeting Application from a to Z6 minutes read
 How to Allow Everyone to Share Screen During a Zoom Meeting4 minutes read
 How to Use Zoom Meeting on Phone: Step-by-Step Guide3 minutes read
Reader Comments 0
Sign in with email or Google to join the discussion.