How to Protect a Document
This wikiHow teaches you how to add a password to a document in order to prevent anyone who doesn't have the password from opening it. You can assign passwords to Microsoft Office documents on both Windows and Mac computers, as well as to...
Table of Contents
Method 1 of 6:
Using Microsoft Office on Windows
-
 Open a Microsoft Office document. Double-click the Office document for which you want to assign a password. Microsoft Office includes the following programs:
- Word - Used for Word documents.
- Excel - Used for Excel spreadsheets.
- PowerPoint - Used for PowerPoint slide presentations.
-
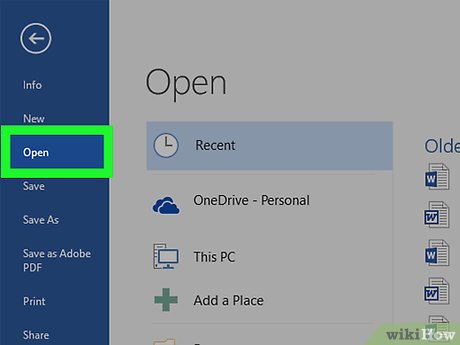
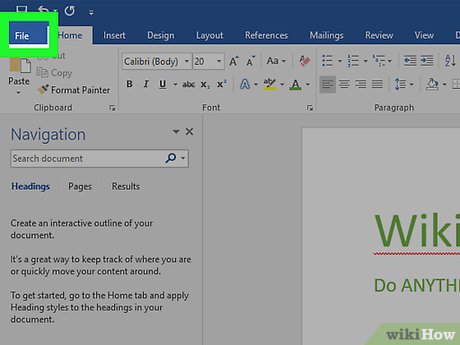 Click File. It's in the top-left corner of the window. This will open the File page.[1]
 -
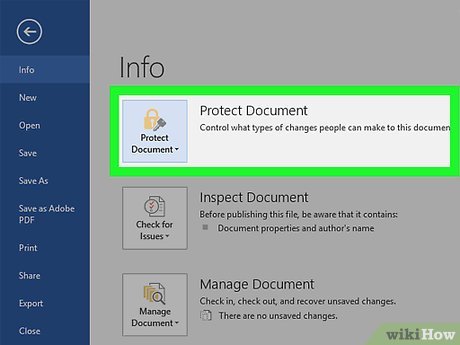 Click Protect Document. It's a box at the top of the page. A drop-down menu will appear.
 -
 Click Encrypt with Password. This option is in the drop-down menu. Doing so opens a pop-up window.
 -
 Enter a password. When prompted, type in the password that you want to use to lock the document.
 -
 Click OK. It's at the bottom of the window.
 -
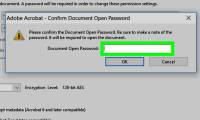
 Re-enter the password. Re-type the password in the blank text box when it appears.
 -
 Click OK. This will apply your password to the document and close the window. Whenever you try to open the document in the future, you'll have to enter the password to complete the process.
- Your document will remain encrypted if you send it to someone, so they'll need to know the password in order to open the document.
Method 2 of 6:
Using Microsoft Word on Mac
-
 Open a Microsoft Word document. Double-click the Word document that you want to open.
 -
 Click the Review tab. It's in the upper-right side of the Word window. A toolbar will appear below this tab.
 -
 Click Protect Document. This option is in the Review toolbar. Doing so opens a new window.
 -
 Enter a password. Type your preferred password into the "Password" text box at the top of the window.
 -
 Re-enter the password. When the verification text box appears, re-type your password into it. Your password entries must match in order for you to be able to continue.[2]
 -
 Click OK. It's a blue button at the bottom of the window. Doing so will save your changes and apply your password to the document. You'll need to enter the password whenever you want to open the document.
- Your document will remain encrypted if you send it to someone, so they'll need to know the password in order to open the document.
Method 3 of 6:
Using Microsoft Excel on Mac
-
 Open a Microsoft Excel document. Double-click the Excel document that you want to open.
 -
 Click the Review tab. It's at the top of the Excel window. A toolbar will appear below the Review tab.
 -
 Click Protect Sheet. It's on the right side of the Review tab's toolbar. Doing so will open a new window.
- If you want to password-protect all pages in the Excel workbook, click Protect Workbook' instead.
-
 Enter a password. Type your preferred password into the "Password" text field.
 -
 Re-enter your password. When the "Verify" text box appears, re-type your password into it. Your password entries must match each other.
 -
 Click OK. It's at the bottom of the window. This will close the password window.
 -
 Save your changes. Press ⌘ Command+S to do so. Your PowerPoint presentation will now require a password in order to open.[3]
- Your document will remain encrypted if you send it to someone, so they'll need to know the password in order to open the document.
Method 4 of 6:
Using Microsoft PowerPoint on Mac
-
 Open the PowerPoint document. Double-click the PowerPoint document that you want to password-protect.
 -
 Click File. It's a menu item in the top-left corner of the screen. A drop-down menu will appear.
 -
 Click Passwords. This option is in the File drop-down menu. Doing so will open a new window.
 -
 Check the "Encrypt this presentation and require a password to open" box. It's below the "Password to open" heading in the middle of the window.
 -
 Enter a password. Type a password into the "New password" text box.
 -
 Re-enter the password. When the "Verify" text box appears, re-type your password into it.
 -
 Click Set Password. This will confirm your password as long as both password entries match each other.
 -
 Click OK. It's at the bottom of the window. This will close the password window.
 -
 Save your changes. Press ⌘ Command+S to do so. Your spreadsheet will now require a password in order to open.[4]
- Your document will remain encrypted if you send it to someone, so they'll need to know the password in order to open the document.
Method 5 of 6:
Using Apple Products on Mac
-
 Open an iWork document. Double-click the iWork document that you want to protect to do so. Apple's iWork suite of software includes the following programs:[5]
- Pages - Used for rich text documents; similar to Microsoft Word.
- Numbers - Used for spreadsheets; similar to Microsoft Excel.
- Keynote - Used for slide presentations; similar to Microsoft PowerPoint.
-
 Click File. It's a menu item in the top-left corner of your Mac's screen. Clicking it will prompt a drop-down menu.
 -
 Click Set Password…. This option is near the bottom of the File drop-down menu. Doing so opens a pop-up window.[6]
 -
 Enter a password. Type the password that you want to use into the "Password" text box at the top of the pop-up window.
 -
 Re-enter the password. Re-type the password into the "Verify" text box. This will ensure that the password was correctly entered the first time.
 -
 Add a hint if you like. If you want to use a hint for the password in case you forget it, type the hint into the "Password Hint" text box.
- Do not use any part of the password in the hint.
-
 Turn off keychain if necessary. If you see a checkbox that says "Remember this password in my keychain" at the bottom of the window, make sure that the box is unchecked.
- If your Mac has a Touch Bar, you'll see an "Open with Touch ID" checkbox as well. You can check or uncheck this option as you please.
-
 Click Set Password. It's a blue button at the bottom of the window. Doing so will lock the document with your selected password; when you try to open the document in the future, you'll be prompted to enter the password before you can proceed.
- If you send the document to another Mac user, they'll also have to know the password in order to open the document.
Method 6 of 6:
Using SmallPDF for a PDF
-
 Open SmallPDF's protection page. Go to https://smallpdf.com/protect-pdf/ in your web browser. This website will allow you to add to your PDF a password that must be entered before the PDF can be opened.
 -
 Click Choose file. It's a link in the middle of the page. Doing so will prompt your computer's File Explorer (Windows) or Finder (Mac) window to open.
 -
 Select a PDF. Go to the location of the PDF that you want to password-protect, then click the PDF.
 -
 Click Open. It's in the bottom-right corner of the window. This will upload the PDF to the SmallPDF website.
 -
 Enter a password. Type the password that you want to use into the "Choose your password" text field, then re-enter the password in the "Repeat your password" text field below it.
- Your passwords must match each other in order for you to be able to continue.
-
 Click ENCRYPT PDF →. It's a red button below the password text fields. The password will be applied to your PDF.
 -
 Click Download File Now. You'll see this button on the left side of the page. Clicking it prompts the PDF file to download into your computer's default downloads folder, though you may first have to select a save location and click Save depending on your browser.
Was this article helpful?
Your feedback helps us improve.
Related Articles
 How to Password Protect a Microsoft Word Document3 minutes read
 Word 2016 Complete Guide (Part 25): How to check and protect Word documents3 minutes read
 How to remove personal information from a Word document3 minutes read
 How to Turn a Scanned Document Into Microsoft Word Document7 minutes read
 How to Password Protect PDF Files7 minutes read
 What is the API Document and why is it important?7 minutes read
Reader Comments 0
Sign in with email or Google to join the discussion.