How to Move Files from One PC User to Another
Method 1 of 2:
Moving Files between Users in Windows
-
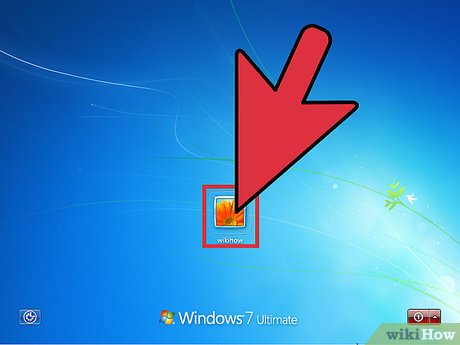
 Log into your user account when you first start Windows up. This will give you access to your files on your computer.
 -
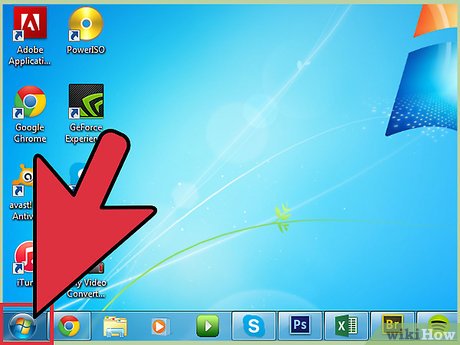
 Click the Start menu. This is located in the lower left of the desktop.
 -
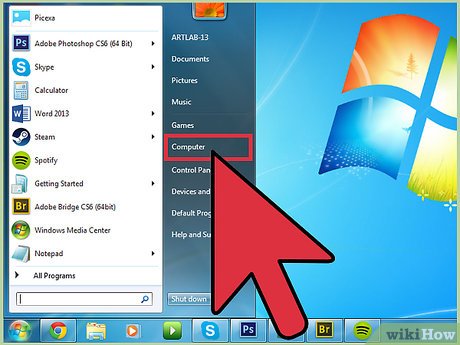
 Click on 'Computer' in the right panel of the menu. This will open the Windows Explorer in the My Computer directory.
 -
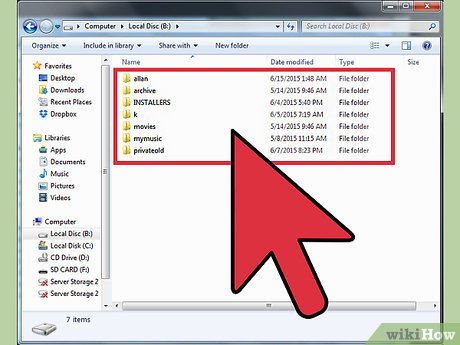
 Find the files you will transfer. Navigate to the folder where the files you want to transfer are located.
 -
 Select the files you want to transfer by highlighting them. Just click on the file to highlight it.
- If you want to highlight (or select) more than one file, hold the CTRL key while you click on each file you want to transfer.
- If you want to select all the files, press Ctrl + A to automatically select everything.
-
 Copy the files. After selecting the files, you can begin the transfer process, but it will depend on your Windows version:
- For Windows 7, click on the Edit menu in the menu bar, and a drop-down menu will appear. Click on either 'Move to Folder' to remove the folder from the current directory and transfer it to the target location, or 'Copy to Folder' to make a copy of the selected files.
- For Windows 8, the 'Move to' or 'Copy to' buttons at the top of the window will be activated after selecting the files. Choose either of the option, and then select 'Choose location' at the bottom of the extended menu.
-
 Select the location where to transfer the files to. After selecting either 'Move to...' or 'Copy to...,' select the Public folder as the target folder then click 'Move' or 'Copy.'
- Your files will be copied (or moved) to the Public folder. It's now only a matter of the other PC user logging into their account and taking the files from the Public folder.
Method 2 of 2:
Moving Files between Users in Mac
-
 Log into your Mac user profile. This will give you access to your files in your computer.
 -
 Find the files you want to move. Use the system's File explorer and head to the directory where the files you want to transfer are located.
 -
 Copy the files you want to transfer. Do this by selecting the files and then pressing the key combinations CMD + C.
 -
 Go to the Shared folder. Navigate to the Shared folder in the hard drive where the system files are installed; this is usually Macintosh HD. Click on 'Users' then 'Shared' to access the folder.
 -
 Paste the files inside the Shared folder. Other user accounts will now be able to view and use the files you put in the folder.
Share by
Isabella Humphrey
Update 24 March 2020


