How to Save Files to USB
This article shows you how to move, save, and download files to a USB attached to your computer..
Identify and mount the USB
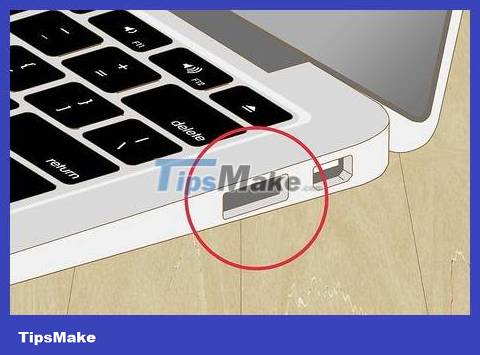
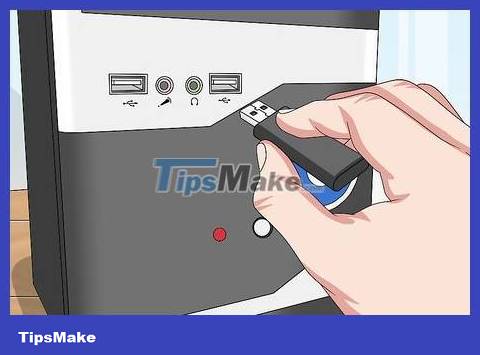
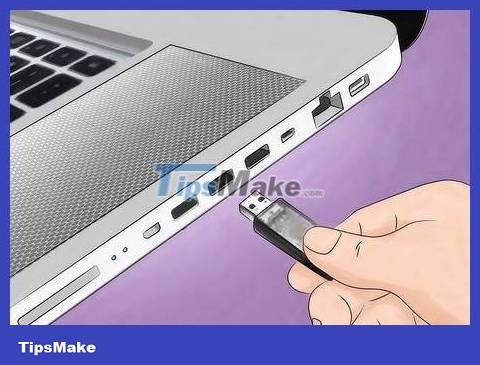
Find your computer's USB port. If using a laptop, the USB port is usually on the left or right side of the computer. Desktop users can find USB ports on the back or front of the case; iMac computers are equipped with a USB port on the back of the screen.
Determine your computer's USB port type. Modern computers usually have two main types of USB ports:
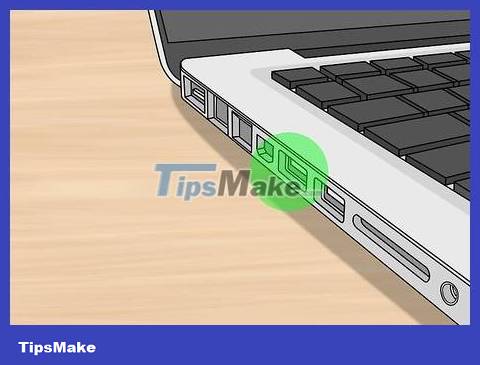
USB 3.0 - Flat rectangular slot, less than 2cm wide. You will see a thin piece of plastic in the top half of this slot. USB 3.0 ports are commonly found on most Windows computers and on Macs manufactured before 2016.
USB-C - Flat oval slot, just over 1cm wide. These ports are commonly found on MacBook and MacBook Pro computers, but some Windows laptops also have USB-C ports.
If your computer has both types of ports, you are free to use any port depending on your USB type.

Determine the type of USB you are using by looking at the metal connector of the USB:
If the rectangular connector has a piece of plastic inside, you have USB 3.0.
If the oval connector doesn't have any plastic inside, it's USB-C.

Purchase and install an adapter (if necessary). If the USB you want to use is USB 3.0 version, but your computer only has a USB-C port, you need to buy a USB-C adapter and attach it to the USB-C port on your computer.
This is the most common port type on MacBook and MacBook Pro computers from 2016 onwards; However, some Windows computers have switched to only having USB-C ports.
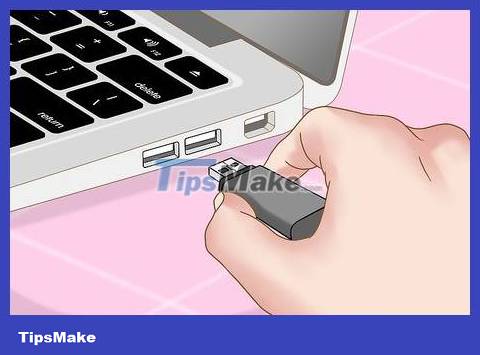
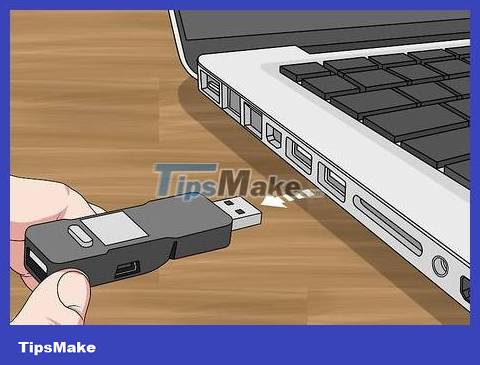
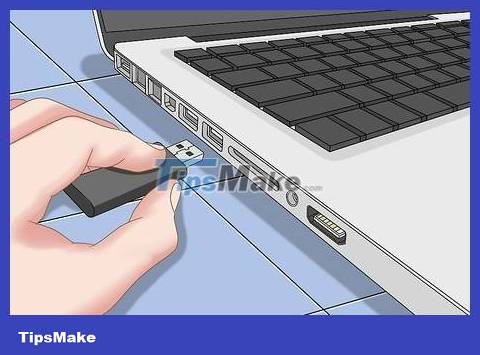
Insert the USB into the computer. If you use USB 3.0, you need to make sure the plastic piece in the USB connector is on the bottom so it can fit with the plastic piece on top of the USB 3.0 port.
USB-C type can be easily attached to the computer.
If you use a USB-C adapter, you'll insert the USB into the adapter's USB 3.9 port.
Copy files to USB on Windows

Make sure the USB is attached to the computer. Remember to insert the USB into the device before continuing.

Open File Explorer. Click the File Explorer window's folder icon in the taskbar, or press ⊞ Win+ E.
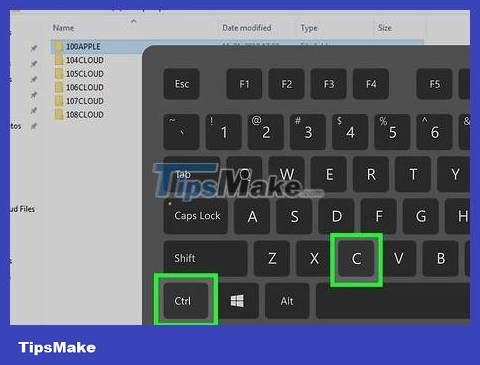
Copy files. Open the folder containing the file you want to copy, then left-click on the file and press Ctrl+ C.
If you want to copy multiple files, hold down the key Ctrlwhile clicking each file you want to copy.
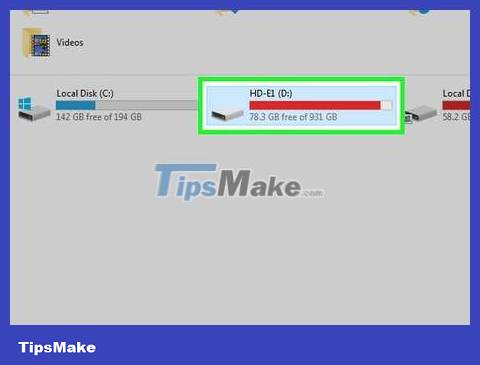
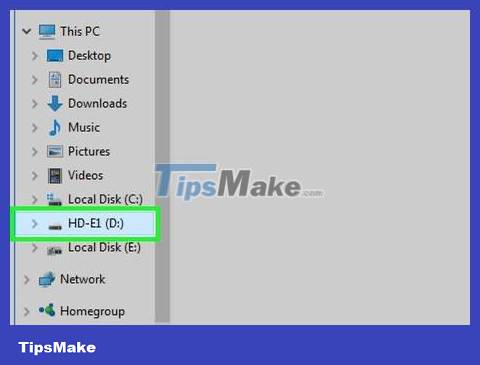
Click the USB's name on the left side of the File Explorer window. First, you may have to drag down the slider on the left side of the window.
If you don't see the USB's name, click This PC near the top of the left pane, then double-click the device's name in the "Devices and drives" section.
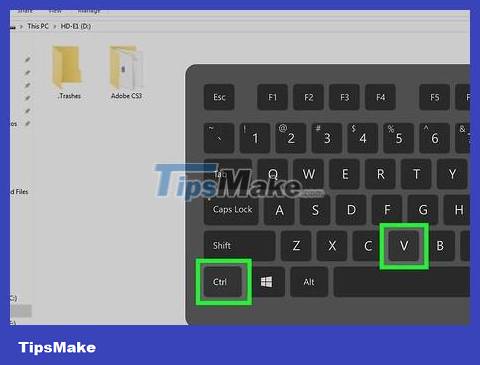
Paste the file. Click an empty space in the USB window, then press Ctrl+ V. You will see the copied files displayed in the File Explorer window.
If you want to paste files into a specific folder of the USB, double-click the folder before performing the paste operation.

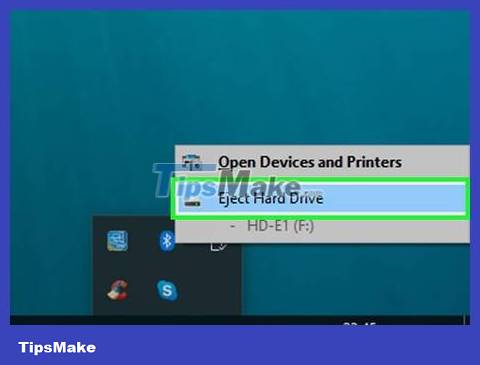
Eject the USB before you remove it from the computer. Ejecting the flash drive will require your computer to save the file, preventing data loss when you remove the drive:
Click the flash drive icon in the lower-right corner of the screen (you may have to click first), then click Eject Flash Drive .
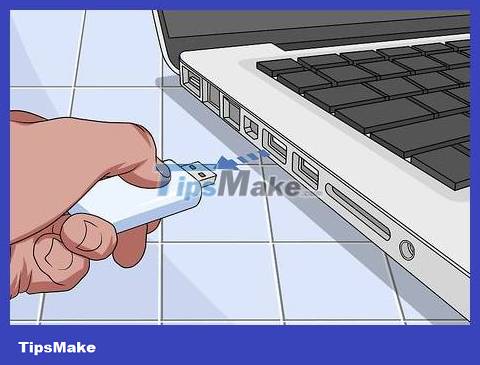
Remove the USB. After ejecting the drive, you can pull to remove the USB from the computer.
Copy files to USB on Mac

Make sure the USB is attached to the computer. Remember to insert the USB into the device before continuing.
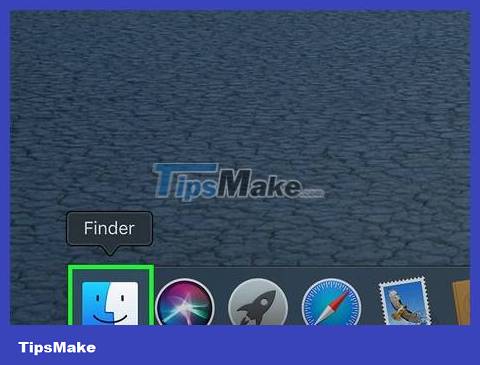
Open Finder by clicking the blue face icon in the Dock.
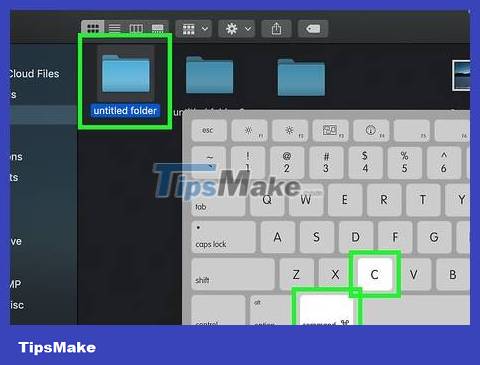
Copy files. Go to the folder you want to copy, then left-click the file and press ⌘ Command+ C.
If you want to copy multiple files, hold down the key ⌘ Commandwhile clicking each file you want to copy.
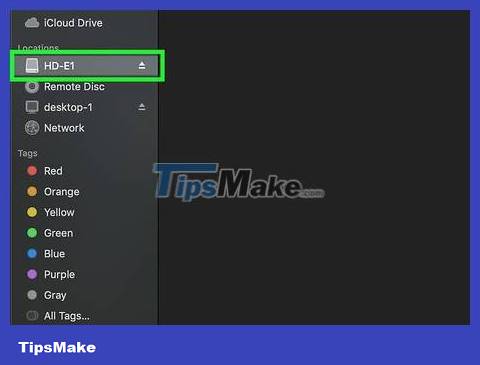
Open the flash drive. Click the USB's name in the lower left corner of the Finder window, under the "Devices" heading.
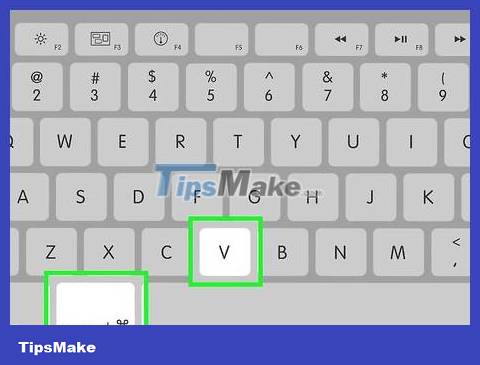
Paste the copied files by pressing ⌘ Command+V . You will see the file displayed in the Finder window.
If you want to paste files into a certain folder on the USB, double-click the folder before performing the pasting operation.

Eject the USB before you remove it from the computer. Ejecting the flash drive will require your computer to save the file, preventing data loss when you remove the drive:
Open Finder, then click the "Eject" icon to the right of the flash drive name in the lower left corner of the window.
Remove the USB. After ejecting the drive, you can pull to remove the USB from the computer.
Save files directly to USB

Make sure the USB is attached to the computer. Remember to insert the USB into the device before continuing.
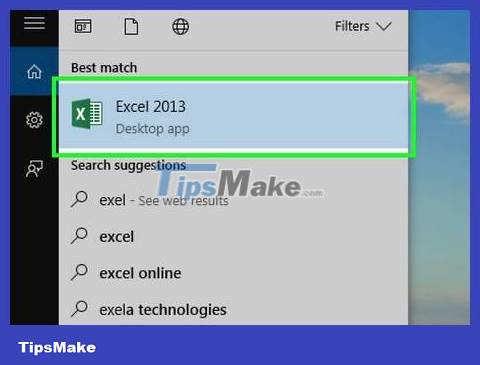
Open the program you want to use. Use the Start menu (on Windows) or Spotlight (on Mac) to find the program (if needed).
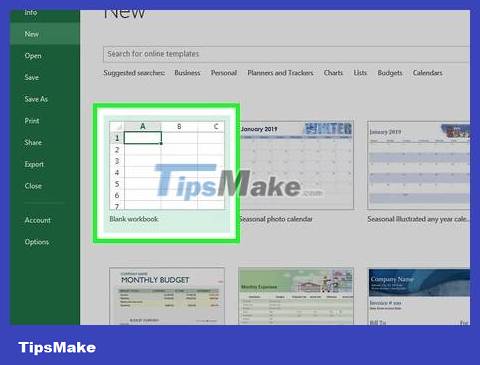
Create file (if needed). If you want to create a new file from a program to save to the flash drive, create the file before continuing.
Skip this step if you want to make a copy of the file on a flash drive.

Open the "Save As" window. If the document has not been saved, you can press Ctrl+ S(on Windows) or ⌘ Command+ S(on Mac) to open this window. Additionally, you can also do the following:
On Windows — Click File , then click Save As . If you are using Microsoft Office, double-click This PC after clicking Save As to open the File Explorer window.
On Mac — Click File , then click Save As. in the drop-down list.
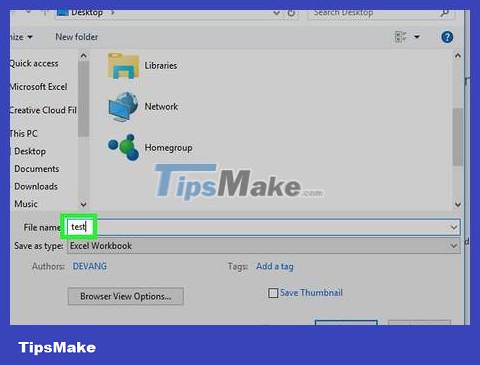
Name the document (if necessary). If you want to add a different name to the file, type it into the "File name" field (on Windows) or the "Name" field (on Mac).
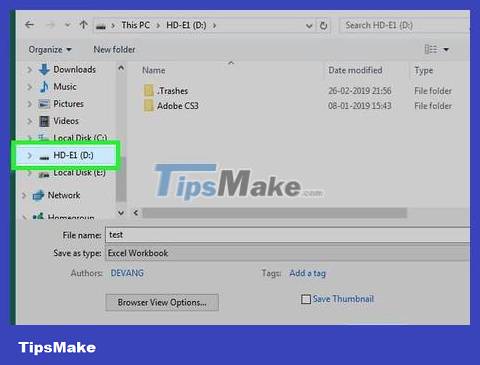
Choose your USB. Click the USB's name in the lower left corner of the window. First, you may have to pull down the slider on the left.
On a Mac, click the Where field and click the USB's name in the drop-down list or on the left side of the Finder window.
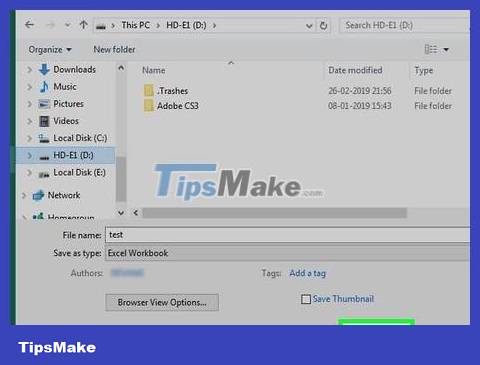
Click Save in the lower right corner of the window to save the file to the flash drive.
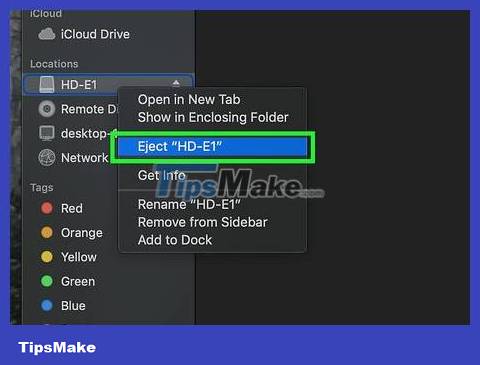
Eject the USB before you remove it from the computer. Ejecting the flash drive will require your computer to save the file, preventing data loss when you remove the drive:
On Windows — Click the flash drive icon in the lower right corner of the screen (click first ), then select Eject Flash Drive .
On Mac — Open Finder, then click the "Eject" icon to the right of the flash drive name in the lower left corner of the window.
Remove the USB. After ejecting the drive, you can pull to remove the USB from the computer.
Download data directly to USB
Make sure the USB is attached to the computer. Remember to insert the USB into the device before continuing.
Open your favorite browser. If you want to download files from the Internet to USB, open a browser (such as Chrome).
Make sure download confirmation is enabled. Most browsers automatically download data to your computer's "Downloads" folder, but you can have the browser ask you where you want to save the file by doing the following:
Chrome — Click the ⋮ icon in the upper right corner, select Settings , scroll down and select Advanced , drag the slider down to "Downloads" and click the gray slider " Ask where to save each file before downloading" (Ask where to save each file before downloading the file).
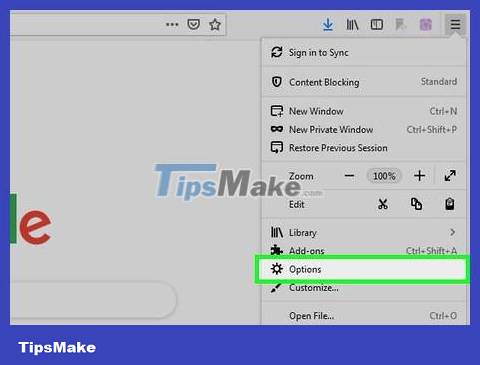
Firefox — Click the ☰ icon in the upper right corner, click Options (or Preferences on Mac), scroll down to "Files and Applications" and check the "Always" box ask you where to save files" (Always ask where to save files).
On Edge — Click ⋯ in the upper right corner, click Settings , scroll down and click View advanced settings , and click the gray "Off" slider in the "Off" section. Ask me what to do with each download" (Ask me what to do before each download). If the slider is blue, this setting is enabled.
On Safari — Click Safari in the upper left corner, select Preferences. , click the box in the "File download location" field, and click Ask for each download download) in the selection list.
Find the file you want to download. Use your web browser to go to the site or service where you want to download the file.
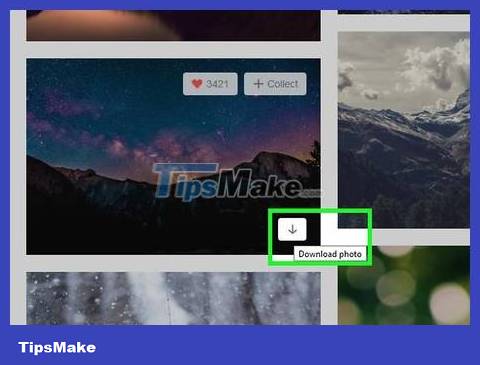
Click the Download button or link depending on the data you want to download. After clicking download file, the screen will display a new window.
Choose your USB. When asked to choose where to save the file, you need to click on the name of the USB in the left menu and select Save . This will download the file directly to your USB.
On a Mac, click Choose instead of Save .
If you want to save the file to a certain folder on the USB, double-click the folder before selecting Save .
Eject the USB before you remove it from the computer. Ejecting the flash drive will require your computer to save the file, preventing data loss when you remove the drive:
On Windows — Click the flash drive icon in the lower right corner of the screen (click first ), then select Eject Flash Drive .
On Mac — Open Finder, then click the "Eject" icon to the right of the flash drive name in the lower left corner of the window.
Remove the USB. After ejecting the drive, you can pull to remove the USB from the computer.
Troubleshoot USB problems
Make sure the USB is not full of data. USBs often fill up very quickly, especially old USBs with low capacity. Try deleting some files you don't need if your USB is full.
You can quickly delete data on USB by dragging files to the Recycle Bin (on Windows) or Trash (on Mac).
Check the file size you want to save to USB. Many USB drives do not store files larger than 4GB. If you need to save larger files, you will have to format the USB to another file system. See the next step for more details.

USB format . Formatting allows you to change the USB's file system, which is useful when you need to store more than 4GB of files or need to set up the USB for use on your computer. However, formatting will erase the USB's data.
If you want to save a file larger than 4GB, choose exFAT (on Windows) or ExFAT (on Mac).
USB formatted specifically for Windows will not be compatible with Mac computers and vice versa. Formatting the USB into a compatible format will help you fix this problem.