How to Install the Volume Control Program to Your Windows XP Desktop
In Windows XP, the volume control program can be found in the notification area, which is the area normally located in the bottom right corner of the desktop next to the time and date. Sometimes, the volume control program can disappear as...
Table of Contents
Method 1 of 2:
Display the Volume Control Program on the Desktop
-
 Click on the "Start" menu on your Windows XP desktop.
 -
 Click on "Sounds and Audio Devices."
- Some versions of Windows XP may first require you to click on "Sounds," then "Speech," then "Audio Devices" before clicking on "Sounds and Audio Devices."
-
 Place a checkmark next to "Show volume control on the taskbar."
 -
 Click "OK." The volume control program will then show up within the notification tray on your Windows XP desktop.
Method 2 of 2:
Install the Volume Control Program on the Desktop
-
 Insert your Windows XP installation CD into your computer's disc drive.
- Press and hold the "Shift" key while inserting the installation disc to prevent it from starting up automatically.
-
 Click on the "Start" button and select "Run."
 -
 Type "cmd" into the "Open" box, then click "OK." The command prompt window will display.
 -
 Type the letter of the drive you inserted the installation disc into, followed by a colon. For example, if you inserted the disc into your "E" drive, type "E:"
 -
 Press "Enter" to execute the command.
 -
 Type "cd i386" and press "Enter."
 -
 Type "expand sndvol32.ex_ %systemroot%system32sndvol32.exe" and press "Enter."
- If you store your Windows system files at "C:Windows," then type "expand sndvol32.ex_ c:windowssystem32sndvol32.exe" instead.
-
 Type "exit," then press "Enter." This command will close out the command prompt window.
 -
 The volume control program will now display in the notification tray of your Windows XP desktop.
3.5 ★ | 2 Vote
- How to Dismount a Volume
- 8 useful Windows 10 audio control tools
- Error handling cannot install updates and program settings
- How to Increase Your Volume on a Computer
- Use volume HD Recovery to reinstall or troubleshoot OS X
- How to change the volume control interface on Windows 10
- How to enable / disable Bluetooth Absolute Volume in Windows 10
- How to Change Laptop Volume in Windows
- 7 ways to fix low volume in Windows 10
- How to fix the volume control swipe error on AirPods
MORE LIKE THIS
- How to Check if Your Computer Is 64 Bit
- How to Enable IP Routing
- How to Shut Down or Restart Another Computer Using CMD
- How to Format a Pendrive if Windows is Unable
- How to Code a Phrasal Template Word Game Using Javascript
- How to Set Up a Lightweight LAMP VM
- How to Use Excel VBA Variable Data Types
- How to Write a C++ Program That Determines if a Word Is a Palindrome or Not
- How to Make a Program Using Notepad
- How to Format Text as Code in Discord
-
 Table of common BSOD error codes on Windows 11 and Windows 10
-
5 ways to fix Wi-Fi disconnection issues on Windows 11 laptops.
-
Windows 11 Error Code Table and Most Common Issues When Updating Windows
-
Useful AI features in Windows 11
-
Laptop displaying a blue screen: Causes and effective solutions.
-
How to quickly split the screen on a Windows 10, 11, and macOS laptop.
 Table of common BSOD error codes on Windows 11 and Windows 10
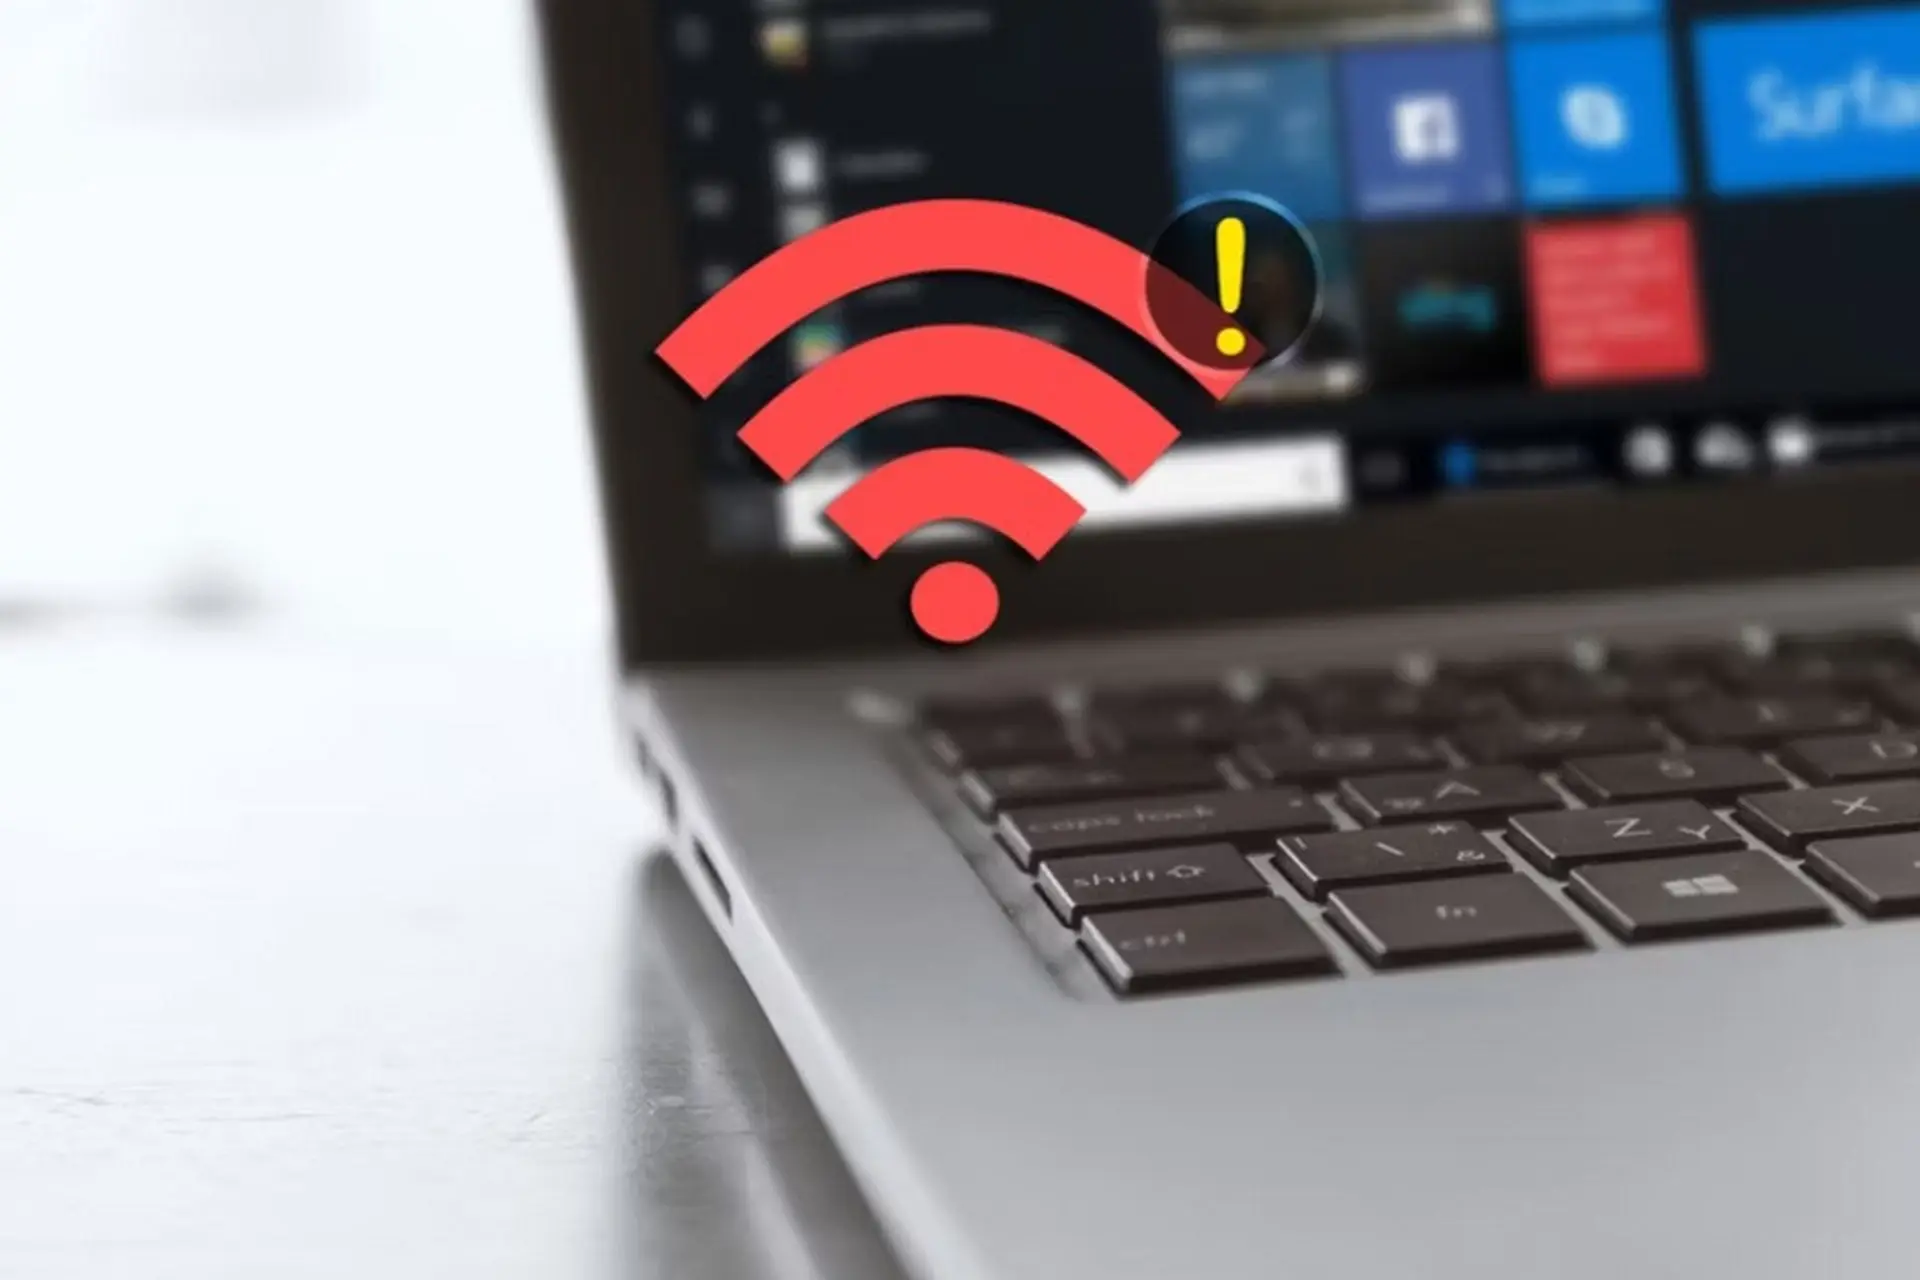 5 ways to fix Wi-Fi disconnection issues on Windows 11 laptops.
 Windows 11 Error Code Table and Most Common Issues When Updating Windows
 Useful AI features in Windows 11
 Laptop displaying a blue screen: Causes and effective solutions.
 How to quickly split the screen on a Windows 10, 11, and macOS laptop.