How to Reduce Screen Scaling in Windows 8
Windows 8 is the latest OS in the Windows series, and on tablets the Desktop view is made larger so it can be touched easier. The only issue is that it compromises the look of some desktop applications. Open Control Panel. In Windows 8.1,....
Method 1 of 2:
Reduce ALL Display Scaling
-
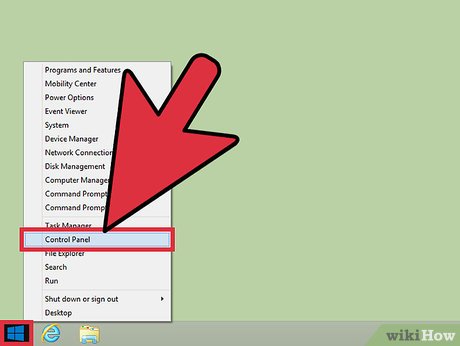 Open Control Panel. In Windows 8.1, you can right click the Windows logo and select Control Panel.
 -
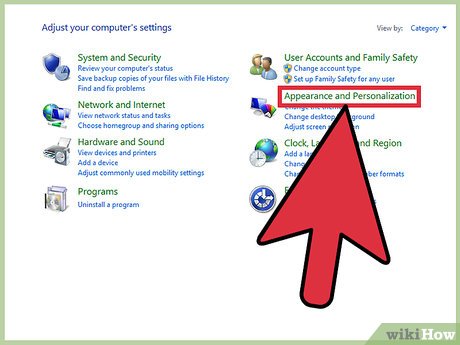 Click on Appearance and Personalization.
 -
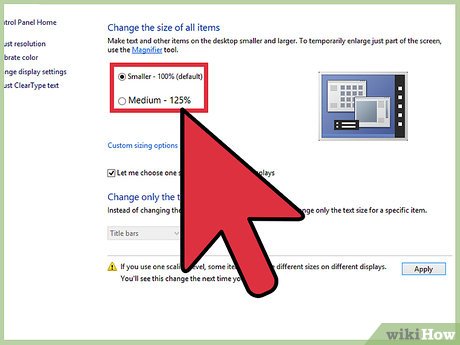 Click on Display and select the scaling option you want. On the Surface Pro, 150% is the default option.
 -
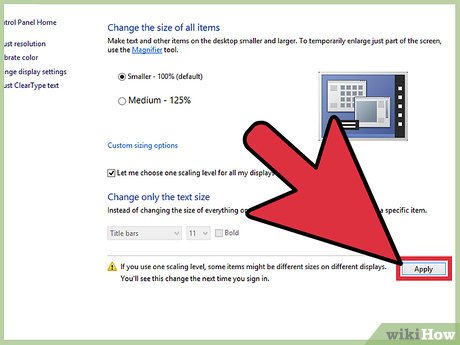 Click Apply. You will need to sign out of your computer to have these changes take effect.
Method 2 of 2:
Reduce Scaling on a Specific Application
-
 On your desktop, right click the program you want to reduce scaling on and select 'Troubleshoot Compatibility'. This will open a troubleshooting window.
 -
 Click 'Troubleshoot Program' and select 'The program opens but doesn't display correctly'.
- This will show the compatibility settings Windows has selected for the program. It should say 'Display settings: Scaling on high DPI'.
-
 Test the program. Just use the button in the troubleshooting window. If you like how it appears, click Next, then you're done!