How to Install phpMyAdmin on Windows
Use the available Apache server
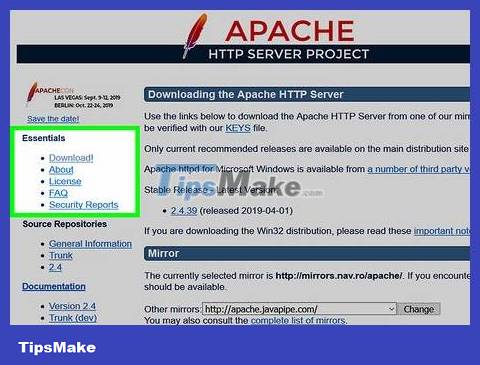
Make sure you have Apache, PHP, and MySQL installed. Apache, PHP, and MySQL must be installed and set up on your computer first before you can install phpMyAdmin this way.

Open the phpMyAdmin download page. Visit https://www.phpmyadmin.net/ on your browser.

Click the green Download button at the top left of the page. The phpMyAdmin ZIP folder will begin downloading to your computer.
You'll also see the version number right next to the Download button (for example, with the November 2017 version of phpMyAdmin, you'd click Download 4.7.5 ).
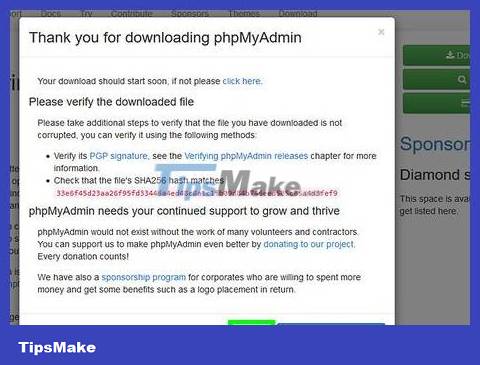
Click Close when prompted to return to the phpMyAdmin website.

Double-click the phpMyAdmin ZIP folder to open it.

Copy the contents of the phpMyAdmin folder. Click the phpMyAdmin folder in the ZIP folder window, then press Ctrl+ C.
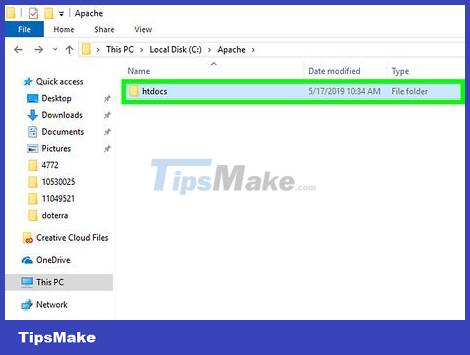
Go to Apache's home directory. This is usually a folder named "htdocs" located in the "Apache" folder on the "C:" drive.
Apache's home directory usually contains a text document named "index.php" or similar.
The fastest way to get to this folder is to click This PC on the left side of the window, double-click the Apache folder and then double-click the htdocs folder (or similar).

Paste the copied folder into the home folder. Click Ctrl+ Vto paste the phpMyAdmin clipboard folder into the Apache home directory.

Rename the copied folder to phpmyadmin. Click the phpMyAdmin folder, click Home , select Rename in the toolbar, type phpmyadminin the folder name field, and then click ↵ Enter.

Open the PHP folder. This folder is located in the "C:" drive along with the "Apache" folder. Once you find the PHP folder, double-click to open it.
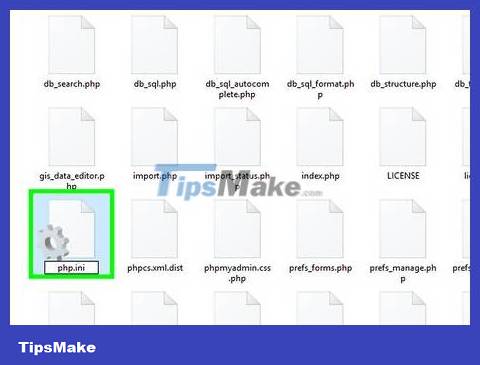
Find and rename the file "php.ini-production" to php.ini.
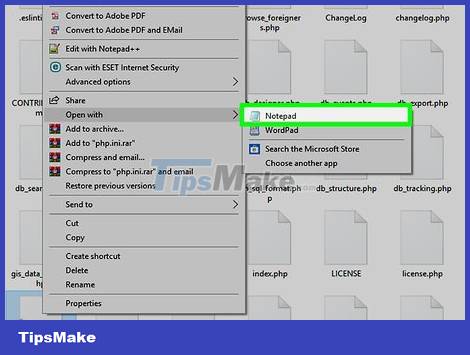
Double click the "php.ini" file . The default text editor (such as Notepad) will open, however you may need to select Notepad from the list and click OK first.

Find the line "extension=php_mbstring.dll" and remove the semicolon. You will see a semicolon to the left of this line of text.
Or, you can press Ctrl+ Fto launch the "Find" window and then enter this line of text to find.
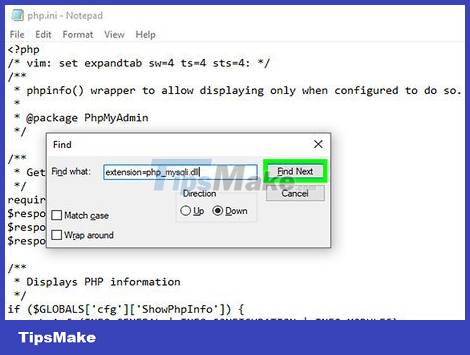
Find the line "extension=php_mysqli.dll" and remove the semicolon. Once completed, the phpMyAdmin server is ready to be accessed.
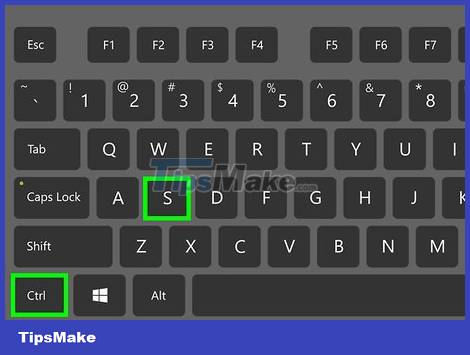
Save changes and exit Notepad. Press Ctrl+ Sto save, then click the X in the upper right corner of the Notepad window to exit.

Run the Apache server. Open Command Prompt in Administrator mode by right-clicking Start , clicking Command Prompt (Admin) and then clicking Yes when prompted, next do the following:
Type cd /Apache24/binthen click ↵ Enter(replace "Apache24" with the Apache folder name).
Type httpd -k restartthen press ↵ Enter.

Check out the phpMyAdmin program. Open a web browser, then type http://localhostin the address bar and press ↵ Enter. You will be taken to the phpMyAdmin login page.
Use WAMP
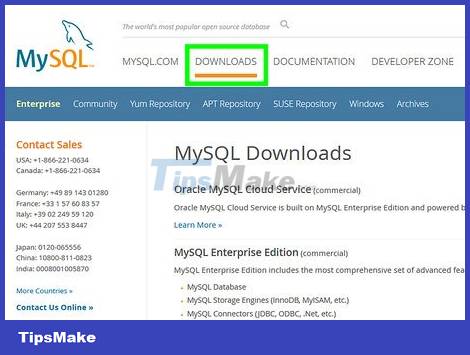
Make sure you have MySQL installed. WAMP does not create the server itself, the program only allows you to interact with the server available on your computer.
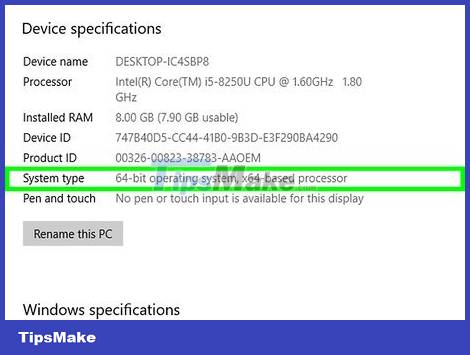
Check your computer's bit number to determine the WAMP version to download.
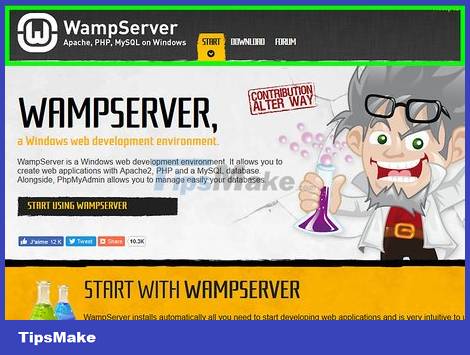
Open the WAMP website. Visit http://www.wampserver.com/en/ in a web browser.
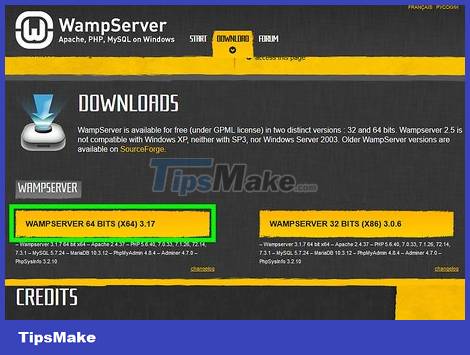
Scroll down and click WAMPSERVER 64 BITS or WAMPSERVER 32 BITS . Depending on your computer's bit count, click on the appropriate option. Then a window will pop up.

Click the download directly link at the top right of the pop-up window. You will be taken to the Source Forge page to download the WAMP version.

Click the green Download button near the top of the page. WAMP will begin to download to your device.
Wait a few minutes for the program to finish downloading.

Install WAMP. Double-click the WAMP installation file and do the following:
Click Yes when prompted.
Select the language then click OK
Check the "I accept the agreement" line and click Next
Click Next three times.
Click Install

Wait a few minutes for WAMP to finish installing.
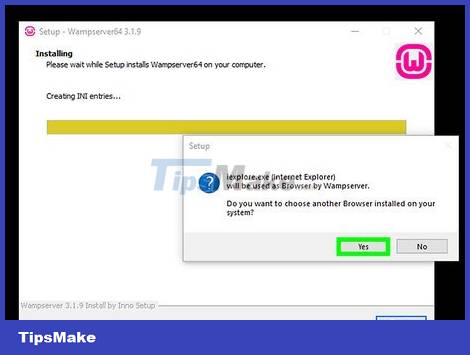
Select a browser when prompted. Click Yes , browse for the EXE file of your favorite browser, select it and click Open .
For example, to select Chrome, you must find and click the Google folder on the left side of File Explorer, double-click the Chrome folder and then select the Chrome icon.
If you only want to use Internet Explorer, click No .
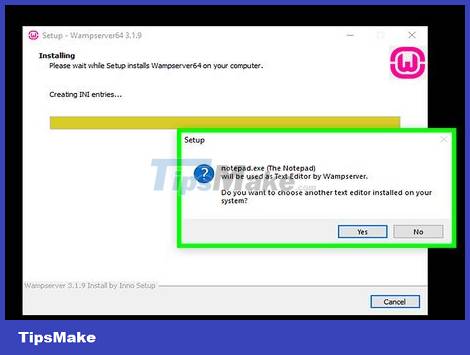
Choose another editor if necessary. If you don't want to use Notepad as your server text editor, click Yes when prompted, then find the EXE file of the text editor you want to use, select it, and click Open .
Click No if you want to keep Notepad as your default text editor.

Complete setup. Click Next , then click Finish on the final WAMP window. So WAMP has been successfully installed on the computer.
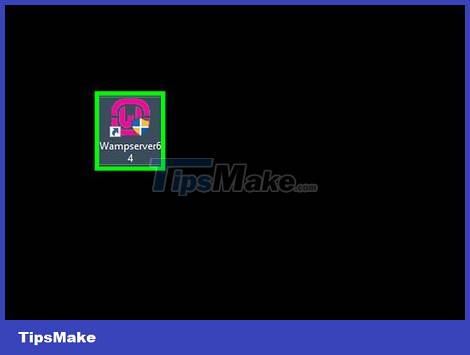
Open WAMP. Double-click the pink "Wampserver" icon on the desktop, then click Yes when prompted. Your server will be started.

Click the WAMP icon in the system tray. Click the orange or green WAMP icon located on the right side of the Windows toolbar. A menu will pop up.
You may need to click the up arrow in the toolbar to see the WAMP icon.

Click phpMyAdmin. It's near the top of the pop-up menu. If the server is installed correctly, the phpMyAdmin login page will appear in the default browser.