How to Insert Lines in Word
This article shows how to create many types of straight lines in Microsoft Word on a Windows or Mac computer.
Table of Contents
Draw straight lines on Windows

Open Word. Click or double-click the Word program that resembles a white "W" on a blue background.
If you want to draw a straight line in an existing Word document, simply open the document by double-clicking and skip the next step.
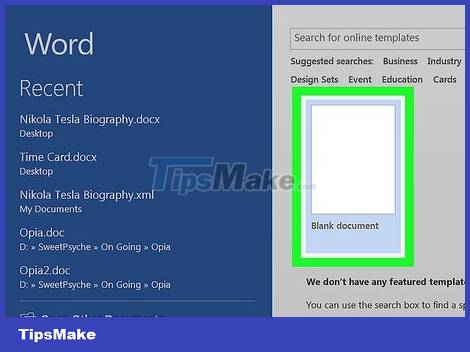
Click Blank document . It's the option in the top left corner of the page.
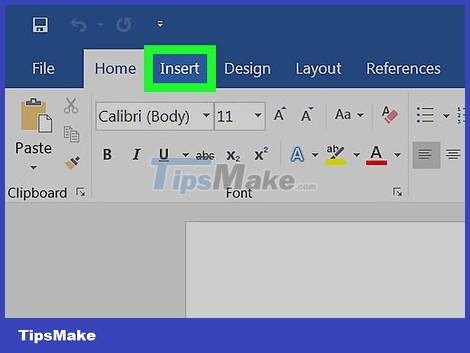
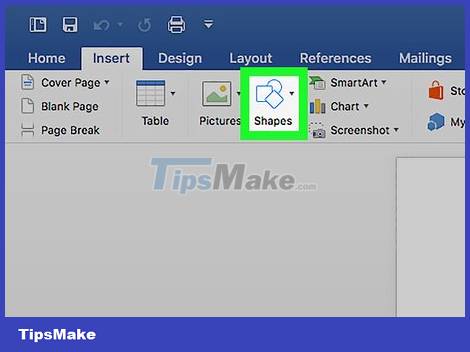
Click the Insert tab . This is the card in the blue section at the top of the Word window.

Click Shapes . This option is available in the Insert toolbar . A menu will appear here.

Choose a straight line. Under the "Lines" heading, you'll click one of the available lines.

Draw straight lines. Click and drag the mouse over the part where you want to insert a straight line in the Word document to do this.
You can move the line by clicking and dragging it. Additionally, you can also adjust the length and direction of the line by clicking and dragging the circle at one end (or in the middle) of the line.
Draw straight lines on Mac

Open Word. Click or double-click the Word program with the white "W" icon on a blue background.
If you want to draw a straight line in an existing Word document, just open the document by double-clicking and skip the next step.
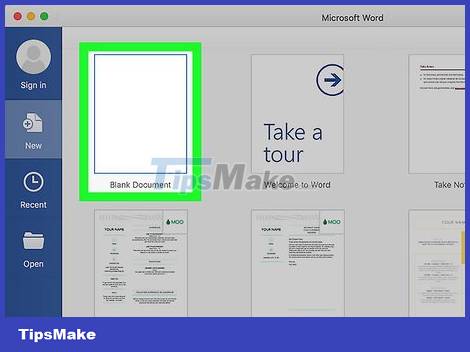
Click Blank document . It's the option in the top left corner of the page.
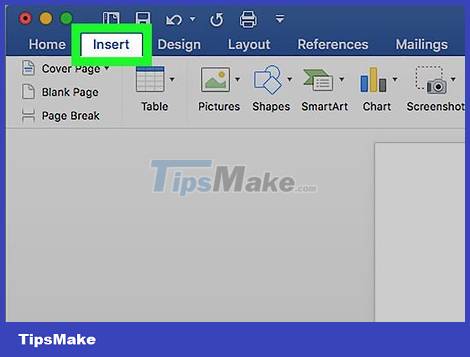
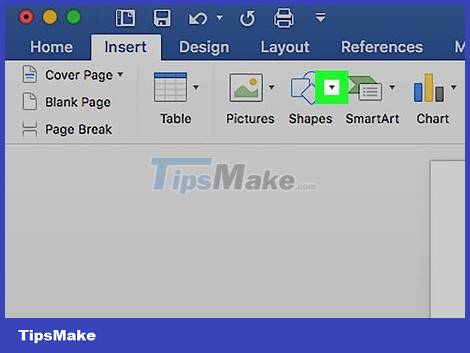
Click the Insert menu. This button appears in the gray toolbar at the top of your Mac screen. A menu immediately appears here.
Click Shape… (Shape). This is an option in the Insert menu . You will see a window displayed on the screen after this operation.
Click on the selection box. This selection is at the top of the currently displayed menu. A list of options immediately appears here.

Click Lines and Connectors . This is the selection in the displayed list.
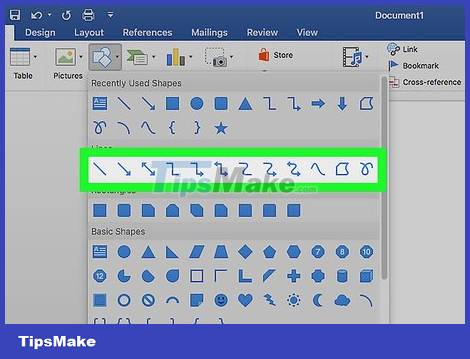
Select sample path. Click one of the selections (such as a line) in the window that appears.

Draw straight lines. Click and drag over the part where you want to insert a line in the Word document to do this.
You can move the line by clicking and dragging it. Additionally, you can also adjust the length and direction of the line by clicking and dragging the circle at one end (or in the middle) of the line.
Use keyboard shortcuts

Find out how. You can use key combinations to create many other types of lines extending from the left margin to the right margin of a Word document.
Open Word. Click or double-click the Word program that resembles a white "W" on a blue background.
If you want to draw a straight line in an existing Word document, simply open the document by double-clicking and skip the next step.

Click Blank document . This is the option in the top left corner of the page.
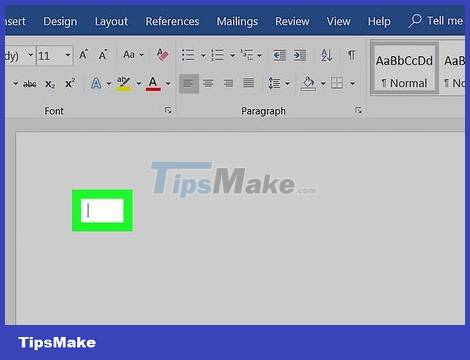
Place the cursor where you want to insert the line. You need to place the cursor on a blank line, because this won't work if there's content before or after the cursor on the same line.
You will create a horizontal line extending from the left margin to the right margin of the text. This straight line will lie within the predefined margin limits.

Type three dashes consecutively. Use the dash key on the number row at the top of the keyboard, or on the numeric keypad.

Press ↵ Enterto convert dashes into straight lines. This automatically creates a straight line right below the content line.
Note, the line does not overlap the text lines but only appears between the text lines.
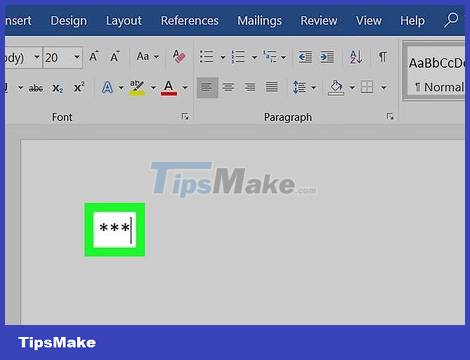
Use a few more characters to create a different line style. Besides dashes, you can use a number of other characters to create more line styles:
Enter ***and press ↵ Enterto create a dotted line.
Enter ___(three underlined lines) and press ↵ Enterto create a bolder line.
Enter ===and press ↵ Enterto create two parallel lines.
Enter ###and press ↵ Enterto create a style of three parallel lines with a bold middle line.
Enter ~~~and press ↵ Enterto create a wavy line.

Move the line by entering text directly above the line. You can move the line down by entering the text just above and pressing ↵ Enter.
Deleting the text above the line will move the line up.
Was this article helpful?
Your feedback helps us improve.
Related Articles
 How to Insert a Dotted Line in Word5 minutes read
 How to Insert Fillable Fields on Word on PC or Mac5 minutes read
 How to Insert Lines in HTML3 minutes read
 How to create text wallpaper in Word5 minutes read
 How to insert sound into Word documents3 minutes read
 How to insert an Outlook contact in Word2 minutes read
Reader Comments 0
Sign in with email or Google to join the discussion.