How to Insert a Dotted Line in Word
Use keyboard shortcuts

Open the Word document you want to edit. Find and double-click the document on your computer, or open the Word application and select the document you want to edit.
You can also open a completely new document.
This key combination can be used on any version of Word whether mobile device or computer.
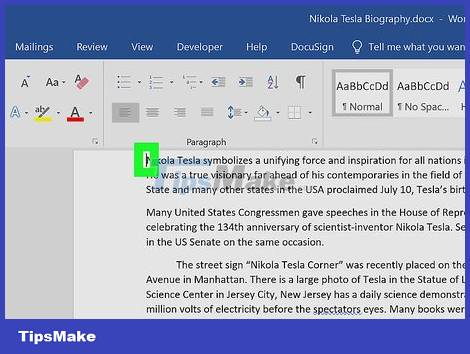
Click where you want to add the dotted line. You can create horizontal dotted lines anywhere on the page.
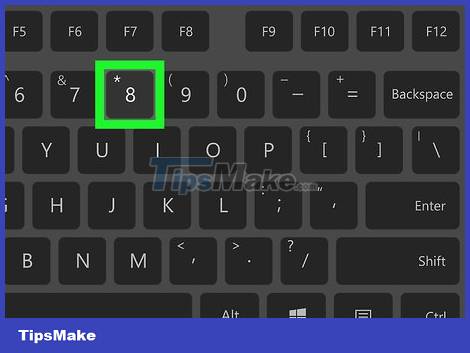
Type ***on the keyboard. This keyboard shortcut will allow you to create dashed lines on the page.
Or you can use the combination ---, ===, ___, ###and ~~~for different styles.

Press ↵ Enteror ⏎ Return. A dashed horizontal line will appear on the page.
Use the Insert tool on your computer

Open the Word document you want to edit. Find and double-click the document on your computer, or open the Word application and select the document you want to edit.
You can also open a completely new document.
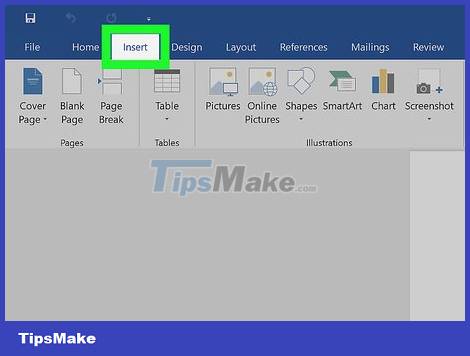
Select the Insert tab from the toolbar. This button is at the top of the tool pane.
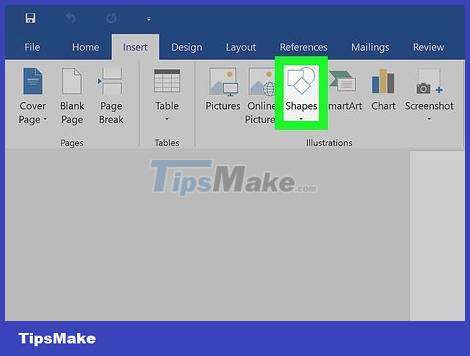
Select Shapes from the Insert toolbar. This button has a triangle, square, and circle icon in the toolbar. A menu containing shapes opens.
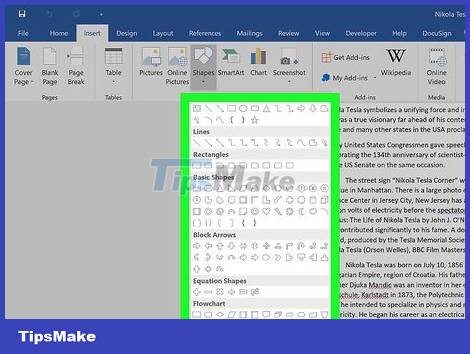
Select the type of line you want to add. You can create the following dotted line.

Click and draw the line in the document. After selecting a shape, you can use your mouse and draw a line anywhere in the document.
After drawing, you can click and drag the corners of the line shape, changing the size, angle, or position.
You can also click and drag this line anywhere in the document.
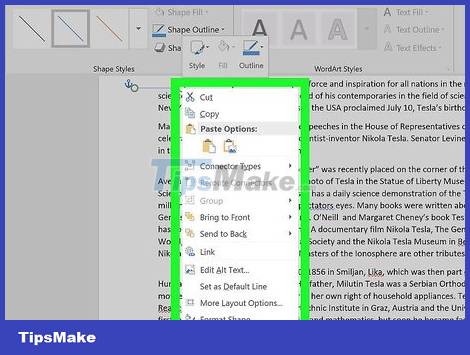
Right click on the line. Right-click options will open in a drop-down menu.

Click Format Shape in the right-click menu. The formatting pane will open on the right.
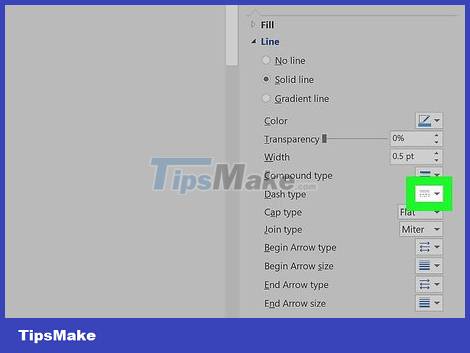
Click the Dash type selector in the formatting pane. Dot and dash options will appear.
If you don't see this section, you first need to click on the paint bucket icon in the upper left of the "Format Shape" box and select Line from this menu to expand the options.

Choose dot or dash type. The straight line will turn into the dot or dash style you choose.
In addition, you can adjust Width , Transparency and other properties of the line here.
Use the Insert tool on mobile devices

Open the Word app on your phone or tablet. This app has a blue and white document page icon. You can find it on your home screen or app tray.

Select the document to edit. This document will open.
Or you can create a new document altogether.

Click the "Edit" icon at the top, in the blue toolbar. The editing menu will open in the bottom half of the screen.
On iPhone/iPad , this button is in the blue toolbar with a white " A " and pencil icon.
On Android , you can find a similar icon or maybe just a white pencil.
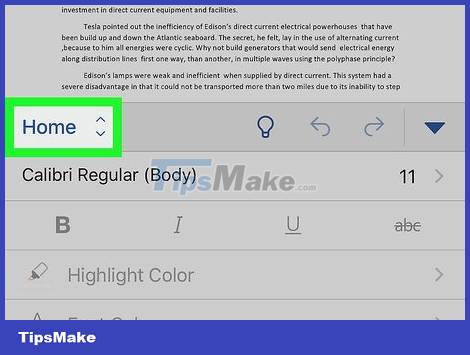
Click the Home button in the upper left corner of the bottom toolbar. The tools tab opens.
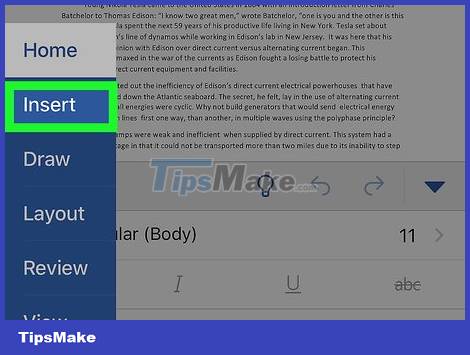
Select Insert from the toolbar menu. Available options will appear.
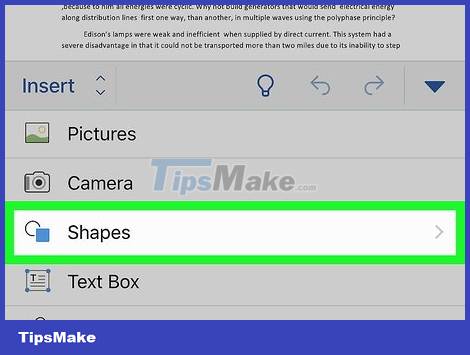
Select Shape . A menu with available shapes opens.
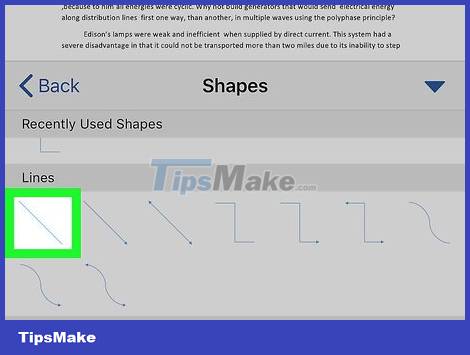
Select the line style you want to add. The selected line will appear in the document.
You can add a dot later.

Drag the blue points at both ends of the line to customize if desired. You can adjust the size and position of the line through the blue dots at both ends.
Or you can do it after adding the dashed line to the line.
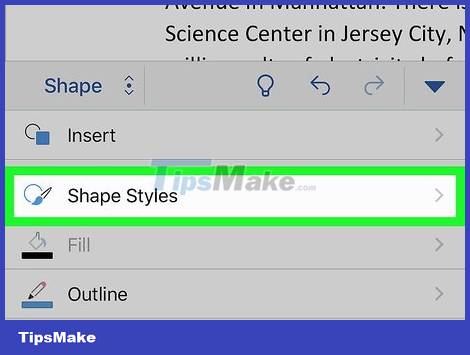
Click Shape Style in the Shape menu. The available line types will appear.
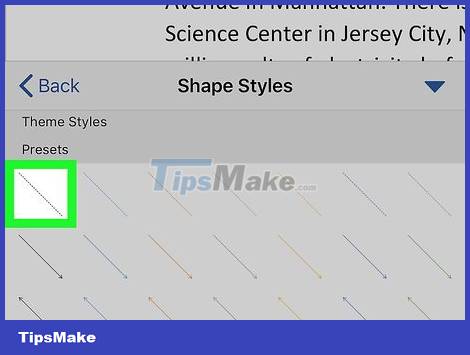
Select the dashed line style. The selected line will turn into a dashed line. You can freely adjust the size and position of the object.