Table of Contents
Freeze Rows or Columns So They Stay Visible
Key Takeaways About Insert a Headline in Excel
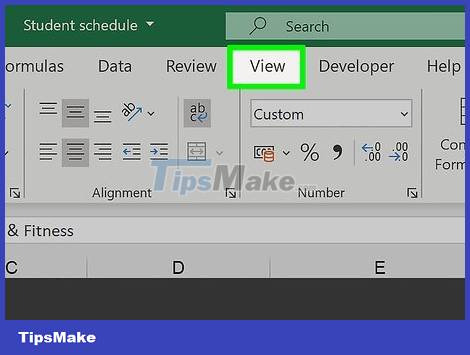
- Freeze rows or columns so they stay visible Click the View tab.
- If you want to set a row of data to always be visible even when you scroll down, you can choose to freeze that row.
- You can set this row to print on all pages.
Key Details About Insert a Headline in Excel
Click the View tab. If you want to set a row of data to always be visible even when you scroll down, you can choose to freeze that row.
You can set this row to print on all pages. This is very useful when using a spreadsheet with many pages. Read the next section for more details.
Directly select the frame inside the row or column you want to freeze. You can set Excel to freeze certain rows or columns so they are always visible. First, click on a box in the corner of the area you want to unlock.
For example, if you want to lock the first row and first column on the screen, check cell B2. The entire left column and row above will be frozen.

Click the "Freeze Panes" button and select "Freeze Panes." This locks the row above the selected cell and the column to the left of the selected cell. For example, if you select cell B2, the first row and first column will be locked on the screen.

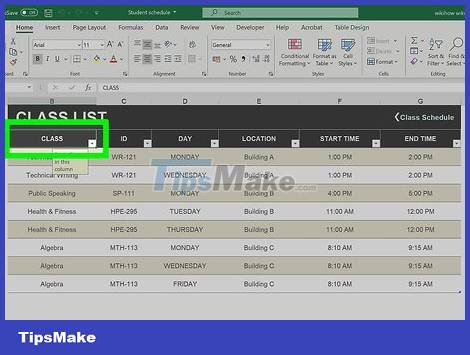
Add emphasis to the subject line (optional). To create visual contrast for this row, you can center the text, highlight it, add a background color, or draw a border below this cell. This is a way to help readers pay attention to the headline when reading data in the table.
Print Header Lines on Multiple Spreadsheet Pages
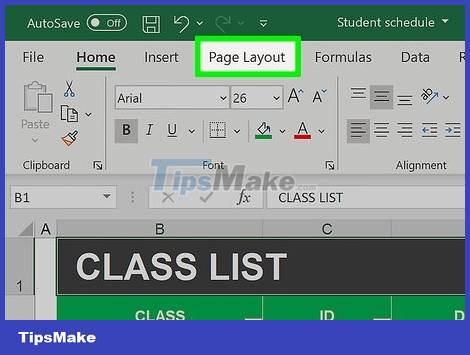
Click the Page Layout tab. If you need to print a multi-page spreadsheet, you can set up one or more rows to print at the top of each page.
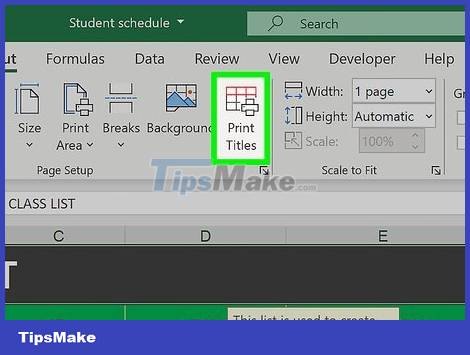
Click the "Print Titles" button. You can find this button in the Page Setup section.
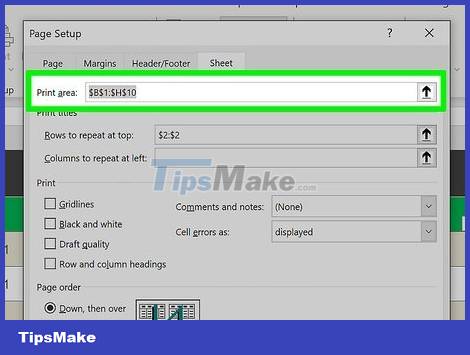
Select Print Area as the cell containing the data. Click the button next to the Print Area field and drag the mouse to select the entire data area you want to print. Do not select columns or header rows.

Click the button next to "Rows to repeat at top" . This button allows you to select one or more lines as headings.

Select the line you want as the title. The selected line appears at the top of each printed page. This method is quite effective when reading spreadsheets with many pages.
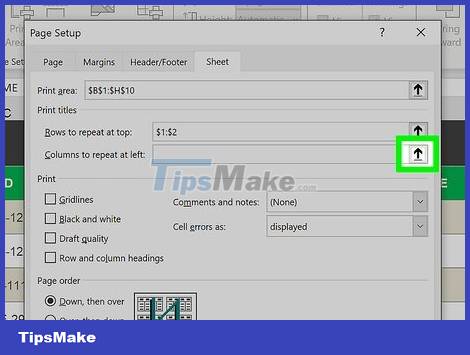
Click the button next to "Columns to repeat at left" . This button allows you to select one or more columns that appear sequentially on each page. These columns play the same role as the rows you selected in the previous step, they will appear on each printed page.

Set up header or footer (optional). Click "Header/Footer" and insert a header and/or footer into the document you want to print. You can write your company name or document name at the top of the page and insert the page number below. This is also a way to organize pages for readers.
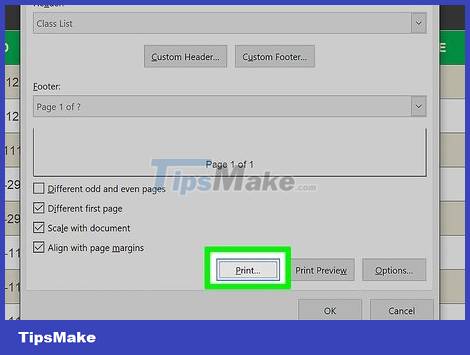
Print the table. You can now send the spreadsheet to the printer, and Excel will print the data set with the headers and columns repeated in the Print Titles window.
Create Headers in the Table

Select the data you want to create a table. When you convert data to a table, you can use the table to manipulate the data. One of the functions of a table is to set column titles. Note, this title is not the same as the spreadsheet's title column or the printed title.
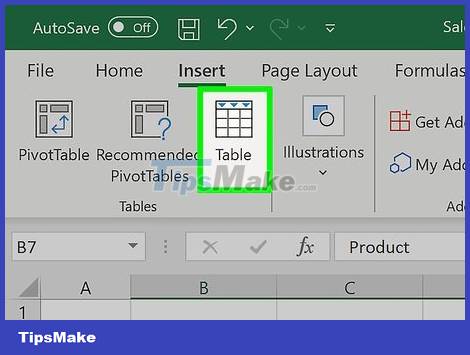
Click the Insert tab and then click the "Table" button. Confirm your selection is correct.
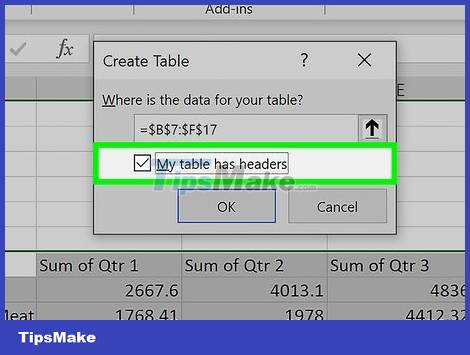
Check the "My table has headers" dialog box and click "OK". The program will create a table from the selected data. The first row selected will automatically be moved to the title column.
If you do not select "My table has headers", the header row will use the default name. You can edit the name by clicking the box.
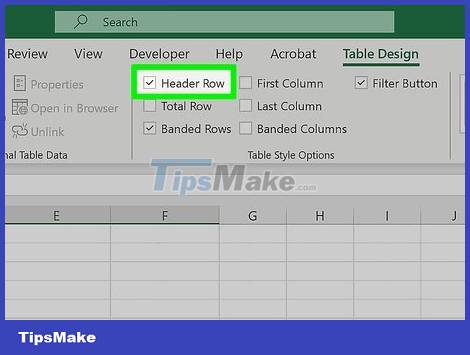
Enable or disable headers. Click the Design tab and select or deselect the "Header Row" dialog box to enable or disable the header. You can find this option in the Table Style Options section of the Design tab.
Frequently Asked Questions
How do you Insert Headlines in Excel?
Freeze rows or columns so they stay visible Click the View tab.
What should you check before working with Insert a Headline in Excel?
If you want to set a row of data to always be visible even when you scroll down, you can choose to freeze that row.
What can you do if the first method does not work?
You can set this row to print on all pages.
Was this article helpful?
Your feedback helps us improve.
Related Articles
 How to Fix Columns and Headlines in Excel: Step-by-Step4 minutes read
 How to Insert a Word Document into an Excel File4 minutes read
 How to Insert a Batch Image into Excel Box: Insert Images into Excel7 minutes read
 Instructions for Inserting a PDF File into Excel Spreadsheet4 minutes read
 Insert Line Shortcut in Excel - Shortcut Insert Excel4 minutes read
Reader Comments 0
Sign in with email or Google to join the discussion.