How to Automatically Report on Excel
With external data (MySQL, Postgres, Oracle, etc.)
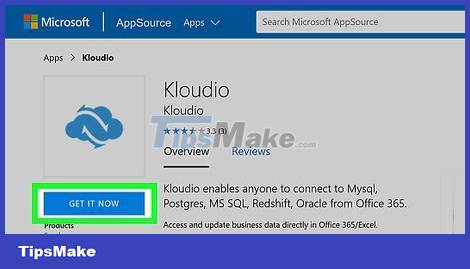
Get Kloudio's Excel plug-in from Microsoft AppSource. The above utility will allow you to create a persistent connection between an external source or database and your workbook collection. This plug-in also works with Google Sheets.
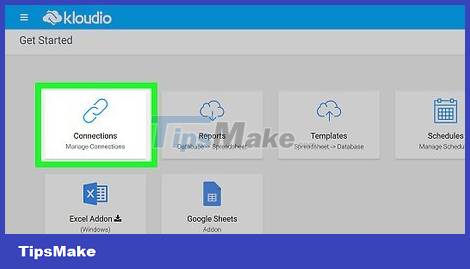
Create a connection between your spreadsheet and an external data source by clicking the + sign on the Kloudio portal. Enter the database details (database type, credentials) and select any security/encryption options if you are working with confidential or corporate data.
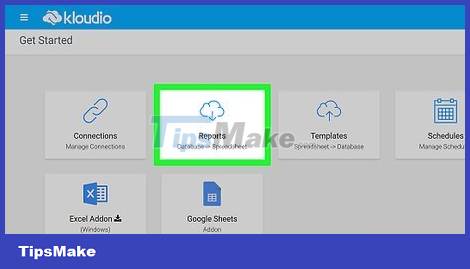
After creating the connection between the spreadsheet and the database, you'll be able to query and create reports from external data right in Excel. Create custom reports from the Kloudio portal, then select the document in the drop-down menu right in Excel. You can apply any filter and refresh frequency to the report (business spreadsheets can be automatically updated weekly, daily, even hourly).

Additionally, you can import data into a connected spreadsheet and update it to an external data source. Create an upload template from the Kloudio portal, then you'll be able to upload changes from your spreadsheet to an external data source either manually or automatically.
With data available in Excel

If the data to be reported is being stored, updated, and maintained in Excel, you can automate the reporting process with Macros. Macros are built-in features that allow us to automate complex and repetitive tasks.
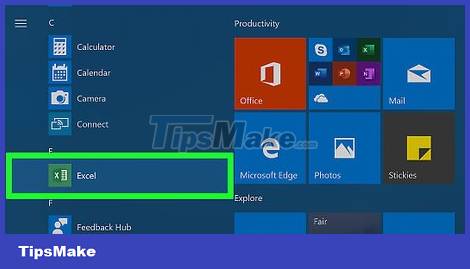
Open Excel. Double-click (or click on a Mac) the Excel app that looks like a white "X" on a green background, then click Blank Workbook on the template page.
On a Mac, click File and select New Blank Workbook from the drop-down menu that appears.
If you already have an Excel report that needs to be automated, double-click the file to open the document in Excel.

Enter spreadsheet data if necessary. If you haven't added a number or label for the column you want to automate results for, do so before continuing.

Enable the Developer tab . By default, the Developer tab is not displayed at the top of the Excel window. Depending on your operating system, you can enable this card as follows:
On Windows — Click File > Options > Customize Ribbon on the left side of the window, check the "Developer" box at the bottom left of the window (you may need to scroll down first), then Click OK .
On Mac — Click Excel > Preferences. > Ribbon & Toolbar and check the "Developer" box in the "Main Tabs" list, then click Save .
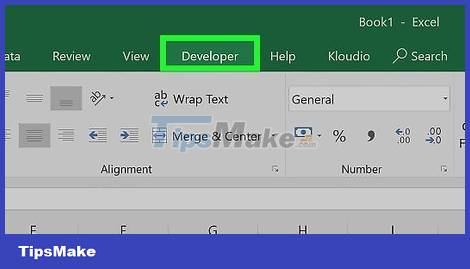
Click Developer . This tab is now displayed at the top of the Excel window. A toolbar will appear here.
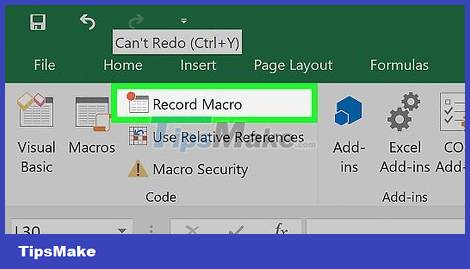
Click Record Macro in the toolbar. A window will pop up.
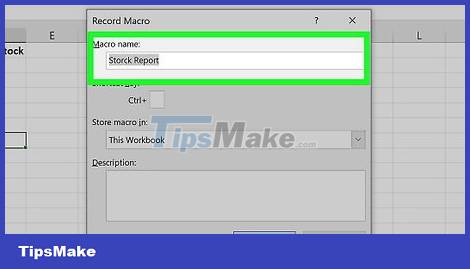
Enter a name for the macro command. In the "Macro name" text box, enter a name for the macro command. This will help you identify macro commands later.
For example, if you create a macro command to export a chart from existing data, you might name the command "Chart1" or something similar.
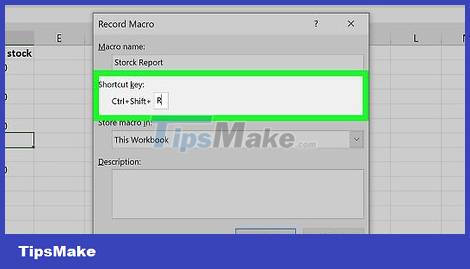
Create keyboard shortcuts for macro commands. Press the key ⇧ Shiftsimultaneously with another key (such as the letter T) to create a shortcut key combination for a macro command later.
On a Mac computer, the shortcut key combination will be ⌥ Option+ ⌘ Commandand some key (for example ⌥ Option+ ⌘ Command+ T).
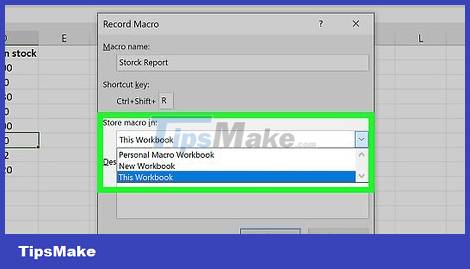
Save the macro command to the current Excel document. Click the "Store macro in" drop-down box and select This Workbook to make sure the macro command is available to anyone using the current workbook.
You will need to save the Excel file in a specific format for the macro command to be saved.
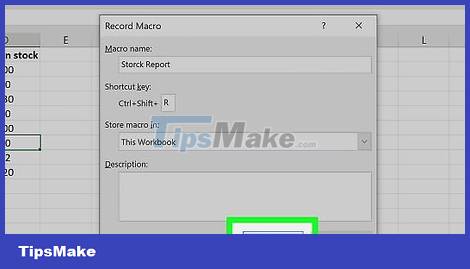
Click OK at the bottom of the window. Once the macro command's settings are saved, you will be put into recording mode. Everything you do from now until you stop recording will be saved.
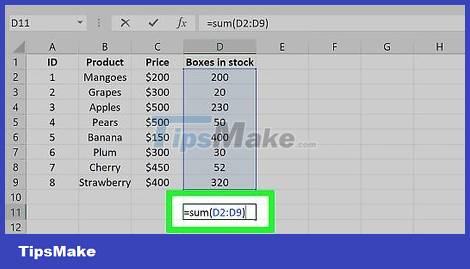
Proceed with the steps you want to automate. Excel tracks every mouse click and keystroke to format the options you enter and add them to the macro list.
For example, to select data and create a chart from it, you'll highlight the data, click Insert at the top of the Excel window, choose a chart type, and click the chart format you want to use. Use and edit the chart if necessary.
If you want to use a macro command to add values from cells A1 to A12 , click the empty cell, type =SUM(A1:A12), and press ↵ Enter.
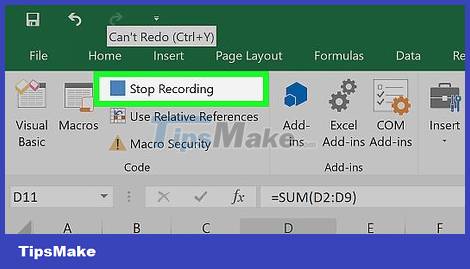
Click Stop Recording . The option is in the toolbar of the Developer tab . The program will stop recording and save all the actions you performed during the recording process as a macro command.
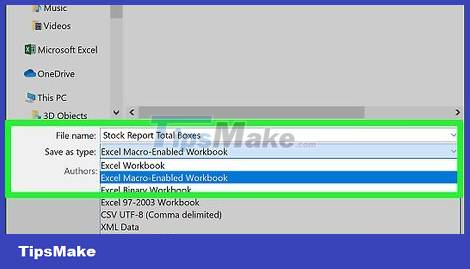
Save an Excel spreadsheet as a macro-enabled file. Click File , select Save As and change the file format to xlsm instead of xls . You can then enter a file name, select a save location, and click Save .
If you don't do this, the macro command won't be saved as part of the workbook, which means users on other computers won't be able to use the macro if you send them the workbook.
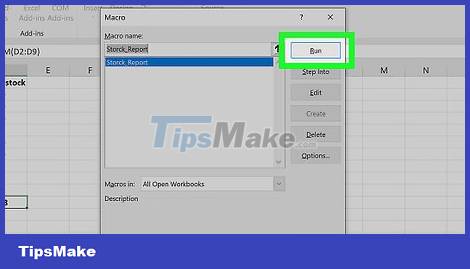
Execute macro commands. Press the key combination you created as part of the macro command to proceed. The spreadsheet will automatically perform the steps in the macro command.
You can also execute a macro command by clicking Macros in the Developer tab , selecting the name of the macro, and clicking Run .