Table of Contents
Overview
This guide explains how to insert a photo into a shape in Photoshop in clear, practical terms. It covers the key concepts, recommended steps, common limitations, and useful checks so you can make a better-informed decision.
This tutorial will show you how to insert a photo into a shape using Adobe Photoshop. As you will see, it is easy to place a photo into any type of shape, from a basic rectangle or circle to a fancy custom shape. This tutorial will use a custom shape and the article will show you how to load all the missing shapes into Photoshop so you have a wide range of options.
Step 1: Create a new document
Start by creating a new Photoshop document. If you're on the main screen, click the New file button.

Or you can go to the File menu in the menu bar and select New.

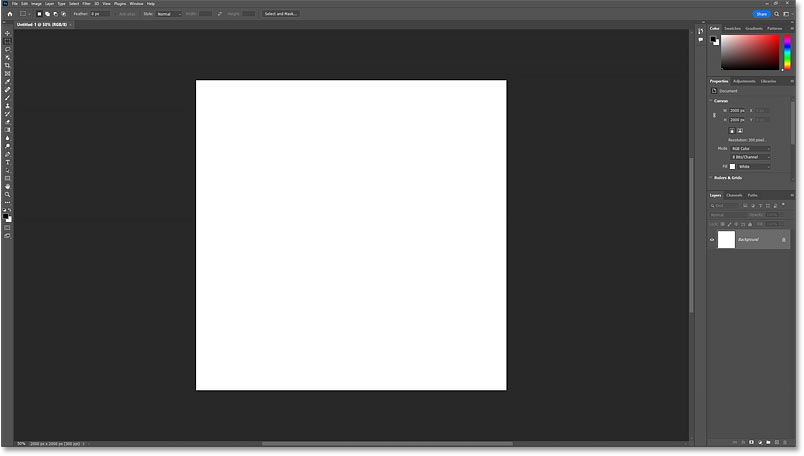
Either way, the New Document dialog box will open, where you can enter the necessary settings in the right column. The example will create a square document by setting both Width and Height to 2000 pixels.
Since we'll be placing an image into the shape and images are usually saved at a higher resolution, change the Resolution value to 300 pixels per inch and leave the Background Contents set to White.

Then click the Create button.

And Photoshop creates a new document.
Step 2: Open the Shapes panel
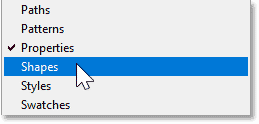
The quickest way to draw custom shapes in Photoshop is to add them from the Shapes panel. To open this panel, go to the Window menu and select Shapes.
The Shapes panel opens in the sub-panel column to the left of the main panels. You can show or hide the panel by clicking the panel icon.
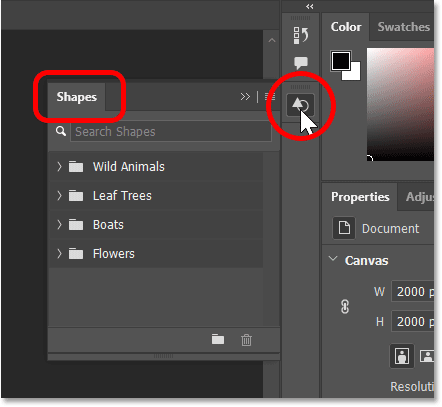
At first, all we see are default shapes divided into groups.
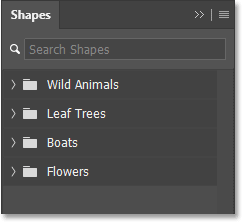
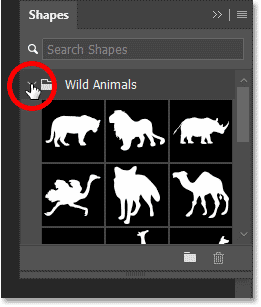
You can rotate any group to reveal the shapes inside that group by clicking the arrow next to that group's folder icon.
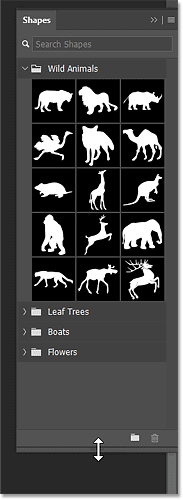
And you can drag the bottom of the Shapes panel down to expand and see multiple shapes at once.
Step 3: Load the missing shapes
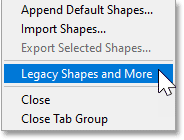
To load all the missing shapes available in Photoshop, click on the Shapes panel menu icon.

Then, select Legacy Shapes and More.
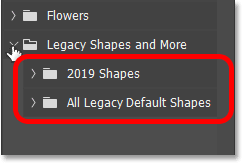
A new Legacy Shapes and More group appears below the defaults.
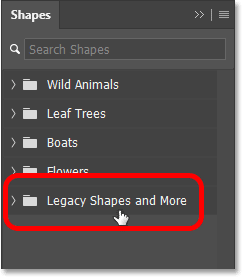
And inside there are two more groups. 2019 Shapes contains hundreds of new shapes added to Photoshop 2020. And All Legacy Default Shapes contains classic shapes from older versions of Photoshop.
Step 4: Choose a shape
This tutorial will use one of the classic shapes. The example will open the All Legacy Default Shapes group.
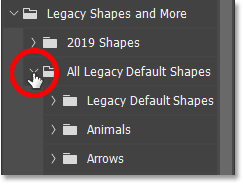
Then scroll down to Nature and click to open.
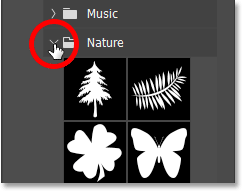
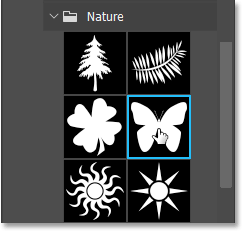
And inside Nature, use the butterfly shape.
Step 5: Drag and drop the image onto the canvas
To add a shape, simply click and drag a shape thumbnail from the Shapes panel and drop it onto the canvas.
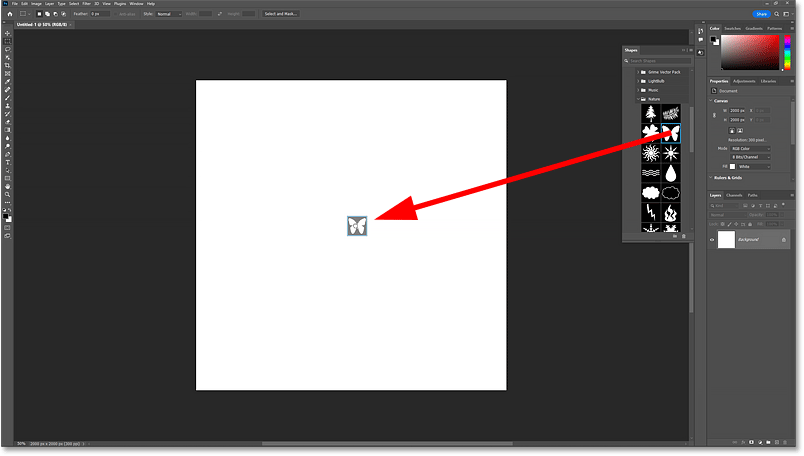
Photoshop draws the shape when you release the mouse button.
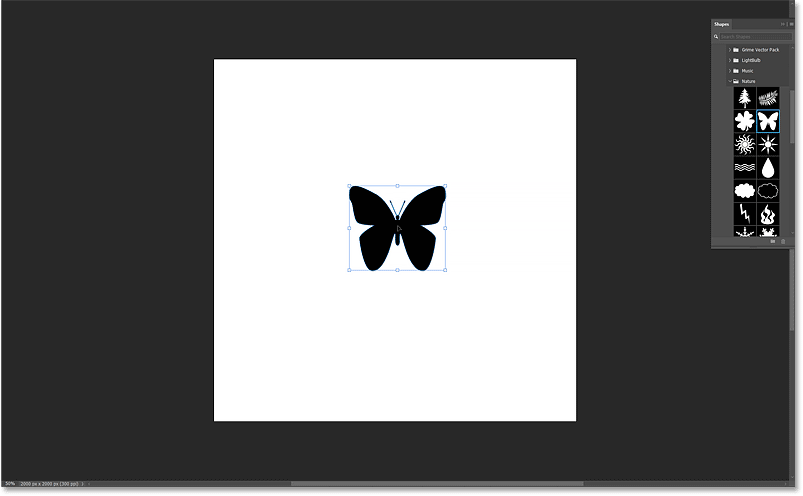
Step 6: Resize and center the image
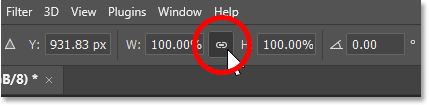
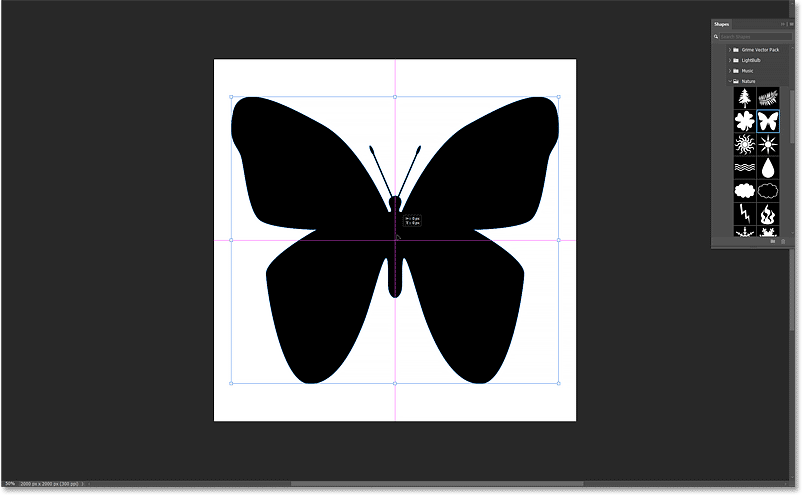
Before resizing the image, go up to the Options Bar and make sure the link icon is selected between the Width and Height fields so that the image's aspect ratio is locked.
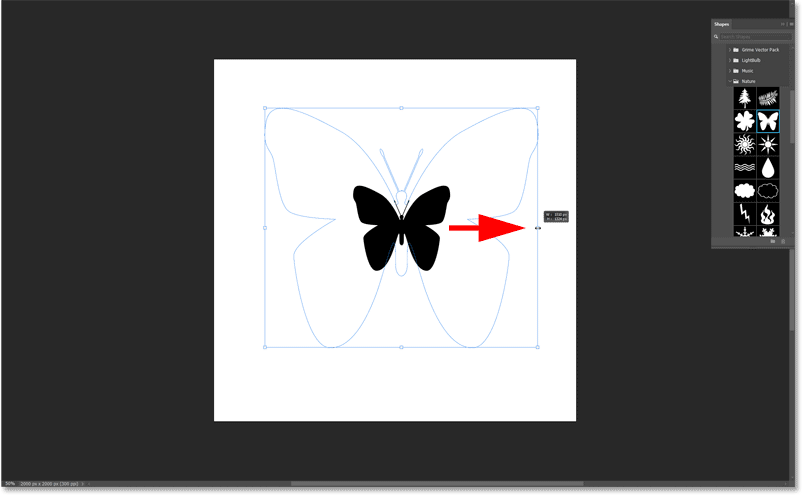
Then, resize the shape by clicking and dragging any of the transform handles. If you hold down the Alt (Win) / Option (Mac) key on your keyboard as you drag, you'll resize the shape from its center.
Click and drag the shape to the center of the canvas. As you get closer to the center, it will snap into place.
Then click the check mark in the Options Bar to accept.
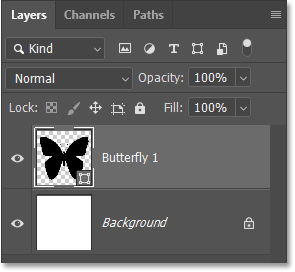
In the Layers panel, the shape appears on its own layer. We know it's a shape layer by the icon in the lower right corner of the thumbnail.
Step 7: Check the Fill and Stroke options in the Properties panel
With the shape layer selected, the Properties panel gives access to all of the shape's options, including Fill and Stroke.
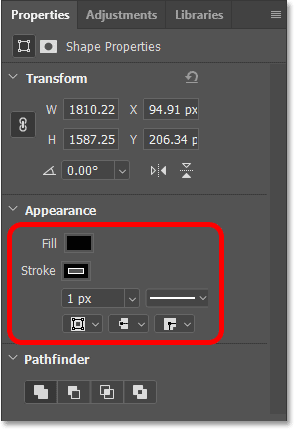
By default, Photoshop uses black for the Fill color, which is okay since we won't see that color anyway after inserting the image into the shape.
But Photoshop also adds a 1 pixel black stroke around the shape.
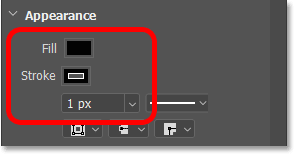
You can add Stroke later if you want. But for now, turn off Stroke by clicking on the Stroke color swatch:
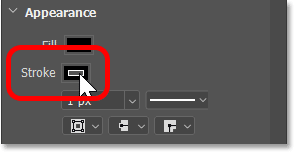
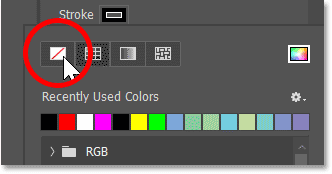
And click the No Color icon in the upper left corner of the panel. Then click outside the panel to close it or press Enter (Win) / Return (Mac) on your keyboard.
Step 8: Place the image in the document
Next, we'll place our image into the document. And since we want the image to appear in the same document as our shape, let's use Photoshop's Place Embedded command.
Go to the File menu and select Place Embedded.
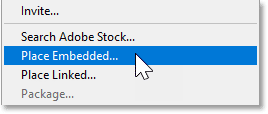
Navigate to where the image is saved on your computer. In our example, the image is in a folder on the desktop. Click the image to select it, then click Place.
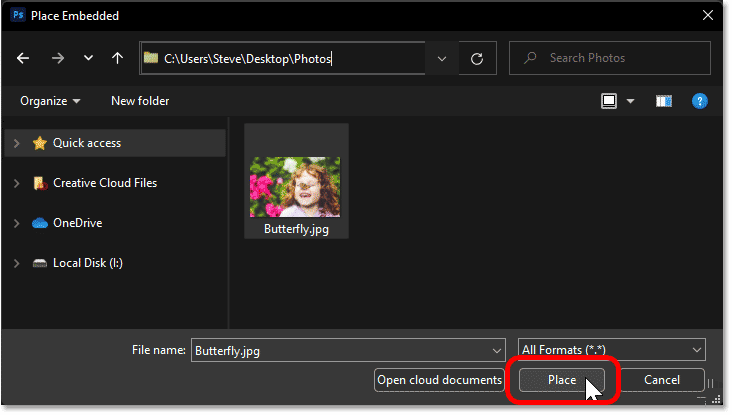
Photoshop will add the image in front of the shape. If the image is larger than the document size, Photoshop will resize it to fit. The image used is from Adobe Stock.
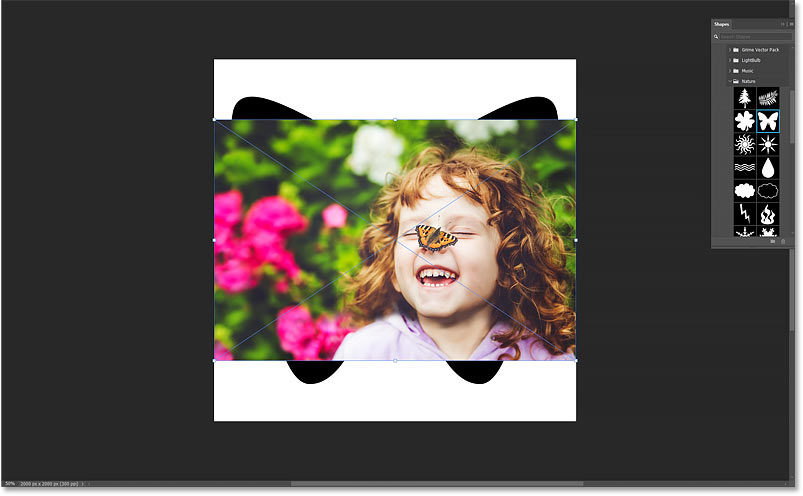
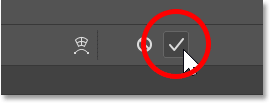
We will resize the image after placing it in the shape. Now click the check mark in the Options Bar to accept.
Back in the Layers panel, the image appears on a new layer above the shape layer. And notice that Photoshop has converted the image into a smart object, which we can tell by the smart object icon in the bottom right corner of the thumbnail. This means that no matter how many times we resize the image, the quality of the image will not be reduced.
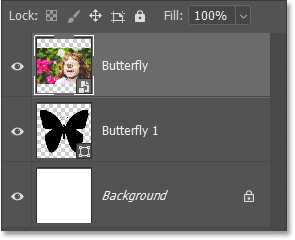
Step 9: Create clipping mask
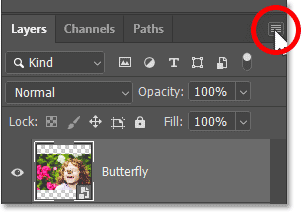
The image is currently in front of the shape. To place the image in the shape, click the Layers panel menu icon.
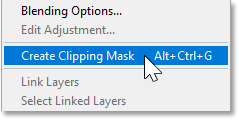
Then select Create Clipping Mask.
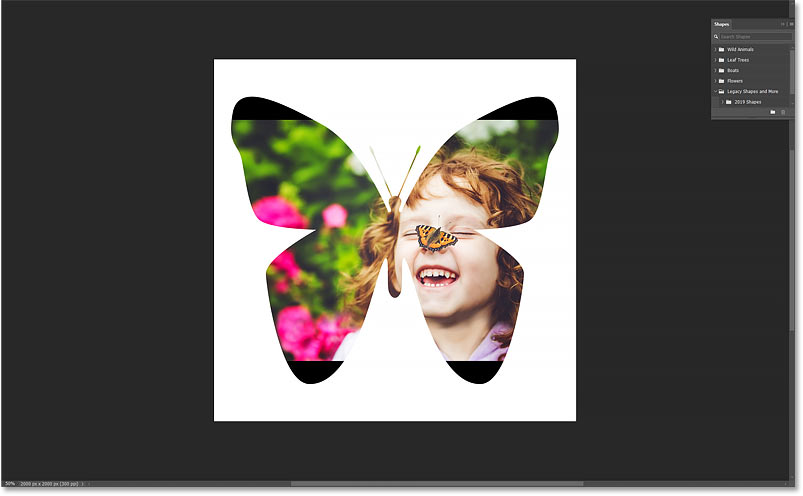
A clipping mask will clip the image to the underlying shape, meaning that the only part of the image that remains visible is the area directly above or in front of the shape. Any part of the image that falls outside the shape is hidden from view, creating the illusion that the image is actually inside the shape.
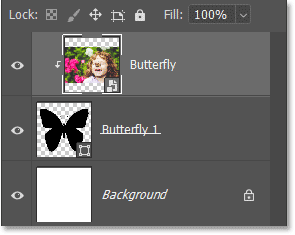
Back in the Layers panel, notice that the image layer is now indented to the right, with a little arrow pointing down to the shape layer below. This is Photoshop's way of telling us that we've created a clipping mask.
Step 10: Resize and reposition the image using Free Transform
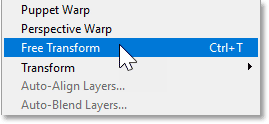
To resize and reposition the image inside the shape, go to the Edit menu and select Free Transform.
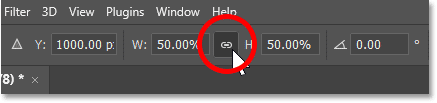
In the Options Bar, make sure the link icon is selected between the Width and Height fields.
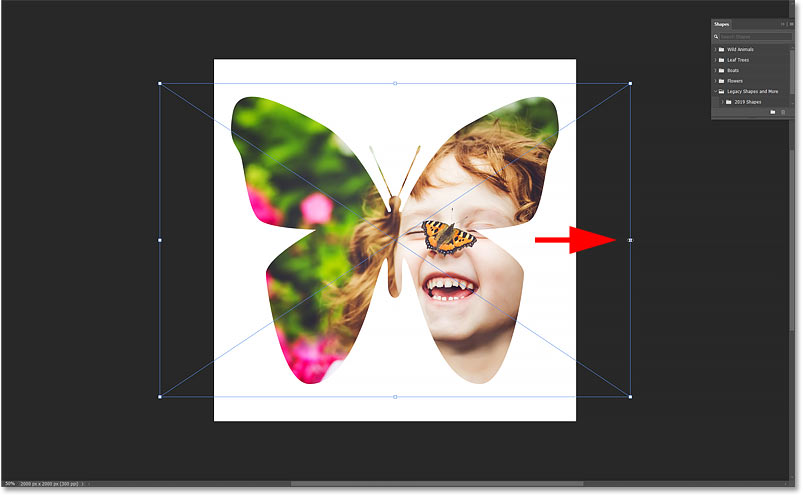
Then, resize the image by dragging any of the transform handles. You can hold down the Alt (Win) / Option (Mac) key on your keyboard as you drag the handle to resize the image from its center.
Then, drag the image to position the object within the shape. You may need to switch back and forth between resizing and repositioning the image until you get it right.
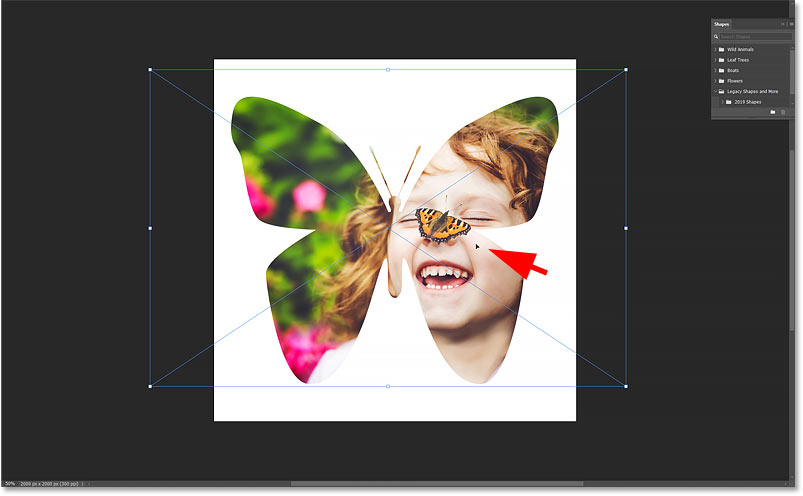
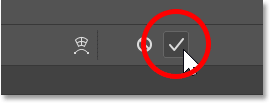
When you're done, click the check mark in the Options Bar.
Key Takeaways
Use the guidance above as a practical reference for crop image into a shape using Photoshop. Check compatibility, follow the steps carefully, and verify important details with official documentation when software, security, accounts, health, or purchases are involved.
FAQ
How do I insert a photo into a shape in Photoshop?
Follow the steps in this guide in order, confirm each setting before continuing, and save, restart, or reconnect the device when the instructions require it.
What should I check before I begin?
Confirm the correct device, account access, software version, compatibility, and a current backup whenever the process could affect files, settings, or security.
What should I do if the process does not work?
Repeat the steps carefully, check for model or version differences, install available updates, and consult the manufacturer's official support documentation.
Related Articles
 How to Insert a Logo into a Photo in Photoshop3 minutes read
 7 Best Apps for Adding Text to Photos7 minutes read
 Instructions for Using Photoshop CS5 to Edit Photos in Full Set5 minutes read
 How to Insert Text in Photoshop: Step-by-Step Guide9 minutes read
 How to Use Photoshop CS5 - Part 9: Delete Complex Backgrounds in6 minutes read
 How to Use Photoshop CS5 - Part 5: Photo Editing7 minutes read
Reader Comments 0
Sign in with email or Google to join the discussion.