Tutorial for Word 2016 (Part 18): How to add Shape shapes
When working in Word, you can insert multiple shapes such as arrows, captions, squares, stars, etc. Adding shapes (shapes) into Word is not new but with instructions We provide below, you will get more beautiful and interesting documents.
Table of Contents
When working in Word, you can insert multiple shapes such as arrows, captions, squares, stars, etc. Adding shapes (shapes) into Word is not new but with instructions We provide below, you will get more beautiful and interesting documents.
Insert shapes in word 2016
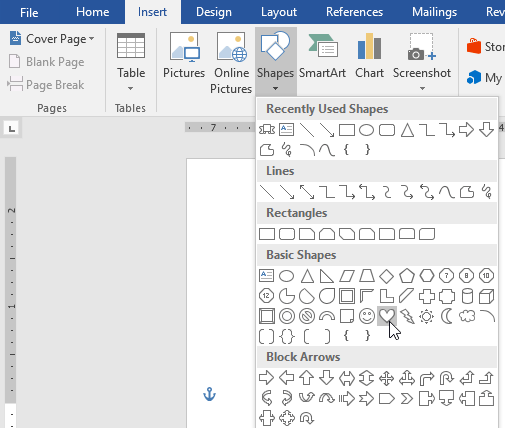
Step 1: Select the Insert tab, then click on the Shape item. Detailed menu containing many shapes will appear.
Step 2: Click on the shape you want.
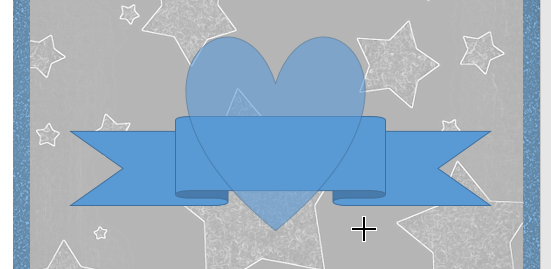
Step 3: Click and drag the shape into the desired position to add the shape to the document.
You can also add text to the shape. When the text appears in the document, you can type the text, then use the formatting options in the Home tab to change the font, size and color of the text.
Change the order of the shapes
If a shape is inserted into another image, you can change the order so that the shape you want appears in front. You can use Bring to Front or Send to Back to customize the command.
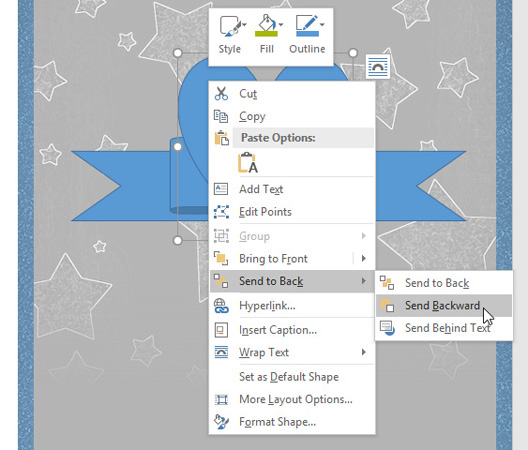
Step 1: Right click on the picture you want to move. In this example, we'll let the heart appear behind the ribbon, so right click on the heart shape.

Step 2: In the menu that appears, click Bring to Front or Send to Back. Click on the desired order option. Here we will choose Send to Back. The order of the shapes has changed as desired.
Resize the shape
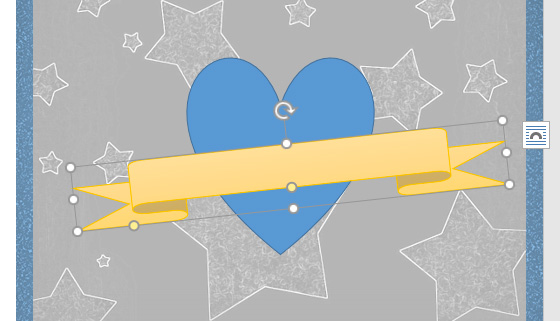
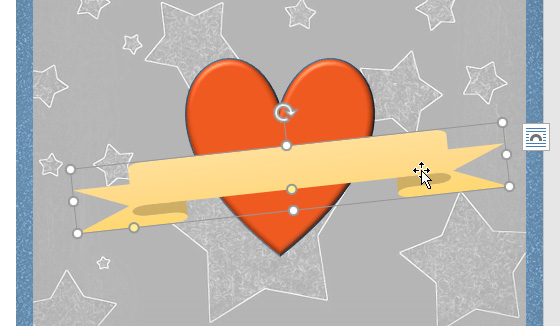
Step 1: Select the shape you want to resize. The custom size points will appear in the corners and sides of that shape.
Step 2: Click and drag the custom points on the shape until the desired size is reached.
Step 3: To rotate the shape, click drag the spin icon on the shape.
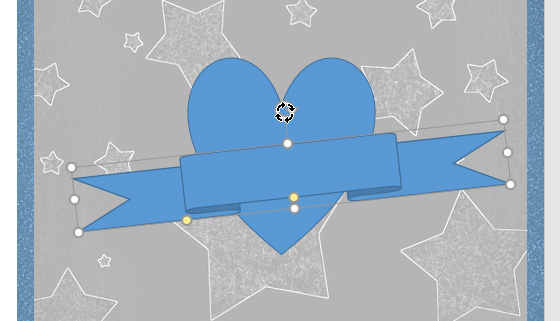
Note: Yellow spots on the shape allow you to change the position of the folds.
Editing shapes
Word allows you to edit shapes in a variety of ways. You can change this shape into a different shape, style and color of the shape as well as add different effects.
Change the shape of the shape
Step 1: Select the image you want to change.
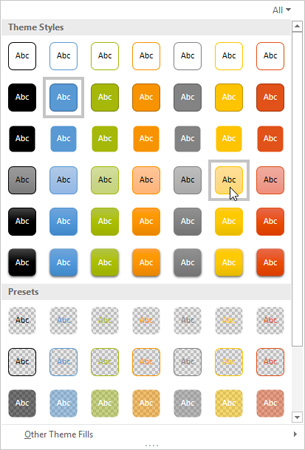
Step 2: On the Format tab, click the More drop-down arrow in the Shape Styles group.

Step 3: In the drop-down menu, select the style of shape you want to use.
The shape results after the new design is changed.
Change the background color of the shape
Step 1: Select the image you want to change (here, we will choose the heart shape).
Step 2: In the Format tab, click the drop-down arrow in the Shape Fill section. Choose the color you want to use. To see more colors, click More Fill Colors.

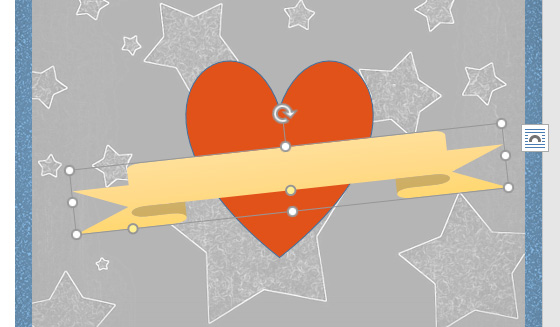
Results after being filled.

If you want to use a different fill color, select Gradient or Texture from the drop down menu. You can also choose No Fill to make the shape transparent.
Change the outline (outline color) of the shape
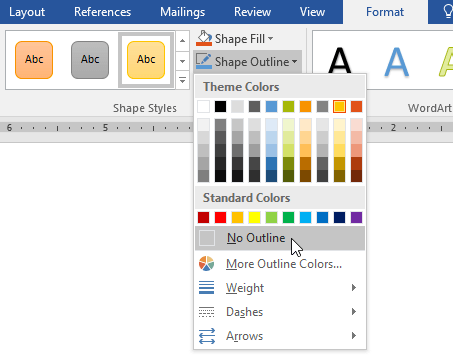
Step 1: Select the image you want to change (ribbon image). On the Format tab, click the Shape Outline downward arrow.
Step 2: Choose the color you want to use. If you want to make the outline of the transparent shape, click No Outline.
Results after change
Besides, in the drop-down menu, you can change the thickness of the contour again.
Add effects to shapes
Step 1: Choose the image you want to change (heart shape). Then, in the Format tab, click the drop-down arrow in the Shape Effects section. In the menu that appears, click on the type of effect you want to add.

Results after change.

Replace another shape
Step 1: Select the image you want to change. The Format tab will appear.
Step 2: In the Format tab, click the Edit Shape command. In the menu that appears, click Change Shape and select the shape you want to replace.

Results after change.

You can consult:
- Tutorial for Word 2016 (Part 16): Insert images and customize the location of photos
- Word 2016 Complete Guide (Part 17): Edit photos in Word 2016 more professionally
Was this article helpful?
Your feedback helps us improve.
Related Articles
 Lesson 24: Working with Shapes5 minutes read
 Word 2013 Complete Guide (Part 17): Drawings and how to create effects for drawings10 minutes read
 How to include shapes in PowerPoint3 minutes read
 Complete Word 2016 tutorial (Part 20): Align, align, and group objects5 minutes read
 How to Create a 3D Object in Microsoft Word5 minutes read
 PowerPoint 2019 (Part 16): Shapes5 minutes read
Reader Comments 0
Sign in with email or Google to join the discussion.