How to make a photo frame in Photoshop
If you own Photoshop software on your computer, then you can make your portrait photos more unique and fancy by framing. If you do not know how to create a photo frame in Photoshop, please refer to the following article.
Table of Contents
If you own Photoshop software on your computer, then you can make your portrait photos more unique and fancy by framing. If you do not know how to create a photo frame in Photoshop, please refer to the following article.
1. Create a photo frame in Photoshop simply with the Stroke tool
Step 1: Open the image you need to frame with Photoshop. Next, select the Marquee Tool (1) and select the entire image by clicking and delineating the image or pressing Ctrl + A (2) .

Step 2: Right-click on the middle of the working screen of Photoshop and select Stroke .

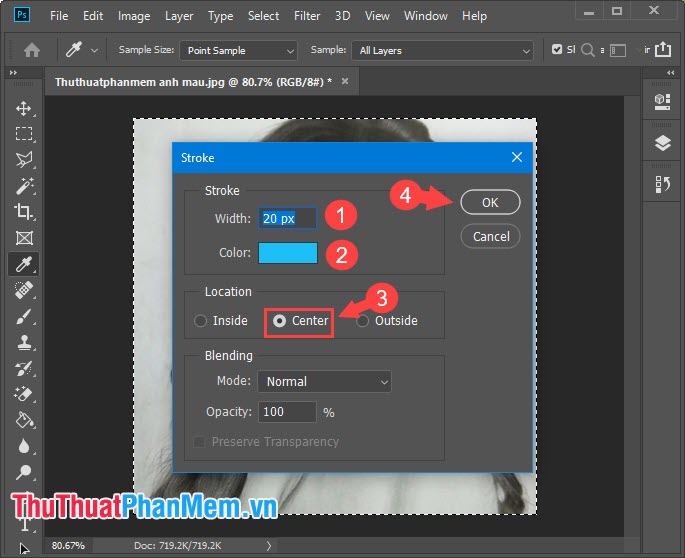
Step 3: Choose the frame thickness in Width (1) , you should choose a minimum thickness of 10 pixels to make the picture more prominent. For Color (2) , choose your preferred color. Next, check the Center option (3) and click OK (4) to finish.
Step 4: So we have framed the photo. Please save the image as is.

2. Create a photo frame with a pattern using the Fill tool in Photoshop
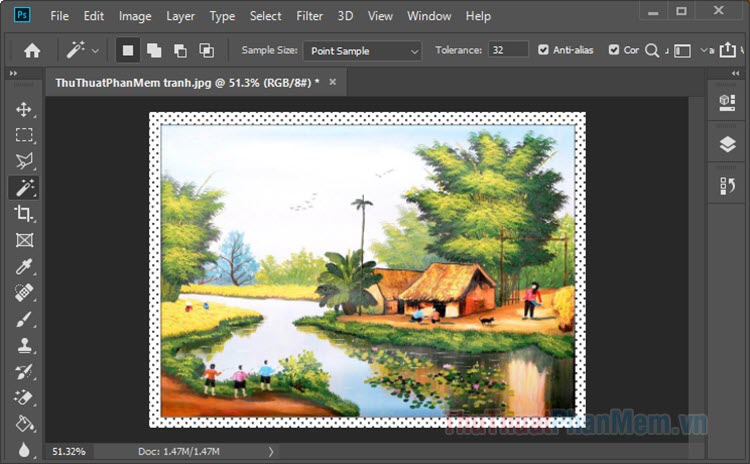
Step 1: You create a small border around the image. Choose the Marquee Tool (shortcut M ) and localize the entire image or use Ctrl + A to quickly highlight. Next, right-click on the working screen of Photoshop and select Stroke .

Step 2: You set the Width (1) at 1-2 pixels. Color (2) you can choose any color you like but you should choose a dark color like black is suitable. For Location, leave Center (3) and then press OK (4) .

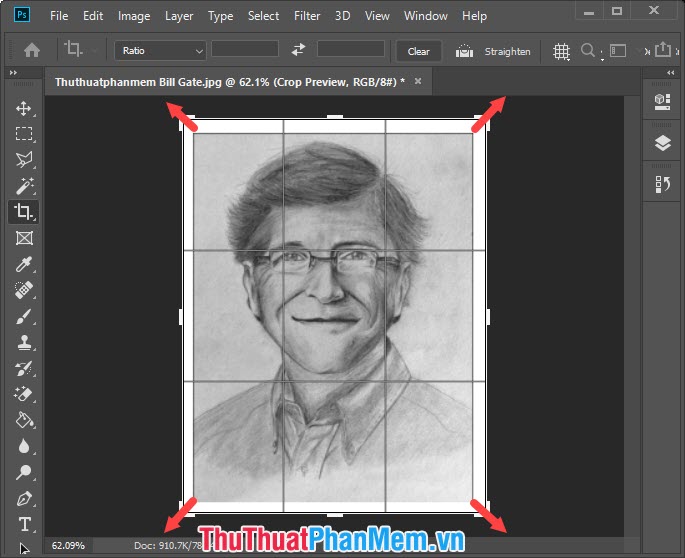
Step 3: Choose the Crop tool (1) => Crop Tool (2) .

Next, drag the crop area to the four corners to create a frame for the image. Then press Enter to finish creating the white border.
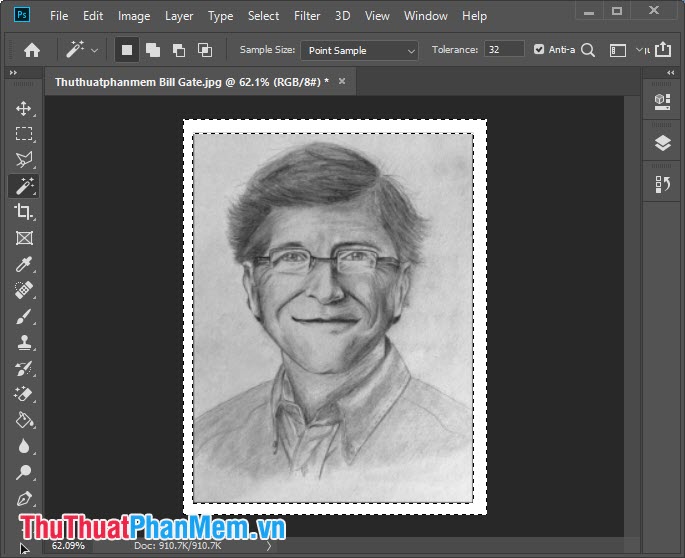
Step 4: Select the Select tool (1) => Magic Wand Tool (2) .
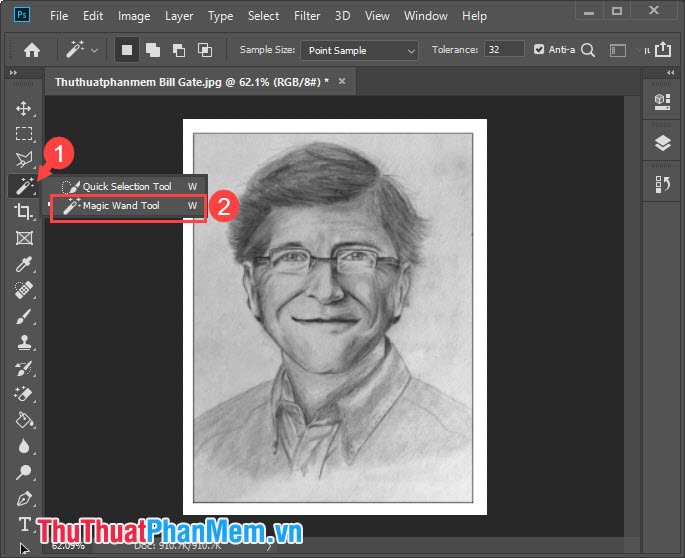
Next, click on the white border to select the entire white border.
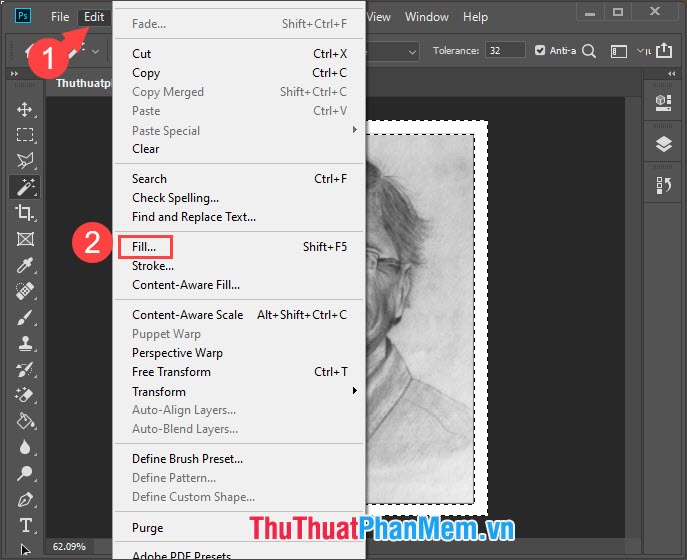
Step 5: Go to Edit menu (1) => Fill (2) or use the key combination Shift + F5 .
Step 6: In the Fill dialog box, select Contents as Pattem (1) . Then click Custom Pattem (2) and select the appropriate pattern (3) . Next, click OK (4) to finish.
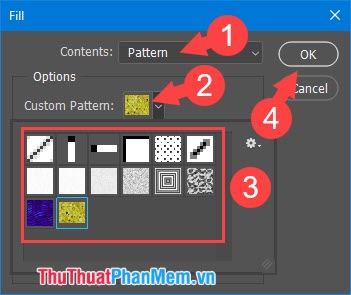
And finally you have the finished picture with a beautiful pattern border. Press Ctrl + D to delete the Marquee Tool selection .

So we have completed the steps to create a photo frame in Photoshop. If readers have difficulty or have questions about the steps in the article, please send comments, questions to TipsMake.com in the comment section below!
Was this article helpful?
Your feedback helps us improve.
Related Articles
 How to merge multiple photos into a photo frame in Photoshop2 minutes read
 How to create photo effects on Photoshop3 minutes read
 Photoshop CS: Cutting edges and creating frames (Last part)3 minutes read
 Instructions for using Photoshop CS5 to edit photos in full set4 minutes read
 Tutorial for creating 3D photo effects in Photoshop (Part 1)5 minutes read
 Tutorial to create a photo-crumbling image in Photoshop2 minutes read
Reader Comments 0
Sign in with email or Google to join the discussion.