How to Edit Text in Word
Microsoft Word has the ability to combine text and images to illustrate documents. To change the default settings, you can learn how to edit text around images. TipsMake today will show you how to use the text editing feature (Wrap text) in Word to add captions to photos.
Table of Contents
Add photos
Click the area where you want to add a photo. Once clicked, a vertical break will flash at the location where you want to place the image.
The mouse is a useful device when working with images in Word. Through clicking and dragging, you will be able to manipulate more with the size and shape of the image.
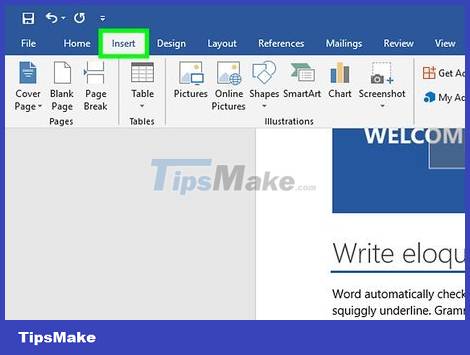
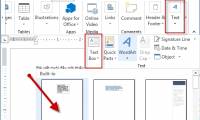
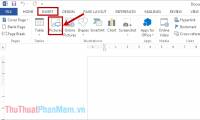
Click Insert . This option appears in the top menu. A menu with different options will appear after you click on it.
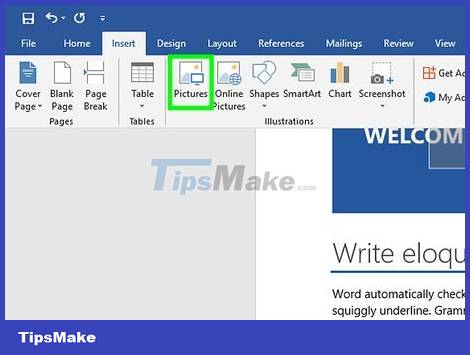
Select Pictures . Thus, you will be able to insert any image format such as jpg, pdf, etc. on your computer (or drive) into the document.
Click Photo Browser and select a photo from your computer's photo program.
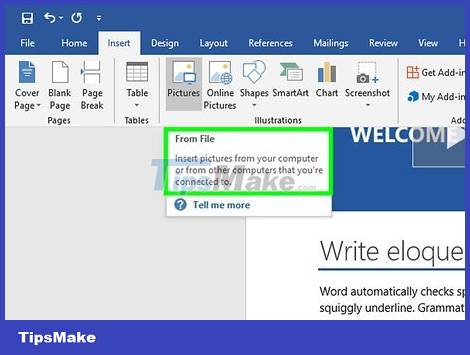
Select Picture From File if the image is on your desktop or another folder.
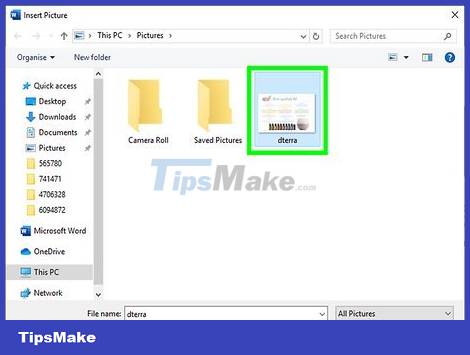
Select photo. After the insert image dialog box appears, go to the folder containing the image and select the file to insert into the document.

Click Insert . This button is at the bottom of the dialog box. Once completed, the image will be inserted into the location you selected with your mouse pointer.

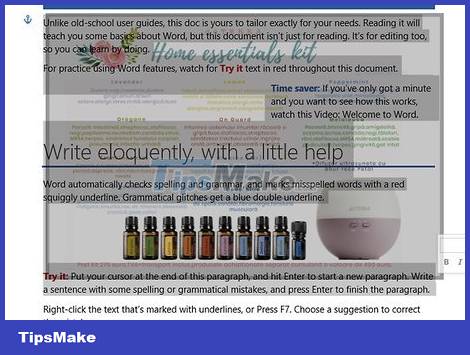
Look at the photos. Note: Word's default setting is to place pictures 'by line'. This means Word will see this image as a large letter or tall line of text.
The text editing feature will allow you to place text scattered around, over or next to the image.
Adjust text around images

Click on the photo. This opens the Picture Formatting menu in the ribbon at the top of Word's interface.
When you click outside the picture, the picture format menu closes and returns to the text format menu.
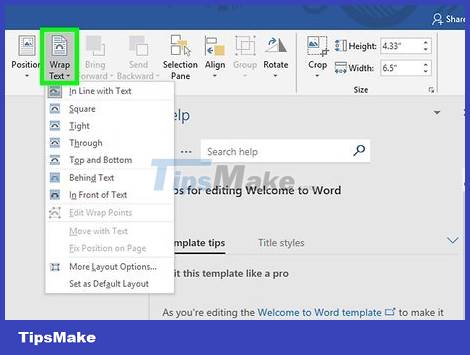
Select Wrap Text . This option may be in the Arrange group , Advanced Layout tab , Drawing Tools , or SmartArt Tools , depending on the version of Word you are using. .

Click the Wrap Text button that appears in the upper right corner of the photo when you click the photo. A menu will drop down with different text editing options.

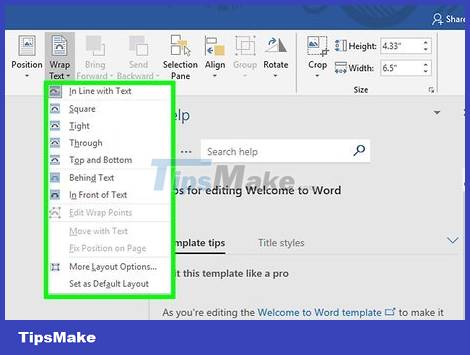
Select text editing options. Word offers many different text editing features so you can choose depending on your needs:
Select Square if the photo is square and you want to wrap text around the square border of the photo.
Select Top and Bottom if you want to keep the image in the current line to put text above and below the image.
Select Tight so the text flows around or the image is circular or irregularly shaped.
Select Through to customize the areas where text can be placed. This option is best if you want to combine text with images in a unique way without worrying about image borders. This is an advanced setting because you will be pushing or pulling pixels to a location other than the original frame.
Select Behind Text to use the image as a watermark behind the text.
Select In Front of Text to place the image in front of the text. You may consider changing the color if you don't want the text to become difficult to read.

Edit photo position. After you choose the text layout, you can click and drag the picture to another location on the page. The program will allow you to place photos (along with edited text) anywhere.
Experiment with different types of text editing. Each image and project will need different types of text editing. Every time you add a new photo, you should try out most of the options to make sure the text is adjusted properly.
Delete edited text

Click the box containing the distributed text. Markers used to expand or move the text box will appear, and the text will return to edit mode.
Highlights all but the first letter of the edited text. It's important to leave the first letter outside the selection because you'll need to press the Backspace key. If you select all, when you press the Backspace key, the inserted image above the arranged text will also be deleted.
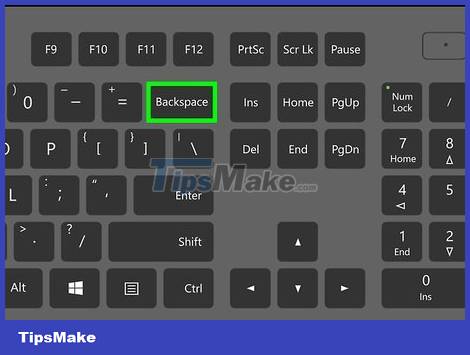
Press key ← Backspace. The content you highlighted in the text box will be deleted. You can then delete the remaining first letter to return the settings of the correction text to the original.
Was this article helpful?
Your feedback helps us improve.
Related Articles
 Align text, adjust font in Word 20138 minutes read
 Full Word tutorial 2016 (Part 4): Formatting text5 minutes read
 Word 2016 Complete Guide (Part 3): Get familiar with basic text manipulation7 minutes read
 Create and edit Text boxes in Word2 minutes read
 Insert text into pictures with Word2 minutes read
 TOP AI tools that best support Microsoft Word9 minutes read
Reader Comments 0
Sign in with email or Google to join the discussion.