How to Reduce Powerpoint File Size
This wikiHow teaches you how to lower a PowerPoint presentation file's size by compressing its images on a Windows or Mac computer, or by clearing the editing data on a Windows computer. There is currently no option to delete the editing...
Table of Contents
Method 1 of 3:
Compressing Images on Windows
-
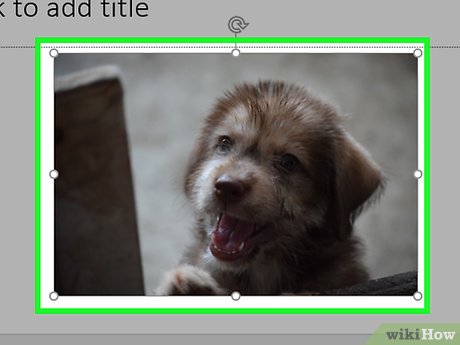 Double-click an image. Doing so will open the Format tab at the top of the PowerPoint window.
- If your PowerPoint file isn't yet open, first open it by double-clicking it.
- It doesn't matter which picture you double-click, since all of them will open the appropriate tab.
-
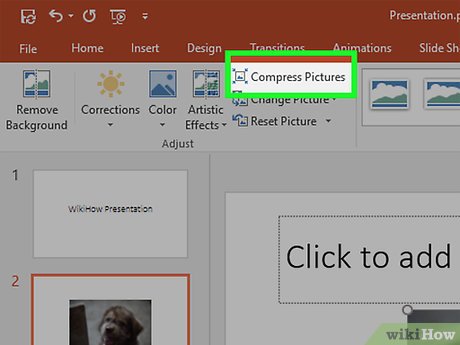 Click Compress Pictures. This option is just below the Transitions tab. Clicking it will invoke a pop-up window.
 -
 Uncheck the "Apply only to this picture" box. It's the first option at the top of the Compress Pictures window. Disabling this option will ensure that all pictures in your presentation are compressed.[1]
 -
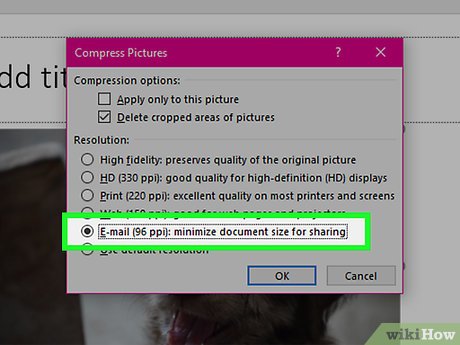 Click the E-mail (96 ppi) option. This option is near the bottom of the Compress Pictures window.
 -
 Click OK. Doing so will apply the compression settings to all images in your PowerPoint file, thereby reducing its overall size.
Method 2 of 3:
Compressing Images on Mac
-
 Click File. This menu item is in the far-left corner of your Mac's menu bar at the top of the screen.[2]
- If your PowerPoint file isn't yet open, first open it by double-clicking it.
-
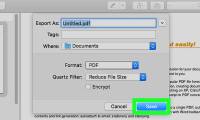
 Click Reduce File Size. It's toward the bottom of the drop-down menu.
 -
 Click Picture Quality. Doing so will invoke a drop-down menu.
 -
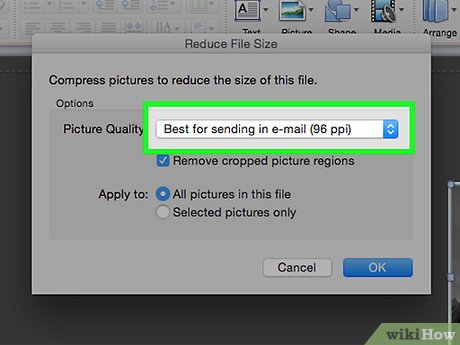 Click Best for sending in e-mail. This option will reduce the quality of all images in your PowerPoint file to 96 ppi, which is a generally lower resolution than most images' defaults.
 -
 Click the Delete cropped areas out of pictures box. Doing so will ensure that any unused data will be removed from your presentation.
 -
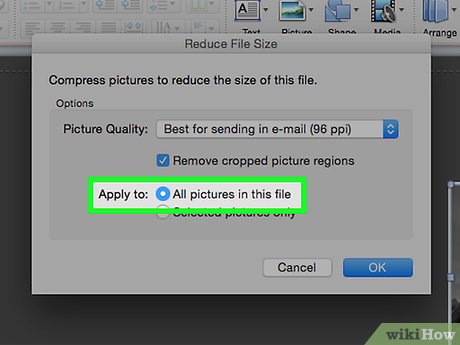 Check the All pictures in this file box. This option applies your changes to every image in the presentation.
 -
 Click OK. This will drastically lower your PowerPoint file's size.
Method 3 of 3:
Removing Edit Data on Windows
-
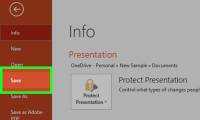
 Click the File tab. It's on the far-left side of the PowerPoint window's top row of options.
- If your PowerPoint file isn't yet open, first open it by double-clicking it.
-
 Click Options. This tab is at the bottom of the list of options on the left side of the window.
 -
 Click Advanced. You'll see this option near the middle of the left-hand column of options.
 -
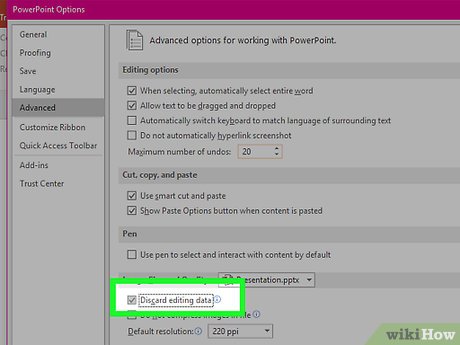 Check the Discard editing data box. It's below the "Image Size and Quality" heading, which is about halfway down the window. This option removes excess information from your PowerPoint presentation.
 -
 Click OK. This button is at the bottom of the window.
 -
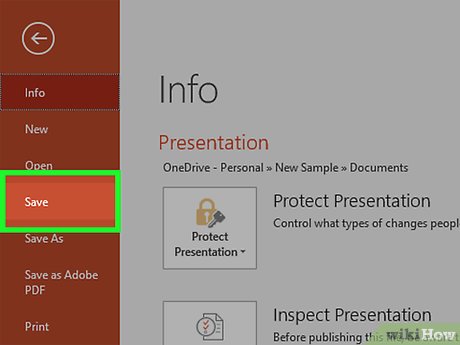 Click the "Save" icon. It's the square in the top-left corner of the screen. Doing so will save your changes and apply the "discard editing data" changes to your presentation, which may lower the overall file size.
Was this article helpful?
Your feedback helps us improve.
Related Articles
 Tips to reduce the size of PowerPoint files should be known11 minutes read
 How to Reduce Powerpoint File Size4 minutes read
 How to reduce the size of Excel files2 minutes read
 How to reduce the size of JPG files in Windows 105 minutes read
 How to Reduce PDF File Size5 minutes read
 How to reduce PDF file size by software6 minutes read
Reader Comments 0
Sign in with email or Google to join the discussion.