Create and edit Text boxes in Word
How to create and edit a Text box in Word 1. Create Text box. Step 1: Go to the Insert - Text - Text Box tab - select the type of Textbox to create: Step 2: Enter the content to create the Text box and change the font style and font for the Text box.
Table of Contents
The following article introduces you in detail how to create and edit Text boxes in Word.
1. Create Text box.
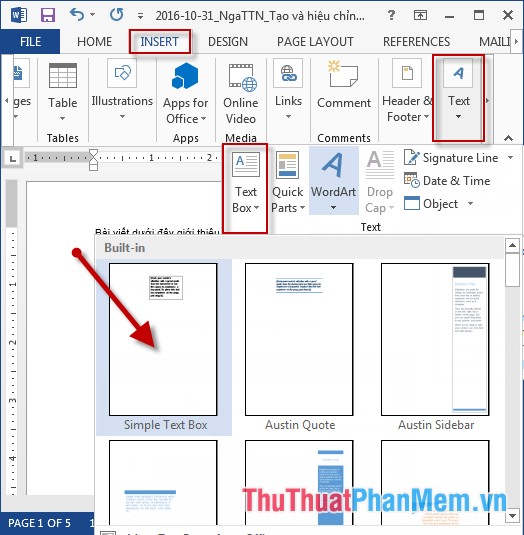
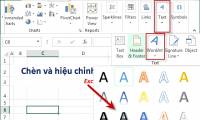
Step 1: Go to the Insert tab -> Text -> Text Box -> select the type of Textbox to create:
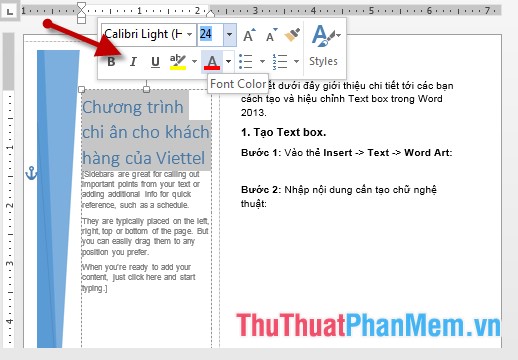
Step 2: Enter the content to create a Text box and change the font style and font for the Text box:
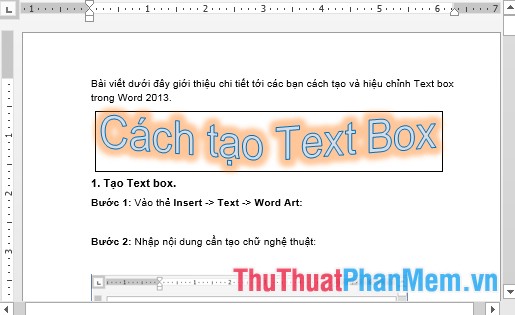
Step 3: Move the Text box position according to your needs:

- Or you can create a simple Text Box as follows:
2. Edit Word Art.
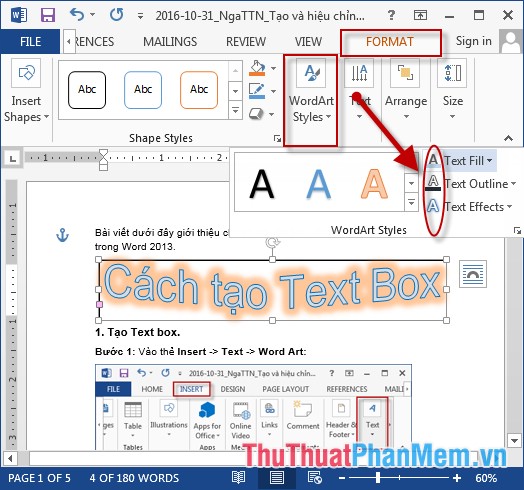
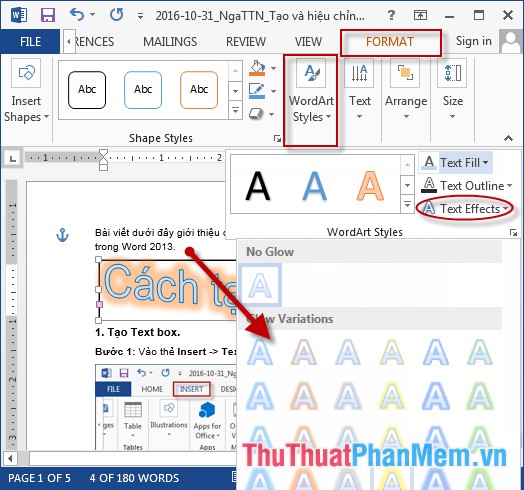
- Change the Text Box typeface by clicking Text Box -> Format -> Word Art Styles including the following options:
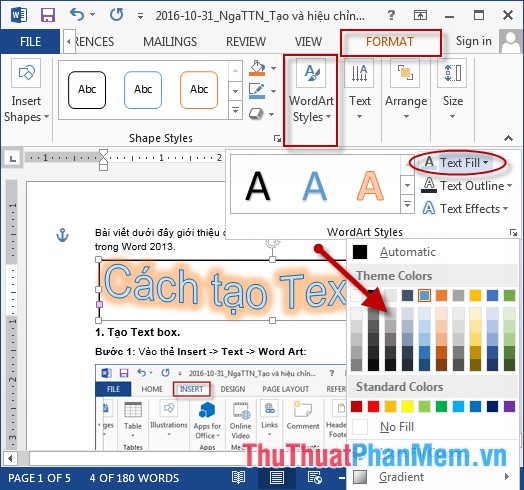
+ Text Fill: Select color for text.
+ Text Outlinel: Select the border color for the text.
+ Text Effect: Select effects for text.
- For example, here select the shadow effect for text:
- Change the color for text in the Text box:
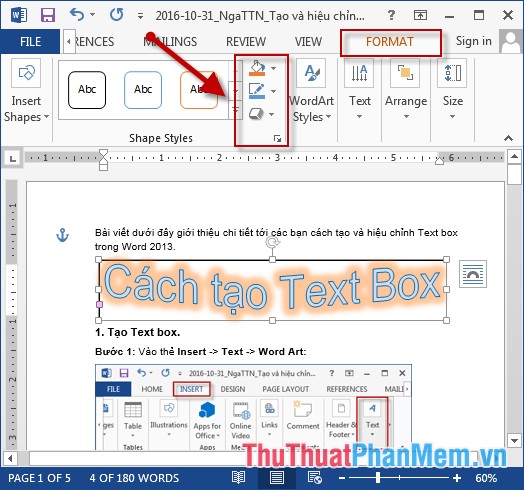
- Change the border color and frame for Text Box by clicking on one of the icons

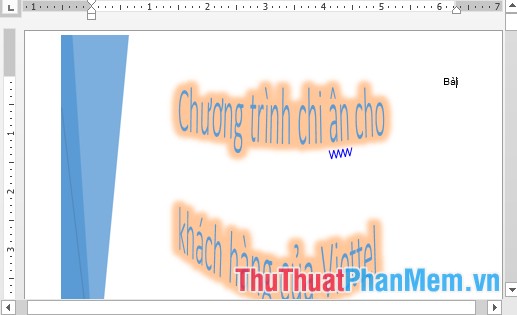
- Results after adjustment:
Above is a detailed guide on how to create and edit Text Box in Word.
Good luck!
Was this article helpful?
Your feedback helps us improve.
Related Articles
 How to Edit Text in Word5 minutes read
 How to lock the Text box in Word4 minutes read
 Insert and edit Word Art in Excel2 minutes read
 Word 2013 Complete Guide (Part 18): How to insert Text Box and WordArt11 minutes read
 How to Create a Form Using a Word Processor5 minutes read
 How to strikethrough text in Word, write strikethrough text in Word and Excel4 minutes read
Reader Comments 0
Sign in with email or Google to join the discussion.