How to Edit Microsoft Word Documents Using Track Changes
Today's TipsMake will show you how to use the 'Track Changes' tool on Microsoft Word to display all the edits you've made in red ink on the document.
Table of Contents
Turn on the "Track Changes" feature
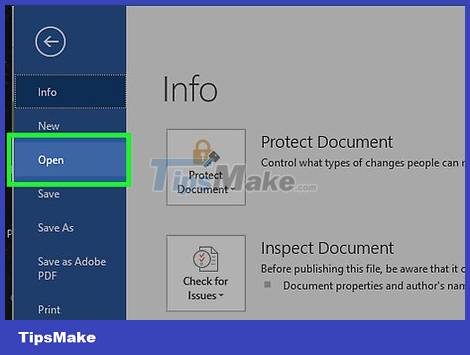
Open the document you want to edit. Double-click the Microsoft Word document directly, or open Microsoft Word and select the document from the "Recently Opened" page.
Before making any changes to an existing document, you should consider making a copy and editing on that copy instead of the original document. This way, you will have backup documents if something goes wrong.
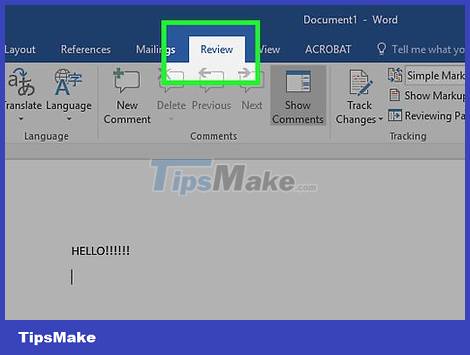
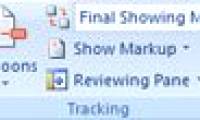
Click the Review tab . It's in the blue section at the top of the document. A new set of options related to document editing opens.
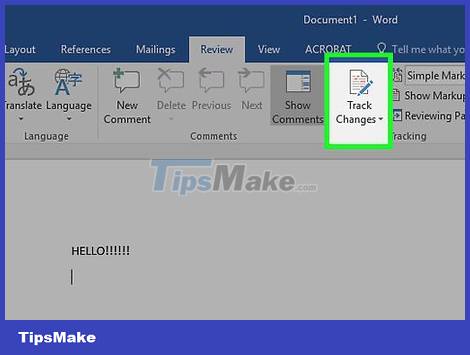
Click Track Changes . The option is at the top of the Word page, near the middle of the screen. The "Track Changes" feature will be enabled on Microsoft Word.

Click the drop-down menu next to Track Changes . The following options will appear:
Simple Markup – Draws a vertical red line to the left of any text added or deleted, but does not show other edits.
All Markup – Shows all the changes you've made to the document in red text and a callout box on the left side of the page.
No Markup – Displays changes next to the original document, but does not highlight them with red text or callouts.
Original – Displays the original document with no changes.

Click All Markup . This option will display all the edits you made to the original document in red ink, while the document's text is in black ink.
Edit documents

Delete text from the document. Any content, whether a space or a paragraph, when deleted will disappear from the document. You will see a red frame appear on the right side of the screen with the text "[Name] Deleted: [Writing]" in which "Writing" is the text you deleted.
If you reformat the entire document (for example, if you change the font), details about the reformatting will also appear in the side pane of the screen.

Enter new text to display in red letters. Any text you add to the document will appear in red ink.
If you start a new line of text by pressing ↵ Enter(or ⏎ Return), you will see a vertical gray line appear on the left side of the screen where the new line begins.
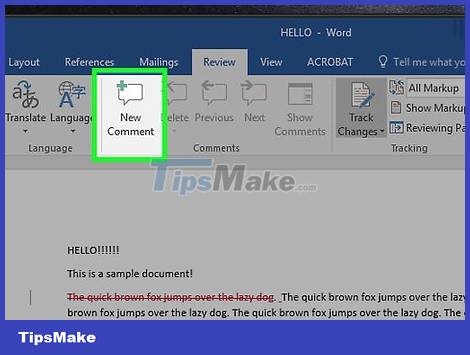
Click New Comment to add a comment to the highlighted text. The New Comment button resembles a speech bubble with a plus sign near the top of the Word document page. A window will open on the right side of the screen for you to enter comments.
You can click anywhere on the screen to save the comment after you finish typing.

Accept or reject edits when complete. To proceed, click Accept or Reject to change the highlighted edit. Alternatively, you can click the ▼ mark below Accept / Reject and select All Changes to accept/reject. Reject all changes made to the document. Any Track Changes formatting (such as red text and callouts) will be removed.
You can also save a document that has been marked as changed by skipping this step.
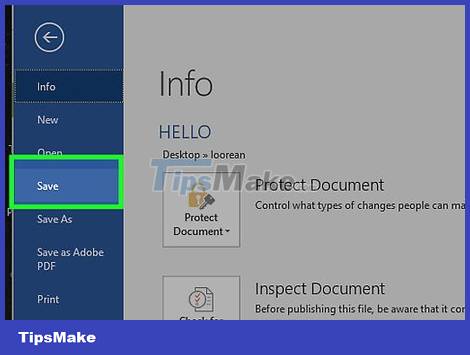
Save document. To do this, hold down the key Ctrl(or ⌘ Commandon a Mac) and S. The document will save the changes you made.
Was this article helpful?
Your feedback helps us improve.
Related Articles
 Word 2016 Complete Guide (Part 24): How to use Track Changes and Comments4 minutes read
 How to Edit Documents on iPhone10 minutes read
 MS Word - Lesson 17: Track Changes tool2 minutes read
 How to edit basic Word documents for beginners4 minutes read
 MS Word - Lesson 1: Start with Microsoft Word 20074 minutes read
 Link Download Microsoft Word 20193 minutes read
Reader Comments 0
Sign in with email or Google to join the discussion.