How to Order Layers in Microsoft Publisher
Method 1 of 1:
Ordering Layers in Microsoft Publisher 2003, 2007 and 2010
-
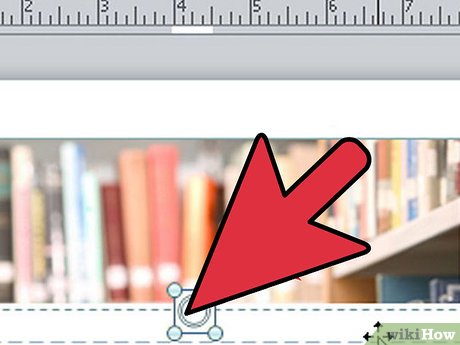
 Click on the object you want to move up or down in the stack. The selected object will be surrounded with a set of sizing handles.
- If you don't see the object you want to select immediately, click on any visible object and press either the TAB key or SHIFT and TAB together repeatedly until the object you want to reposition is selected.
- You can select more than 1 object to reposition by holding down the CTRL key and selecting each object you want to reposition. Release the CTRL key after you've selected the last object.
-
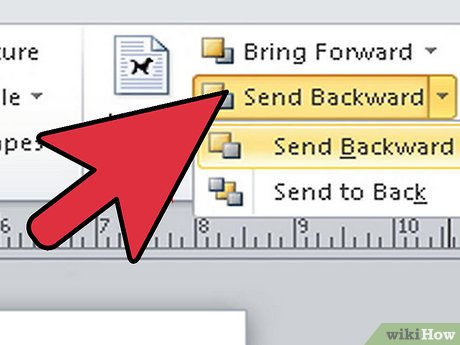
 Select "Order" from the "Arrange" menu/ribbon. The 4 layer positioning options are grouped here. Choose the option that moves the object where you want to move it in the stack of layers.
- Click "Bring to Front" to bring the selected object to the front of the stack. If the objects are positioned so they overlap, this will place it on top of all the other objects.
- Click "Bring Forward" to bring the selected object in front of the object it was immediately behind (or beneath if the objects overlapped).
- Click "Send Backward" to move the selected object behind the object it was immediately in front of (or on top of if the objects overlapped).
- Click "Send to Back" to place the selected object at the back of the stack. If the objects are positioned so they overlap, this will place it under all the other objects.
Share by
Lesley Montoya
Update 05 March 2020

