How to change the auto-save time in Word 2013
By default, Microsoft Word 2013 automatically saves your documents after certain time periods. You can reduce or increase the length of this time period. The steps to perform this operation are quick and simple. Let's do it!
By default, Microsoft Word 2013 automatically saves your documents after certain time periods. You can reduce or increase the length of this time period. The steps are very simple.
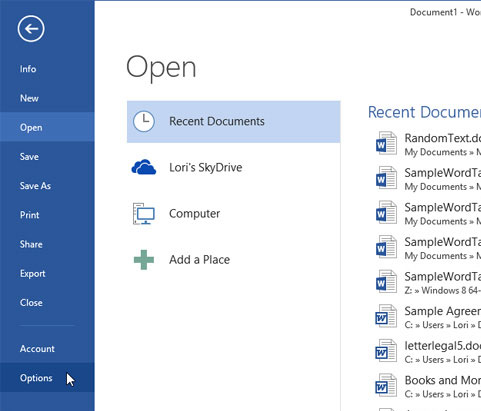
To change Word 2013 's auto-save interval, click the File tab .

On the Word Start screen, click on 'Options' in the list on the left.
In the Word Options dialog box, click 'Save' in the list on the left.
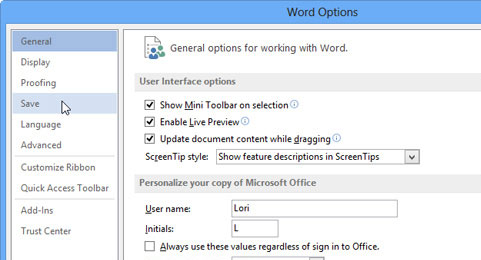
In the 'Save documents' section of the 'Save' screen , make sure the 'Save AutoRecover information' option is checked. Change the minutes (minutes) by entering a new number or using the up / down arrows to change the value.

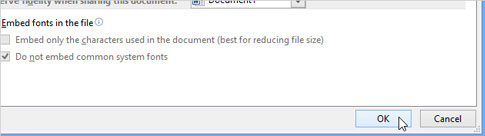
Click 'OK' to save the changes.
If you do not want Word to automatically save the document you are editing, uncheck the check box next to 'Save AutoRecover information every'.
Was this article helpful?
Your feedback helps us improve.
Related Articles
 How to set Auto Correct in Word7 minutes read
 How to change auto save time on Excel, Auto Save Excel File4 minutes read
 How to delete horizontal lines in Word4 minutes read
 How to turn off Auto-Correct on an Android device?2 minutes read
 How to control auto-fix feature on iPhone / iPad4 minutes read
 How does the word in Microsoft Word jump?3 minutes read
Reader Comments 0
Sign in with email or Google to join the discussion.