How to batch delete photos in Excel - No need to delete them manually
To batch delete images in an Excel file, you can do it through the Go to Special tool or use VBA. All images are quickly deleted after following a few simple steps, instead of manually deleting each image..
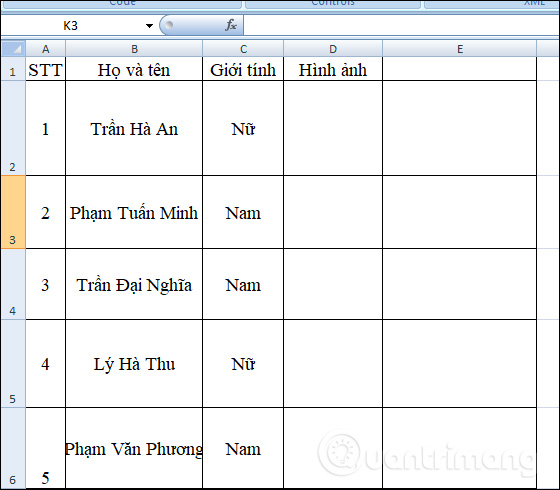
When creating an Excel file with customer information, employee information or product files, there will always be images next to them. Instead of doing it manually, you can batch insert image files into Excel and can also quickly batch delete images. For long data tables, if you want to delete all inserted images and leave only the data, readers can refer to the following article of Network Administrator. All images are quickly deleted after following a few simple steps, instead of manually deleting each image.
Method 1: Delete multiple photos in Excel using Go To Special
Step 1:
The user opens the Excel file that wants to delete the image and then presses the F5 key to open the Go To dialog box. In this dialog box, click on the Special button .

Step 2:
Display the Go To Special interface, select Objects below and click OK to continue.

Step 3:
Then the entire image is framed as below and we just need to press the Delete button to delete the image and you're done.

Method 2: Batch delete images on Excel using VBA Macros
Step 1:
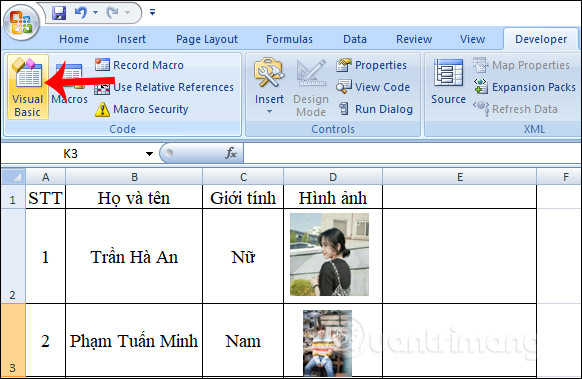
We click on the Developer tab on the Ribbon and then click on Visual Basic . Or you press the key combination Alt + F11 to quickly open the VBA program.
Step 2:
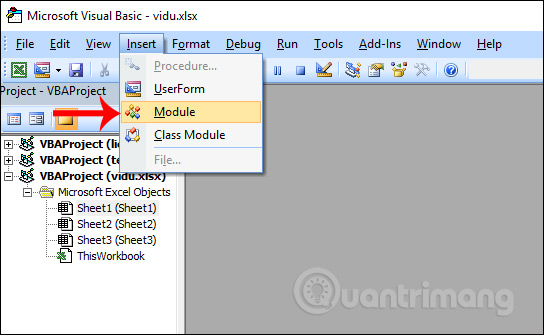
Display the Microsoft Visual Basic for Applications interface, click the Insert menu above and then select Module .
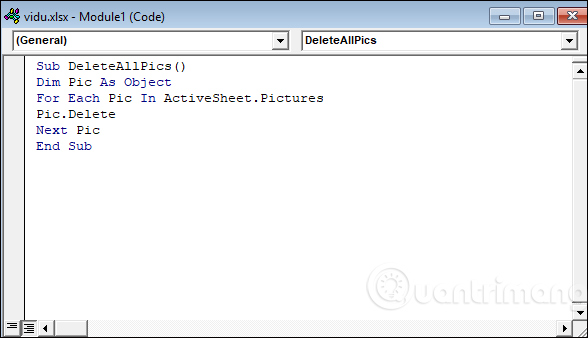
In this interface, enter the code below into the code input interface.
Sub DeleteAllPics() Dim Pic As Object For Each Pic In ActiveSheet.Pictures Pic.Delete Next Pic End Sub
Step 3:
After entering the code into the Module1 (Code) interface, we click on the Run button to execute the command for Excel.
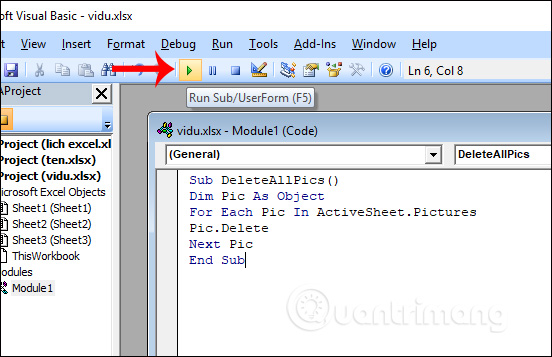
When finished running, turn off the Visual interface and get the results of all deleted images in the Excel file.
The two ways to batch delete photos in Excel files above are both equally simple and quick. However, method 2 requires the use of code, so you can always use the Go to Special method to delete Excel images.
Wishing you success!