How to add a user account to a Windows 11 PC
This article will show you how to add user accounts to your Windows 11 (Home edition) system. Basically, the steps are not complicated and have many similarities with older versions of Windows. As follows:
First, open the Start menu and click the gear icon to access the Settings Window app. Alternatively, you can also use the Windows + I keyboard shortcut to open the Settings app directly - without clicking through the menus.

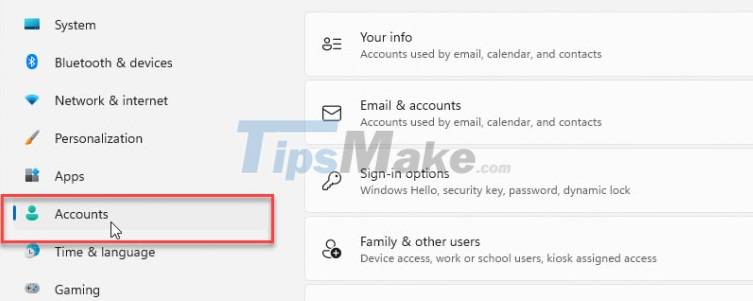
On the Settings screen that appears, click on the Accounts item from the list on the left.
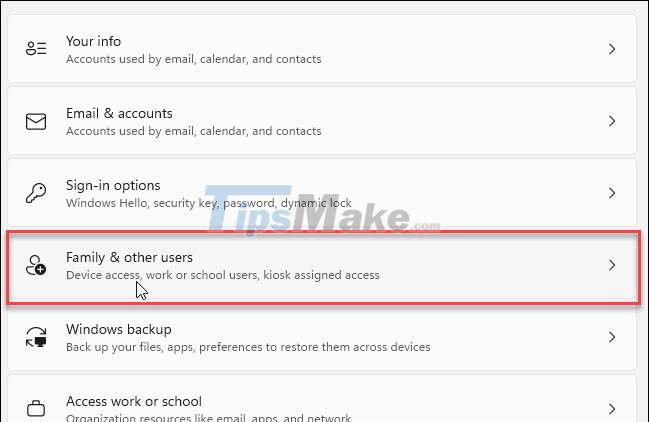
Next, from the respective options menu that appears on the right, click on the Family & other users option .
Now, in the ' Other users ' section, click the Add account button .

You will need to enter data for your new Microsoft user account, including things like how to sign in, username, email address, etc.

It's all as simple as that! Note that the PC needs to be connected to the internet when you do these setup operations.

Now that you have added a new user account to your Windows 11 PC, log out or restart the computer. When you return to the login screen, you'll see the other account(s) you added. They are located in the lower left corner of the screen.

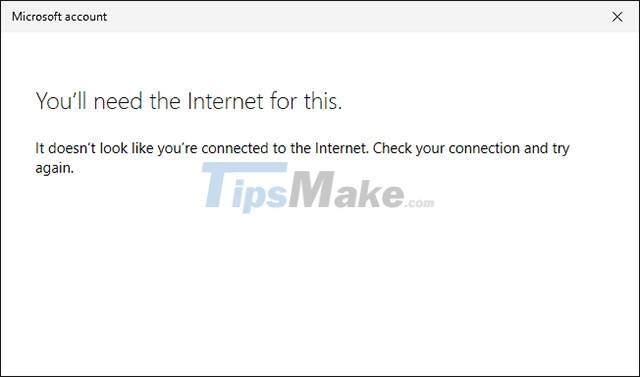
Click on the account you want to sign in to and provide the corresponding credentials. Again, keep in mind that your computer must be connected to the Internet. Otherwise, you will not be able to activate the account. Instead, a message will appear with the following content:
In a related news, Microsoft said that users running the Pro version of Windows 11 will be able to create local accounts. But we'll get to that later.
Was this article helpful?
Your feedback helps us improve.
Related Articles
 How to automatically log in to a user account on Windows 11/107 minutes read
 Guide 5 ways to delete User accounts on Windows 105 minutes read
 Steps on how to create a local user account in Windows 107 minutes read
 How to turn off notifications of User Account Control in Windows?2 minutes read
 Cannot create a new user account on Windows 10, 8.1 and 8, this is how to fix it4 minutes read
 How to launch Admin rights application for User account in Windows?3 minutes read
Reader Comments 0
Sign in with email or Google to join the discussion.