Table of Contents
This updated guide examines Chart: How to Add a Second Y Axis to a Graph in Microsoft Excel and organizes the essential facts, background, and practical takeaways in clear American English.
Part 1
Adding a Second Y Axis
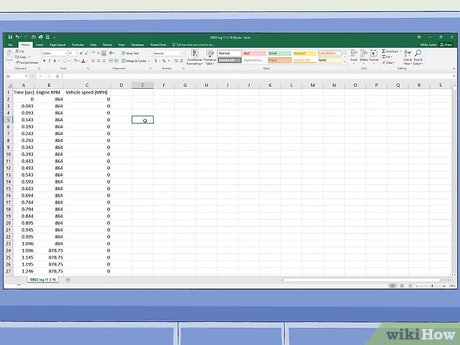 Create a spreadsheet with your data. Each data point should be contained in an individual cell with rows and columns that are labeled.
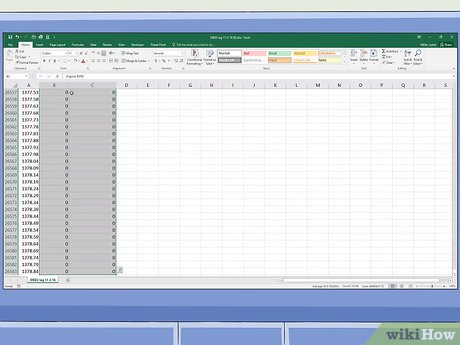 Select the data you want to graph. Click and drag to highlight all the data you want to graph. Be sure to include all data points and the labels.
- If you don't want to graph the entire spreadsheet, you can select multiple cells by holdingCtrland clicking the cells you want to graph.
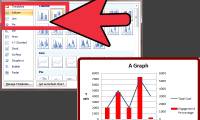
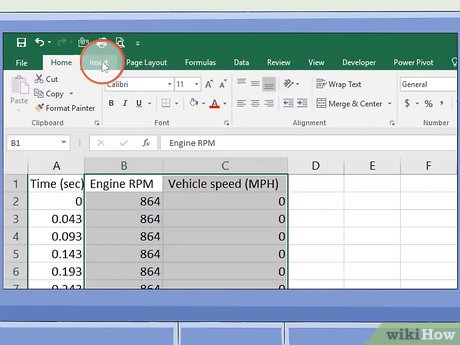 ClickInsert. It's in the menu bar at the top of the page. This displays the Insert panel at the top.
 Click the icon that resembles a chart type you want to create. This generates a chart based on the selected data.
- You can also add a second axis to a line graph or a bar graph.
 Double-click the line you want to graph on a second axis. Clicking the line once highlights each individual data point on the line. Double-clicking it displays the "Format Data Point" menu to the right.[1]XResearch source
 Click the icon that resembles a bar chart. This is the "Series Options" icon. It's at the top of the Format Data Point menu to the right.
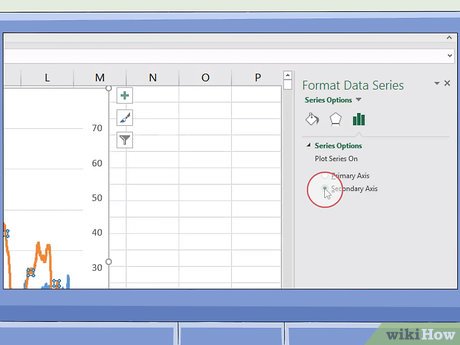 Select the radio button for "Secondary Axis". It's below "Series Options" in the Format Data Point menu. This immediately displays the line on a secondary axis with the numbers on the right side.
Part 2
Changing the Chart Type of the Secondary Axis
 Right-click the chart. The chart is in the middle of the Excel spreadsheet. This displays a menu next to the line in the chart.
 ClickChange Series Chart Type. This displays a window that allows you to edit the chart.
 Click the checkbox next to any other lines you want to add to the Y-axis. To add other lines to the Y-axis, click the checkbox below "Y-axis" to the right of the data series in the lower-right corner of the window.
 Select the type of chart for each data series. In addition to graphing a data series on a separate Y-axis, you can also graph it on a different chart type. Use the drop-down menu to select the chart type for each data series in the lower-right corner of the window.
 ClickOk. This saves the changes you made to the chart.
- If you want to change the chart type for the entire chart, click the chart type in the menu to the left of the window and then double-click the chart style in the window.
FAQ
What is Chart: How to Add a Second Y Axis to a Graph in Microsoft Excel about?
It provides a structured overview of chart, explains the main context, and highlights practical takeaways for readers.
Why does this topic matter?
Understanding the main concepts helps readers evaluate the issue, avoid common mistakes, and make better-informed decisions.
How should readers use this information?
Use the guidance as a practical starting point, confirm details that may have changed, and follow current product, safety, or security recommendations.
Related Articles
 How to Add a Second Y Axis to a Microsoft Excel Chart: Step-by-Step Guide4 minutes read
 Detailed How to Graph in Excel3 minutes read
 Modify the Axis of the Chart in Excel3 minutes read
 How to Make a Line Graph in Microsoft Excel5 minutes read
 How to Make a Bar Graph in Excel4 minutes read
 How to Graph in Excel: Step-by-Step Guide5 minutes read
Reader Comments 0
Sign in with email or Google to join the discussion.