Flash - Simulates the Windows boot process
1. Create a file with the parameters shown in Figure 1

Figure 1
2. Rename the layer to the background
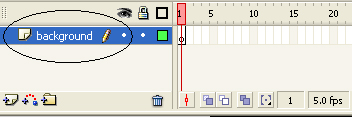
Figure 2
3 Select the Rectangle Tool , adjust the fill color and fill color as shown in Figure 3, and draw a vertical rectangle
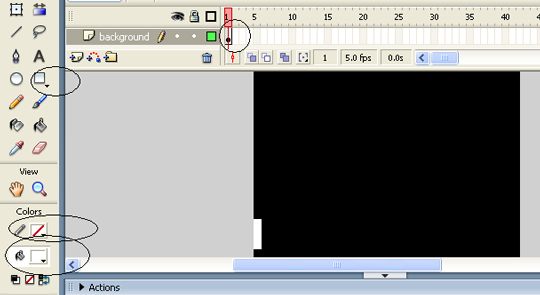
Figure 3
4. Using the Copy and Paste commands to create many identical vertical rectangles
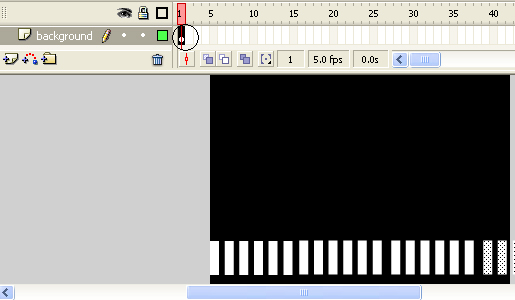
Figure 4
5. Click Frame 1 of the background layer to select all the vertical rectangles. Select Windows > Align and then select the cells like Figure 5 to create a rectangular array of equally spaced tiles
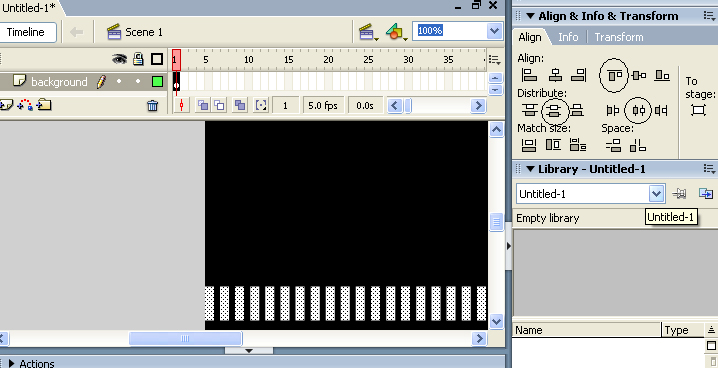
Figure 5
6. Lock the background layer and create a new layer named rectangle
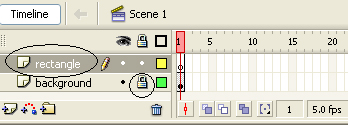
Figure 6
7 Click on Frame 1 of the rectangle layer, select the Rectangle Tool , remove the border color, set the fill color to white and draw a rectangle that covers all the vertical rectangles of the background layer.
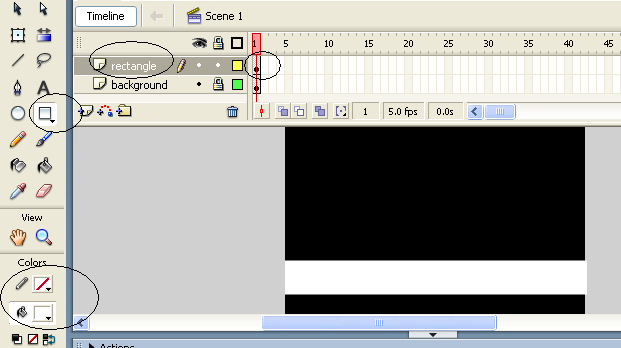
Figure 7
8 Right-click Frame 2 of the layer rectangle and select Insert KeyFrame
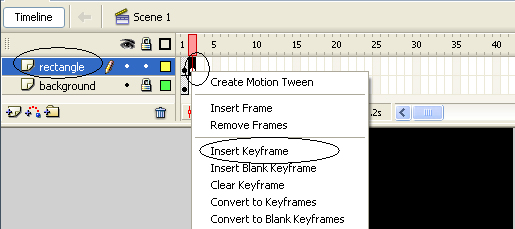
Figure 8
9. Do the same Step 8 for Frame 3, 4, ., 10 of the rectangle layer
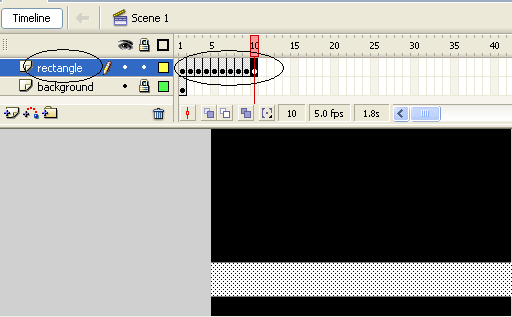
Figure 9
10. Lock the rectangle layer, unlock the background layer, right-click Frame 10 and select Insert Frame
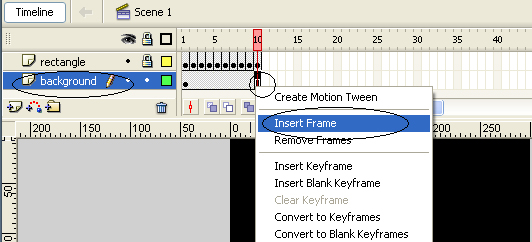
Figure 10
11. Lock the background layer again, click Frame 2 of rectangle layer, select the Selection Tool and drag the mouse into a rectangle over the back of the existing white rectangle.
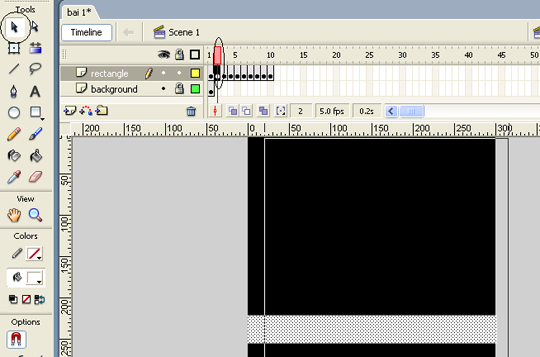
Figure 11
12. Press the Delete key on the keyboard to get the result shown in Figure 12
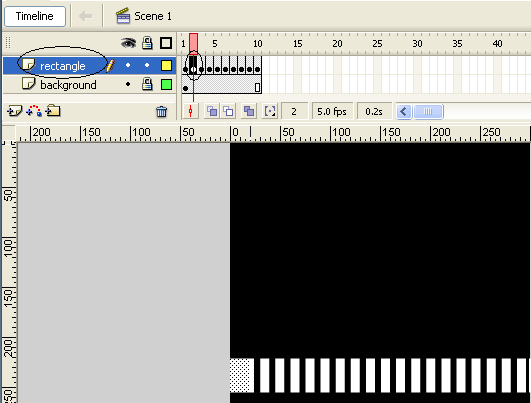
Figure 12
13. Do the same Step 11 and Step 12 for the Frame 3,4, ., 10 of the rectangle layer.
14. Press Ctrl + Enter to see the result or download the example file here .
 Adobe Systems released Photoshop Elements 8
 Flash - Simulation of Windows boot process (P2)
 Flash - Simulating the windows startup process (P3)
 Flash - 5 OLYMPIC rings
 Flash - Water drop effect
 Adjust the captured image in Photoshop