Create dualboot system with Windows 7 and 8 using VHD
In the following article, we will show you how to create and use Virtual Hard Drive (VHD) to install and start Windows 8 on a working computer using Windows 7. Actually, in fact There are quite a few ways to do this, and the way presented below is simple and easy to implement
Table of Contents
TipsMake.com - In the following article, we will show you how to create and use Virtual Hard Drive (VHD) to install and start Windows 8 on a working computer with Windows 7. Actually, there are actually many ways to do this, and the way presented below is the easiest and easiest to implement.
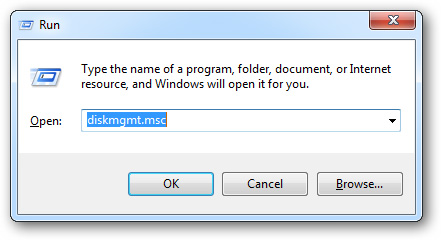
To create VHD , open Start Menu> Run and type diskmgmt.msc:
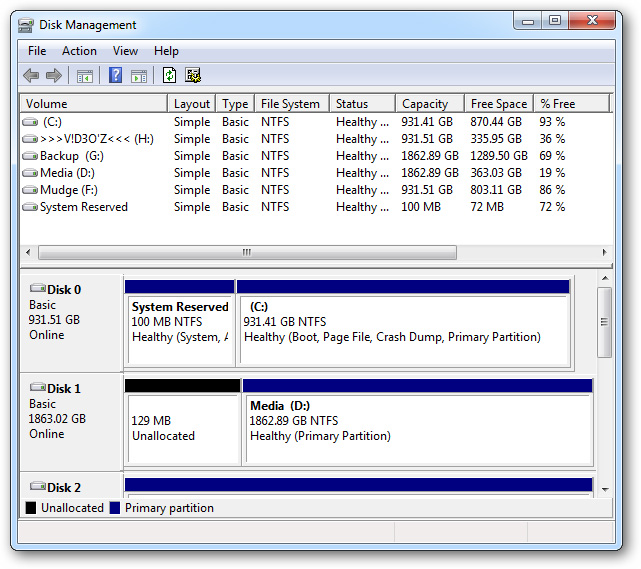
The main control panel of the MMC is displayed, along with Disk Management:
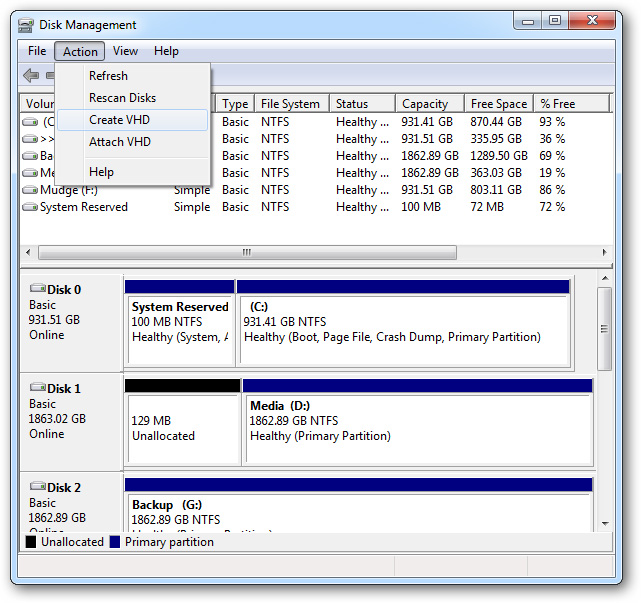
Select Action menu > Create VHD:
Select the archive folder of the VHD file and set the required capacity (minimum of 20GB ), should choose Fixed Mode to ensure performance:

The process of creating Windows VHD will begin, you can monitor through the MMC Status Bar :

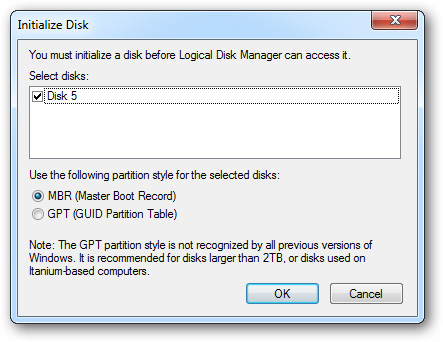
When this is done, the newly created partition will be listed in the Disk Management list . At this point, you need to prepare the initial settings for this partition through the Initialize Disk function :

Keep the partition format as MBR - Master Boot Record and click OK :
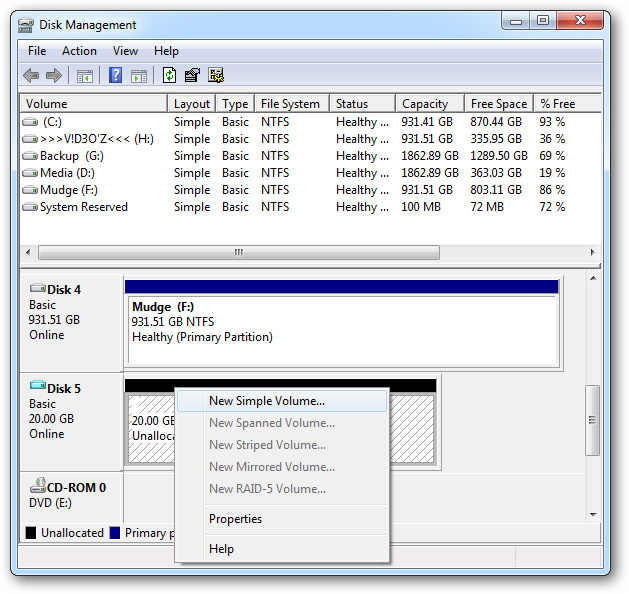
At the end of the process, we will have to create a volume on this partition, right-click on the black area and select New Simple Volume:
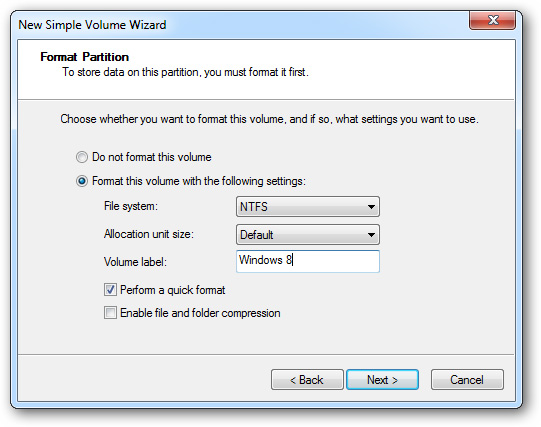
The next options are displayed, you can leave the default options unchanged, change the Volume label to Windows 8 for convenience, then click Next and Finish :
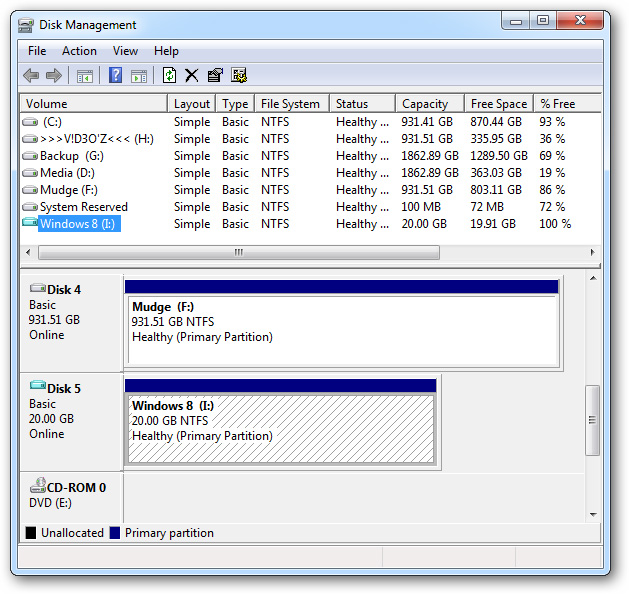
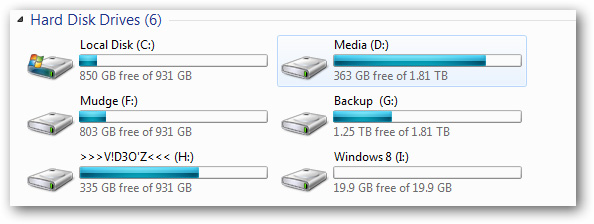
And this new VHD file will have functions like a real hard drive:
Install Windows 8 on the VHD partition:
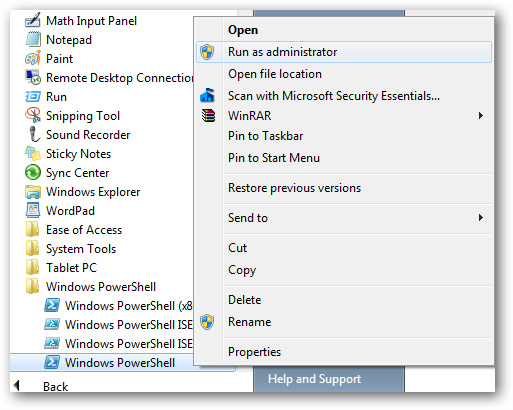
The first thing to do at this process is to open PowerShell via Run As Administrator mode (Start Menu> All Programs> Accessories> Windows Powershell):
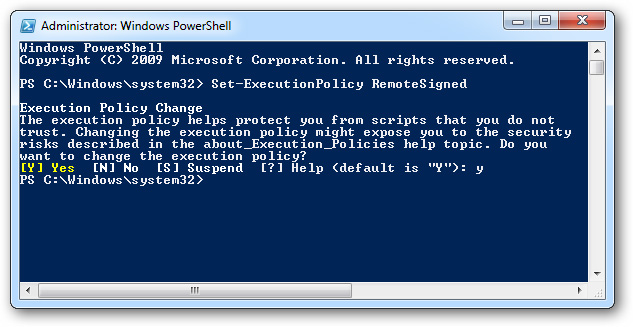
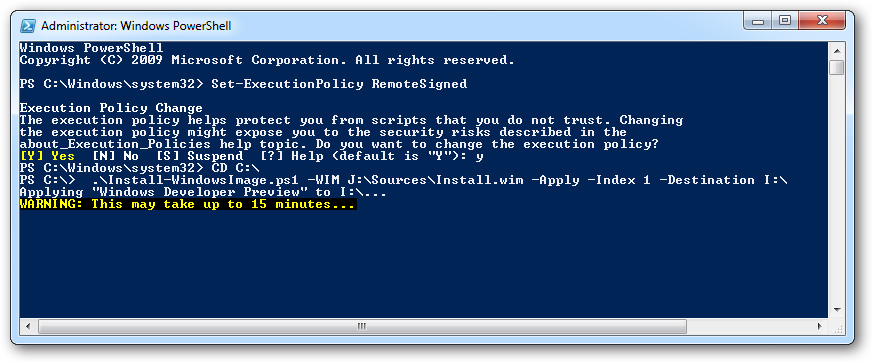
When PowerShell starts, we need to change some policies regarding the system's ability to execute the program to apply with some of the following code. Type the command:
Set-ExecutionPolicy RemoteSigned
A security message will appear, press Y and press Enter to continue:
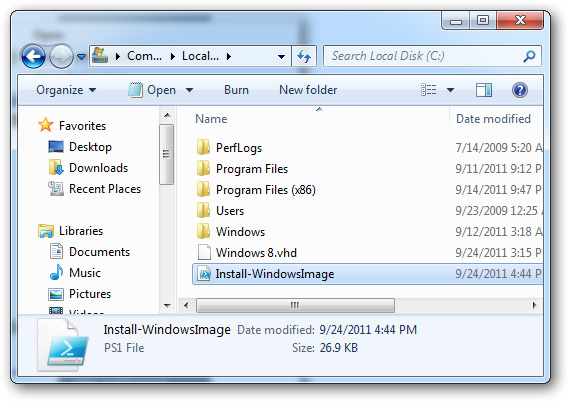
Next, please visit here and download the * .ps1 file , copy it to Windows C drive:
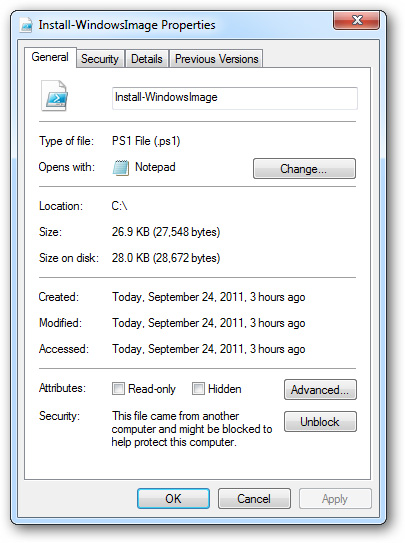
Open the properties - Properties of this * .ps1 file and click the Unblock button at the bottom of the window:
To continue, please assign the * .iso file of Windows 8 Developer Preview with a program to create any drive, such as Deamon . Then return to the main control screen of PowerShell , type command CD C:

And continue typing the following command:
.Install-WindowsImage.ps1 –WIM J: SourcesInstall.wim –Apply –Index 1 –Destination I:
One point to note here is that you should replace the drive letters behind the –WIM parameter corresponding to the * .iso file of Windows 8, the drive to be installed (in this test I is :) is the VHD partition just created earlier:
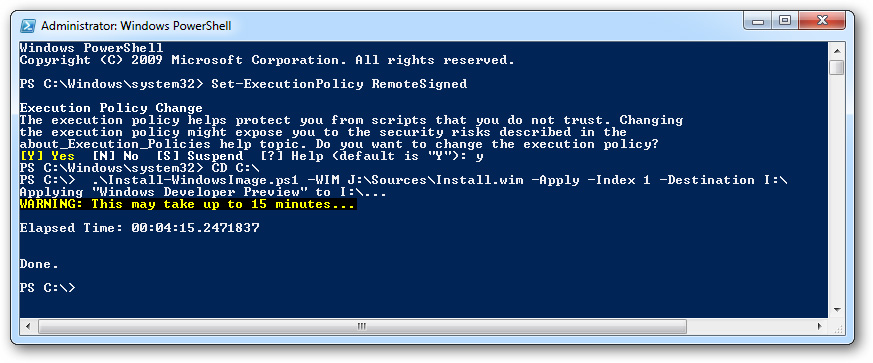
The system will display as shown below when this process ends:
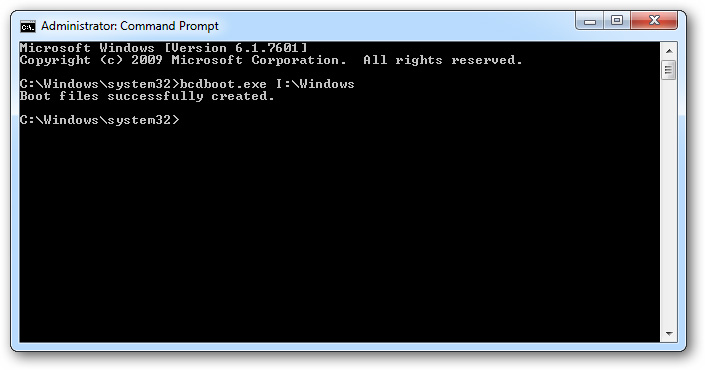
Open the Command Prompt application and type bcdboot.exe I: Windows (drive I is the Windows 8 installation partition):
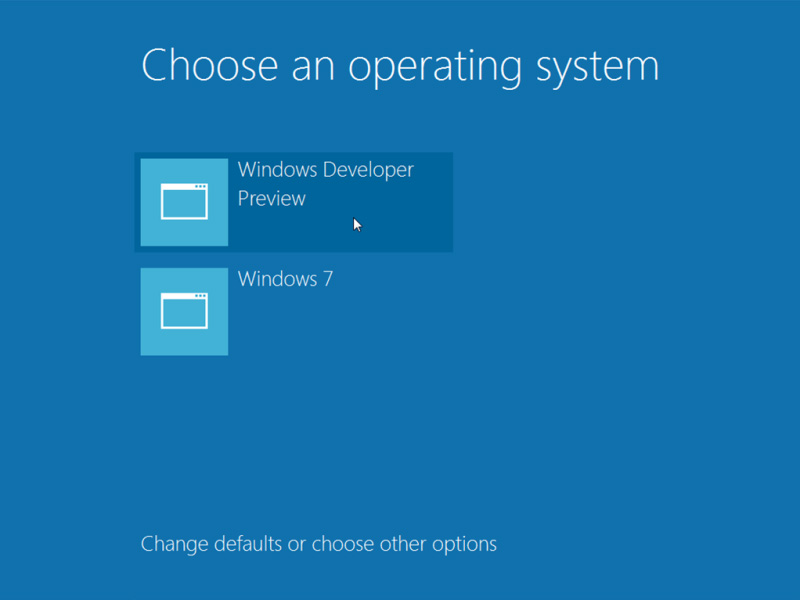
From this point on, when the system starts, you will see the selection screen as follows:
Good luck!
Was this article helpful?
Your feedback helps us improve.
Related Articles
 Remove Windows 8 from dualboot system4 minutes read
 How to create system information file in Windows 103 minutes read
 How to create Restore Point on Windows 10 with just 1 double click4 minutes read
 How to create a standard USB BOOT to install Windows 10 on both UEFI and LEGACY5 minutes read
 Instructions for creating backup and restore points (Restore Point) on Windows 103 minutes read
 How to create a bootable USB drive for installing Windows 10 with UEFI and LEGACY support.5 minutes read
Reader Comments 0
Sign in with email or Google to join the discussion.