2 ways to hide hard disk partitions on Windows
In the process of using computers, we often have to store a lot of important data in a fixed hard disk partition. To avoid accidentally deleting important data in it, you should have a protection plan by hiding the partition. If you do not know how to do it, you can refer to how to do below of TipsMake.com..
In the process of using computers, we often have to store a lot of important data in a fixed hard disk partition. To avoid accidentally "deleting" important data in it, you should have a protection plan by hiding the partition. If you do not know how to do it, you can refer to how to do below of TipsMake.com.
Method 1: Use Disk Management
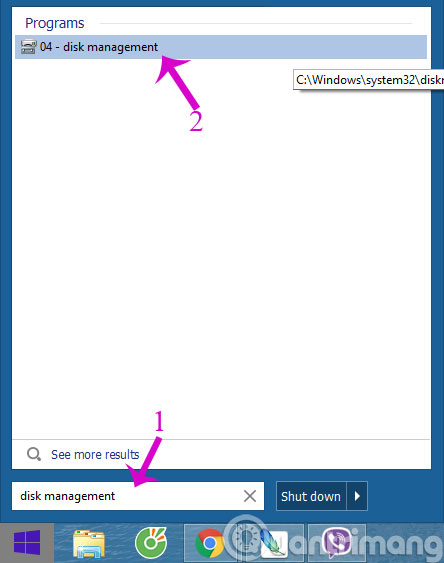
Step 1 : From the search box of the Start menu, type Disk Management and then click to open the application
Step 2 : When Disk Management dialog box appears, right-click the partition you want to hide and select Change Drive Letters and Paths .

Step 3 : Click Remove in the Change Partition Letter and Paths dialog box

Step 4 : Warning dialog box opens, click Yes

That's it, the partition will no longer appear in File Explorer ( This Computer ) or Disk Management and you will be assured because it will simply hide and not be deleted.
Step 5 : To re-create the partition, right-click the missing location in the Disk Management window, select Change Partition Letter and Paths . Then click Add and select the correct partition.

Method 2: Use Windows Drive Hider
Open the application and select the desired partition and click Hide Drive .

- Hide the drive in Windows XP
- Partitioning for the hard drive
- Fast disk defragmentation in Windows 7
Hope the article will be useful for you!